Recently I taught this technique at a POP-UP studio at the Westmoreland Museum of American Art. It was really well received by my students, because it initiates creativity and the whole thing can be completed in about two – three hours. It would be great for a DIY weekend or evening. This project was adapted from an article found in a back issue of Threads magazine.
The top of the box is made of card stock covered with the fabric. The bottom of the box is just card stock.
The process of removing the color from fabric is referred to as discharging. It is the opposite of dying fabric and it can be a lot of fun. There are a couple of methods to discharge fabric. This project uses chlorine bleach.
Please read all of the instructions and gather materials before beginning the project.
Start with a light-weight woven 100% cotton fabric, 45 inches wide. For one box you will only need about 1/4 of a yard, but you will want more for experimentation. I used black, but any dark color is acceptable. Experiment on a scrap first as different colors will give unpredictable and varying results.
Wash and dry the fabric. Do not use any type of fabric softener at all as it will coat the fibers of the textile and interfere with the discharging process.
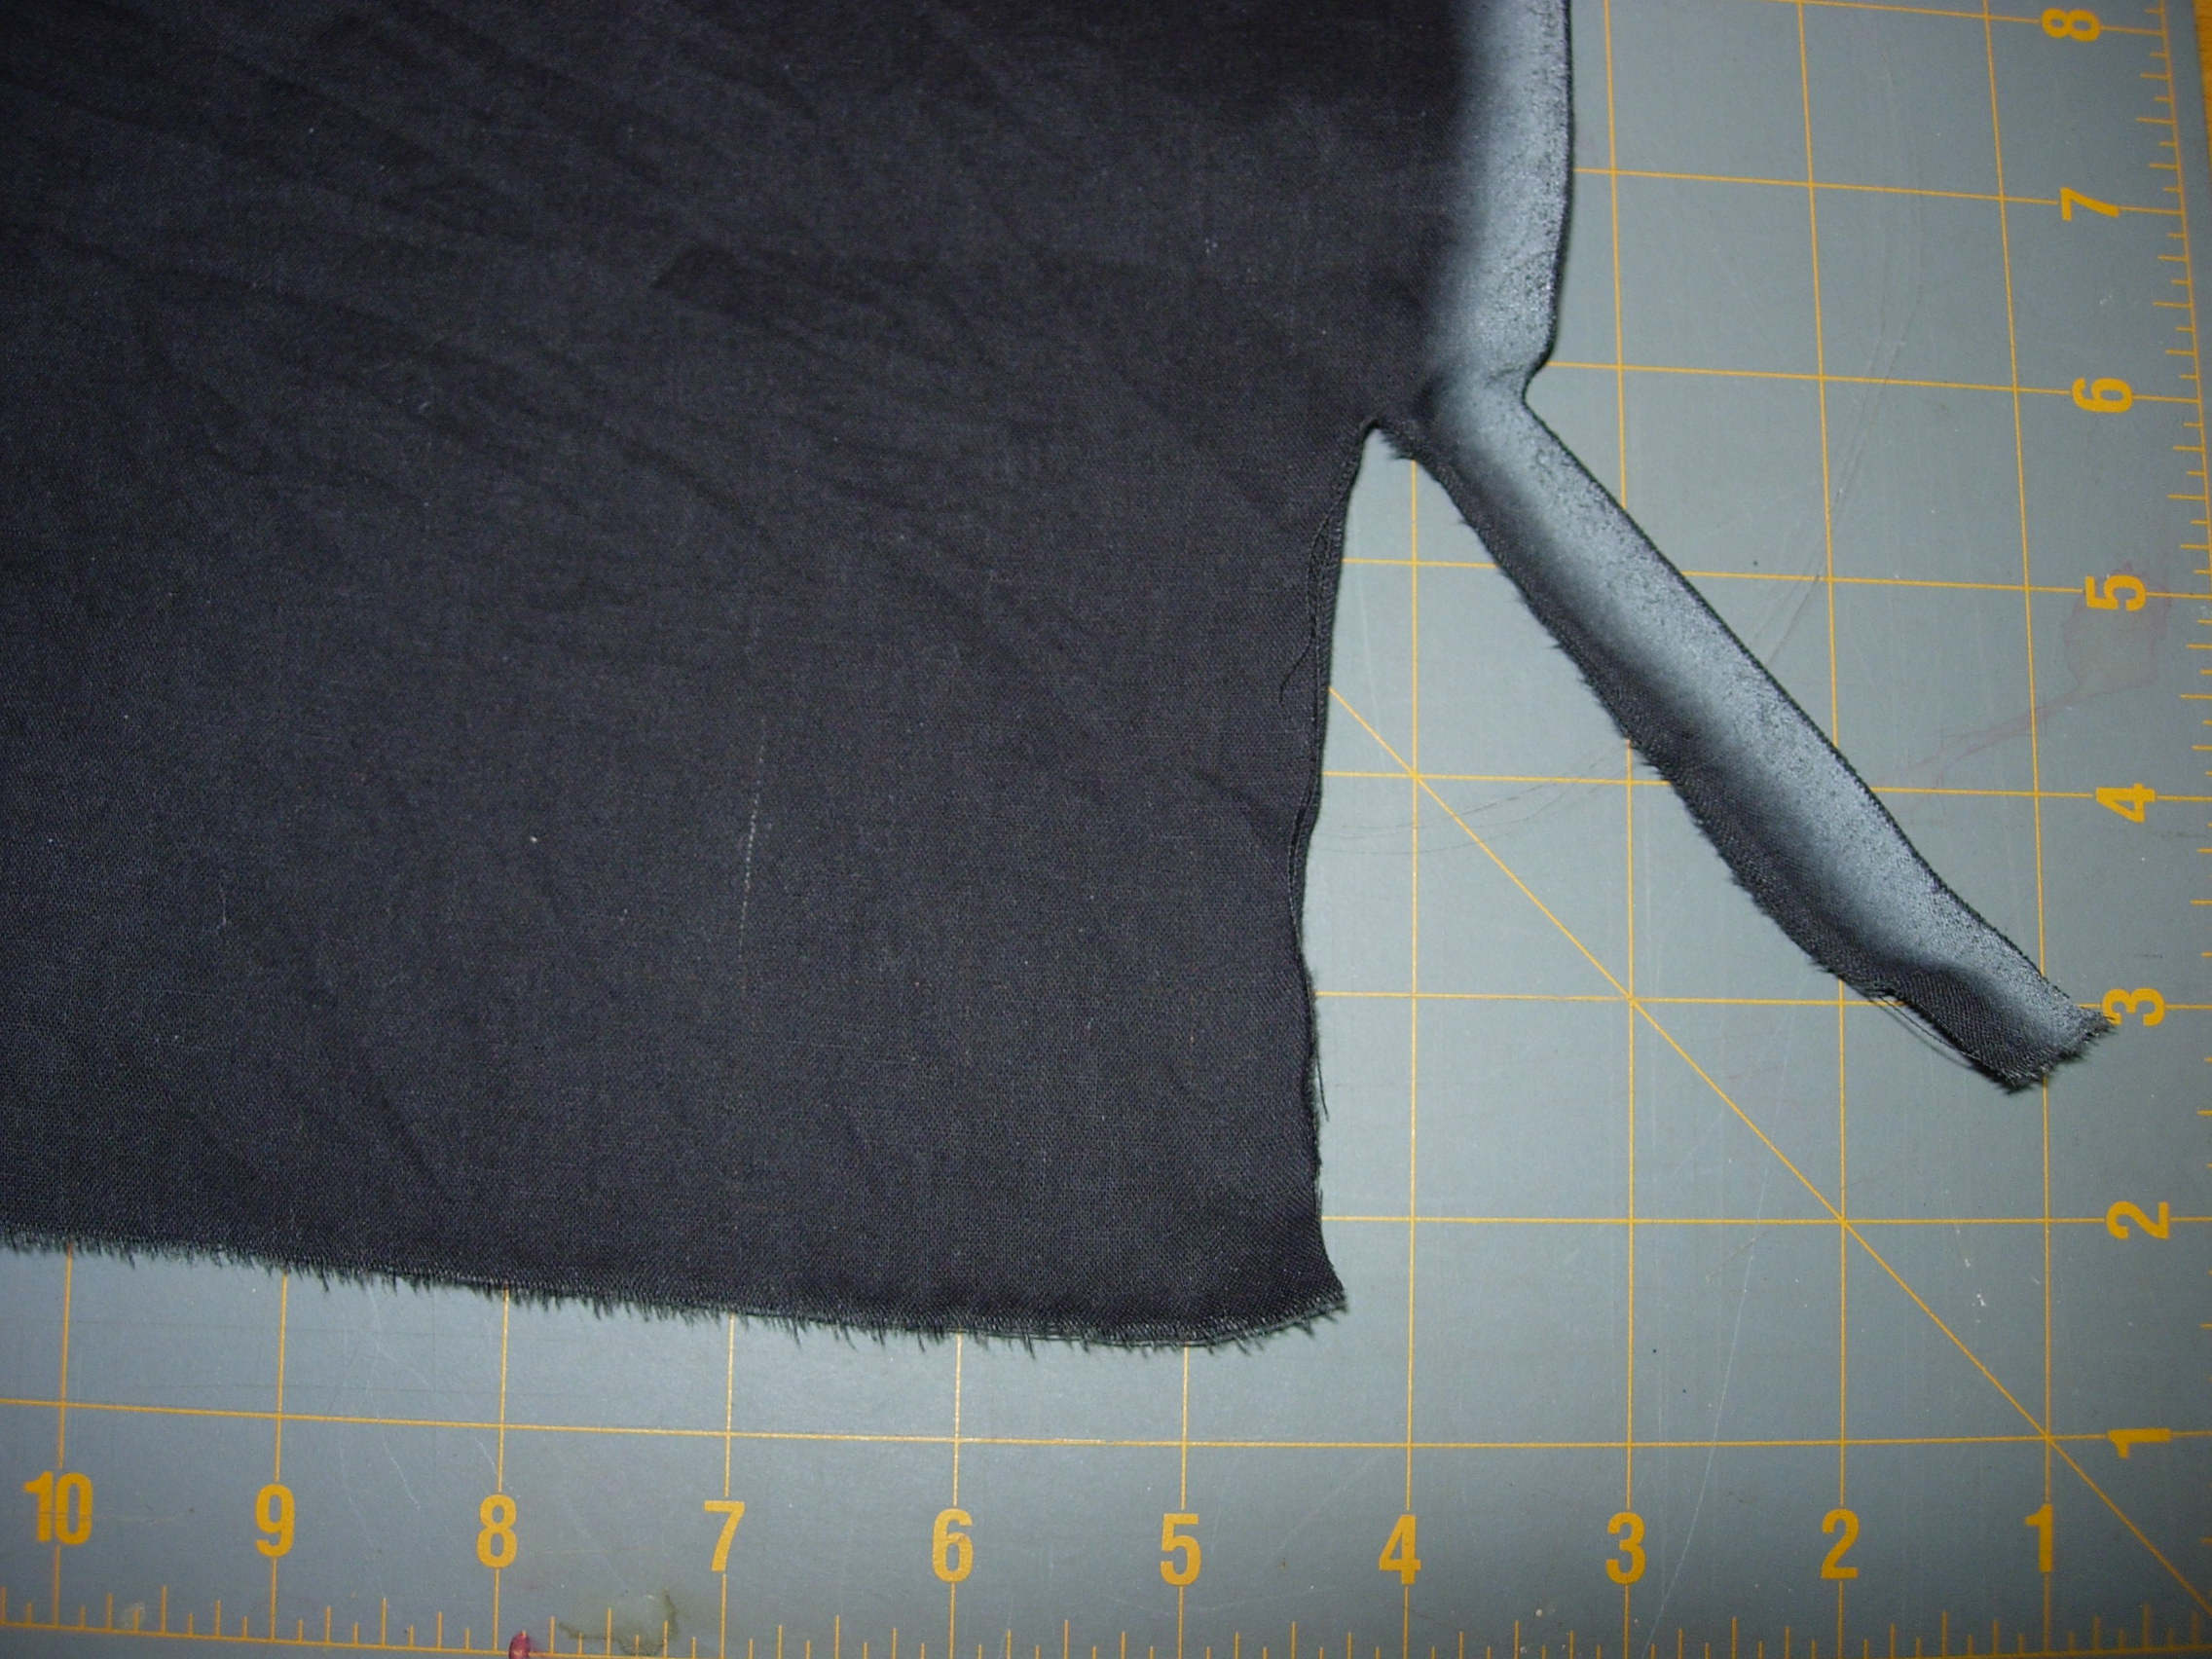
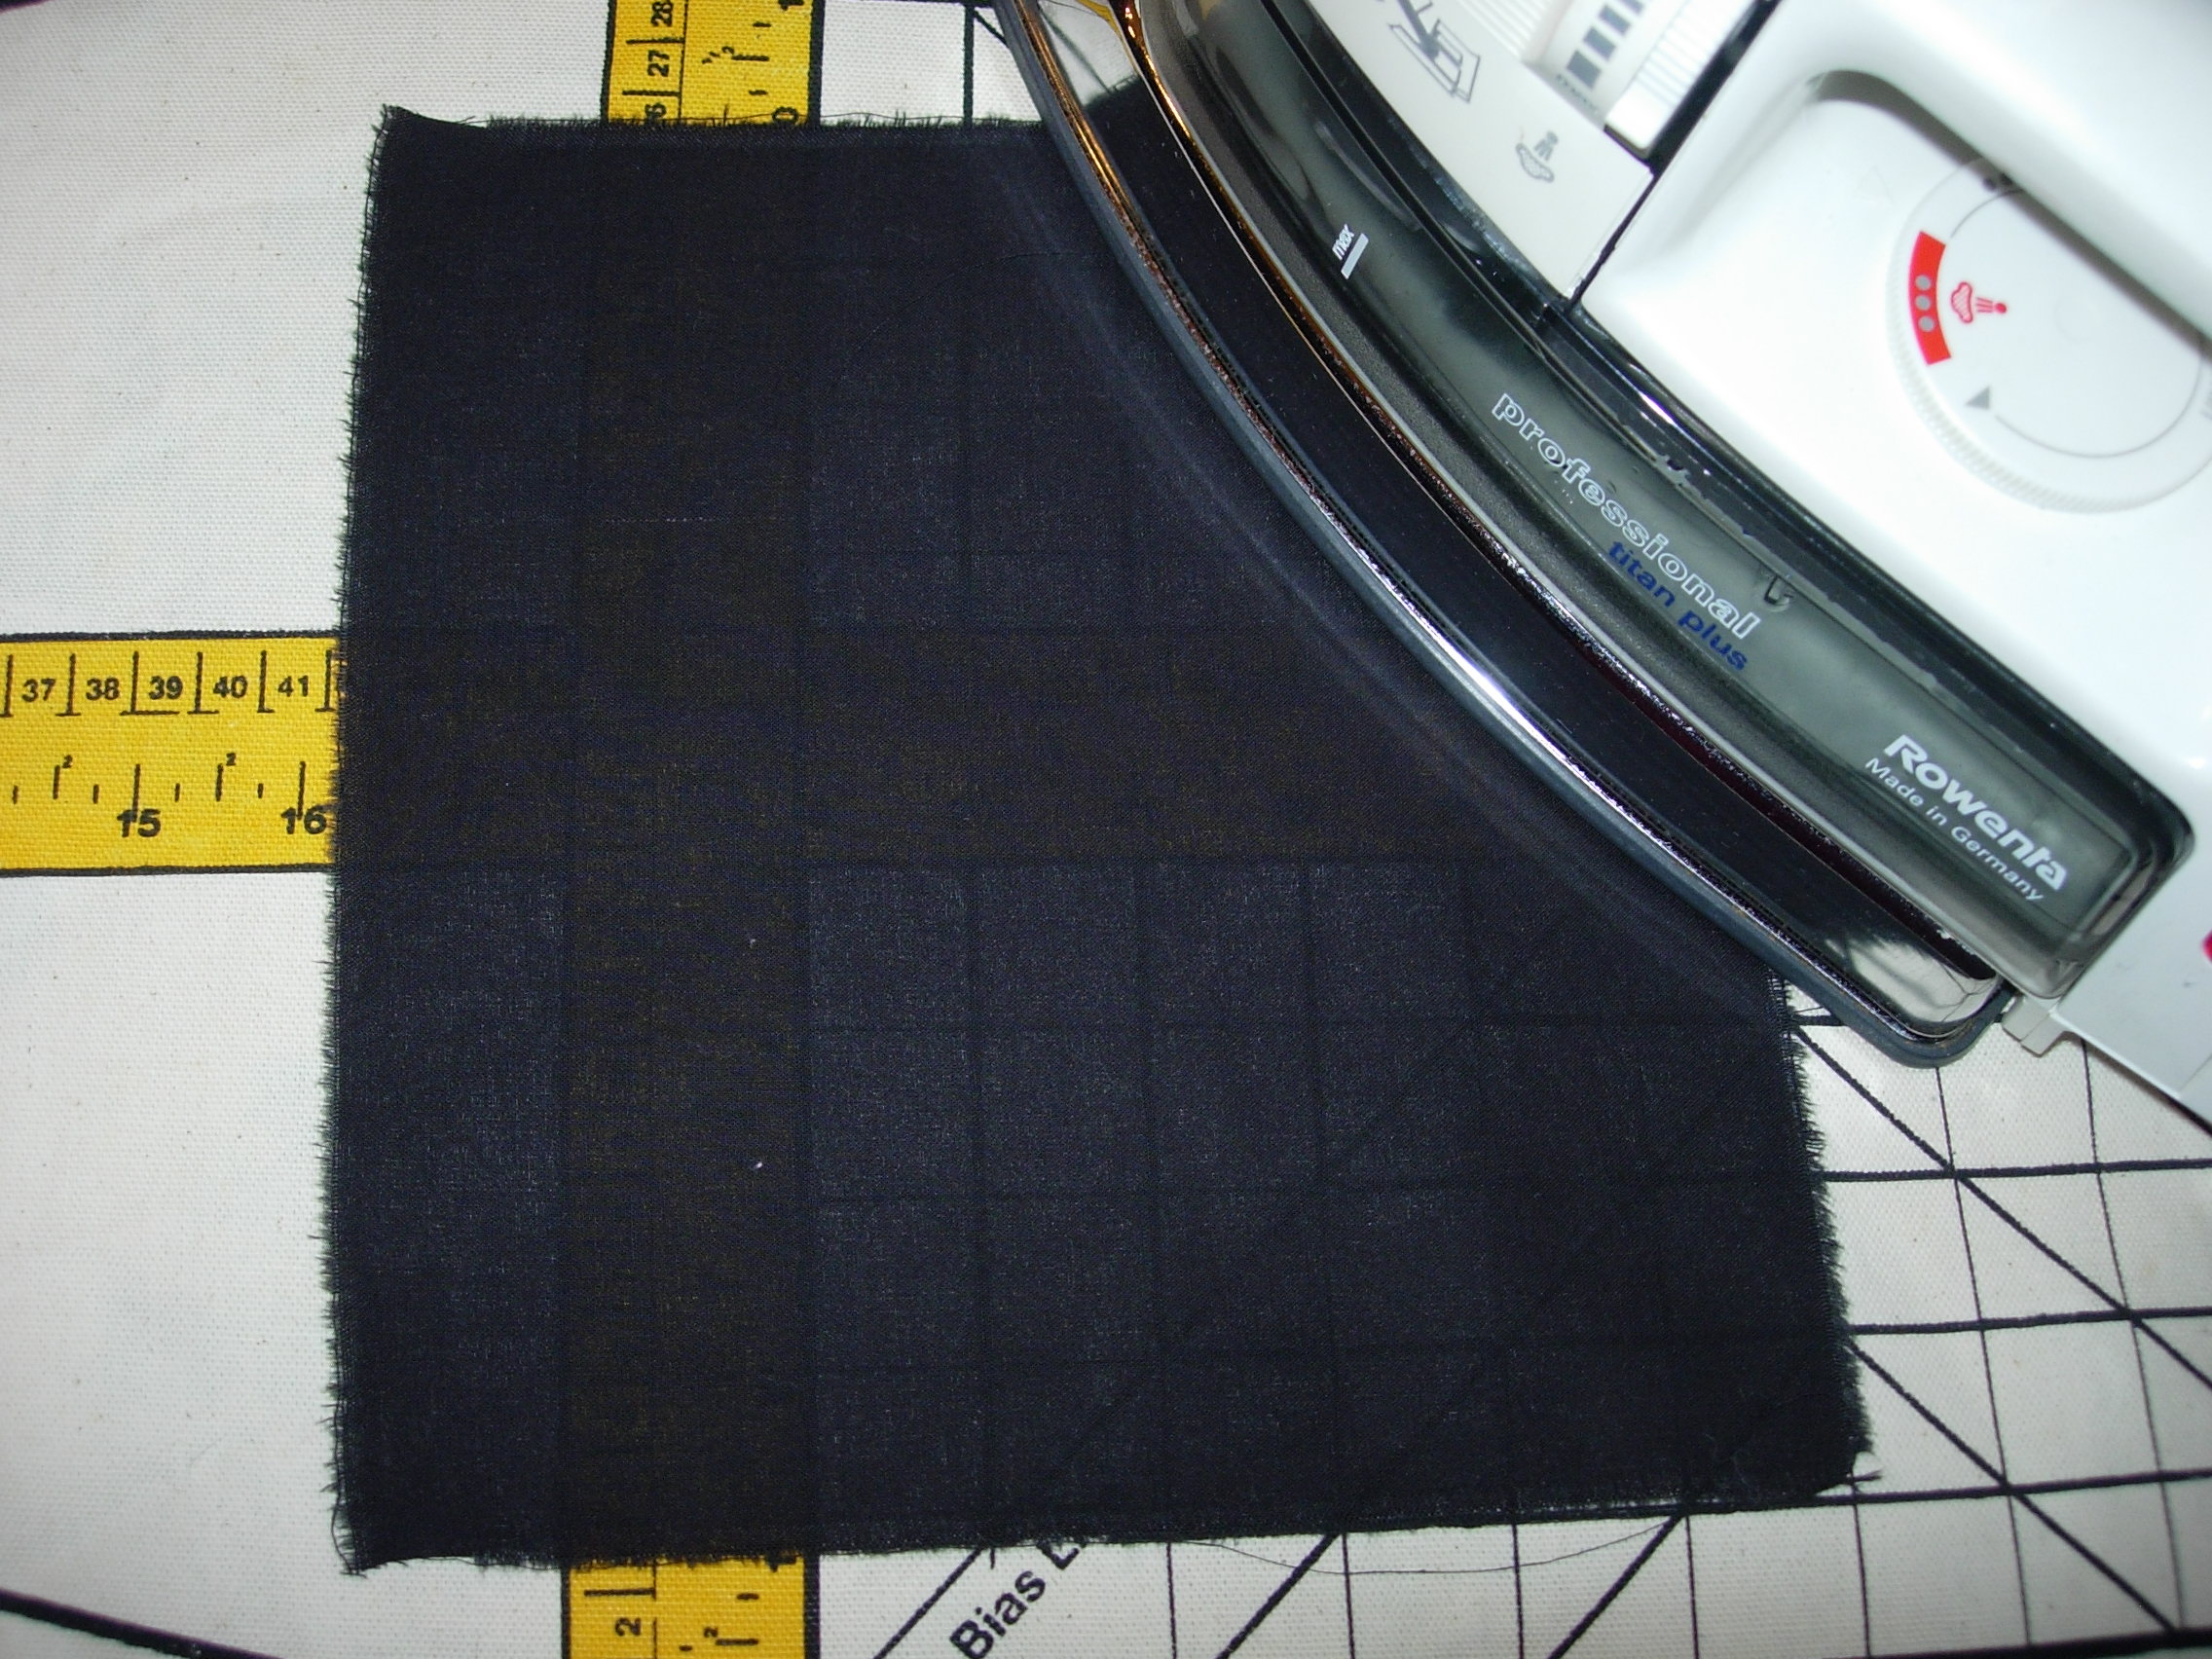
Clip and tear both the selvage edge, and the cut edge of the fabric.Tearing places the fabric on its grain and maintains straight lines. Then measure 8 1/2 inches over from one of your straight edges, clip and tear the fabric. Measure 8 1/2 inches again, clip and tear to create a square.
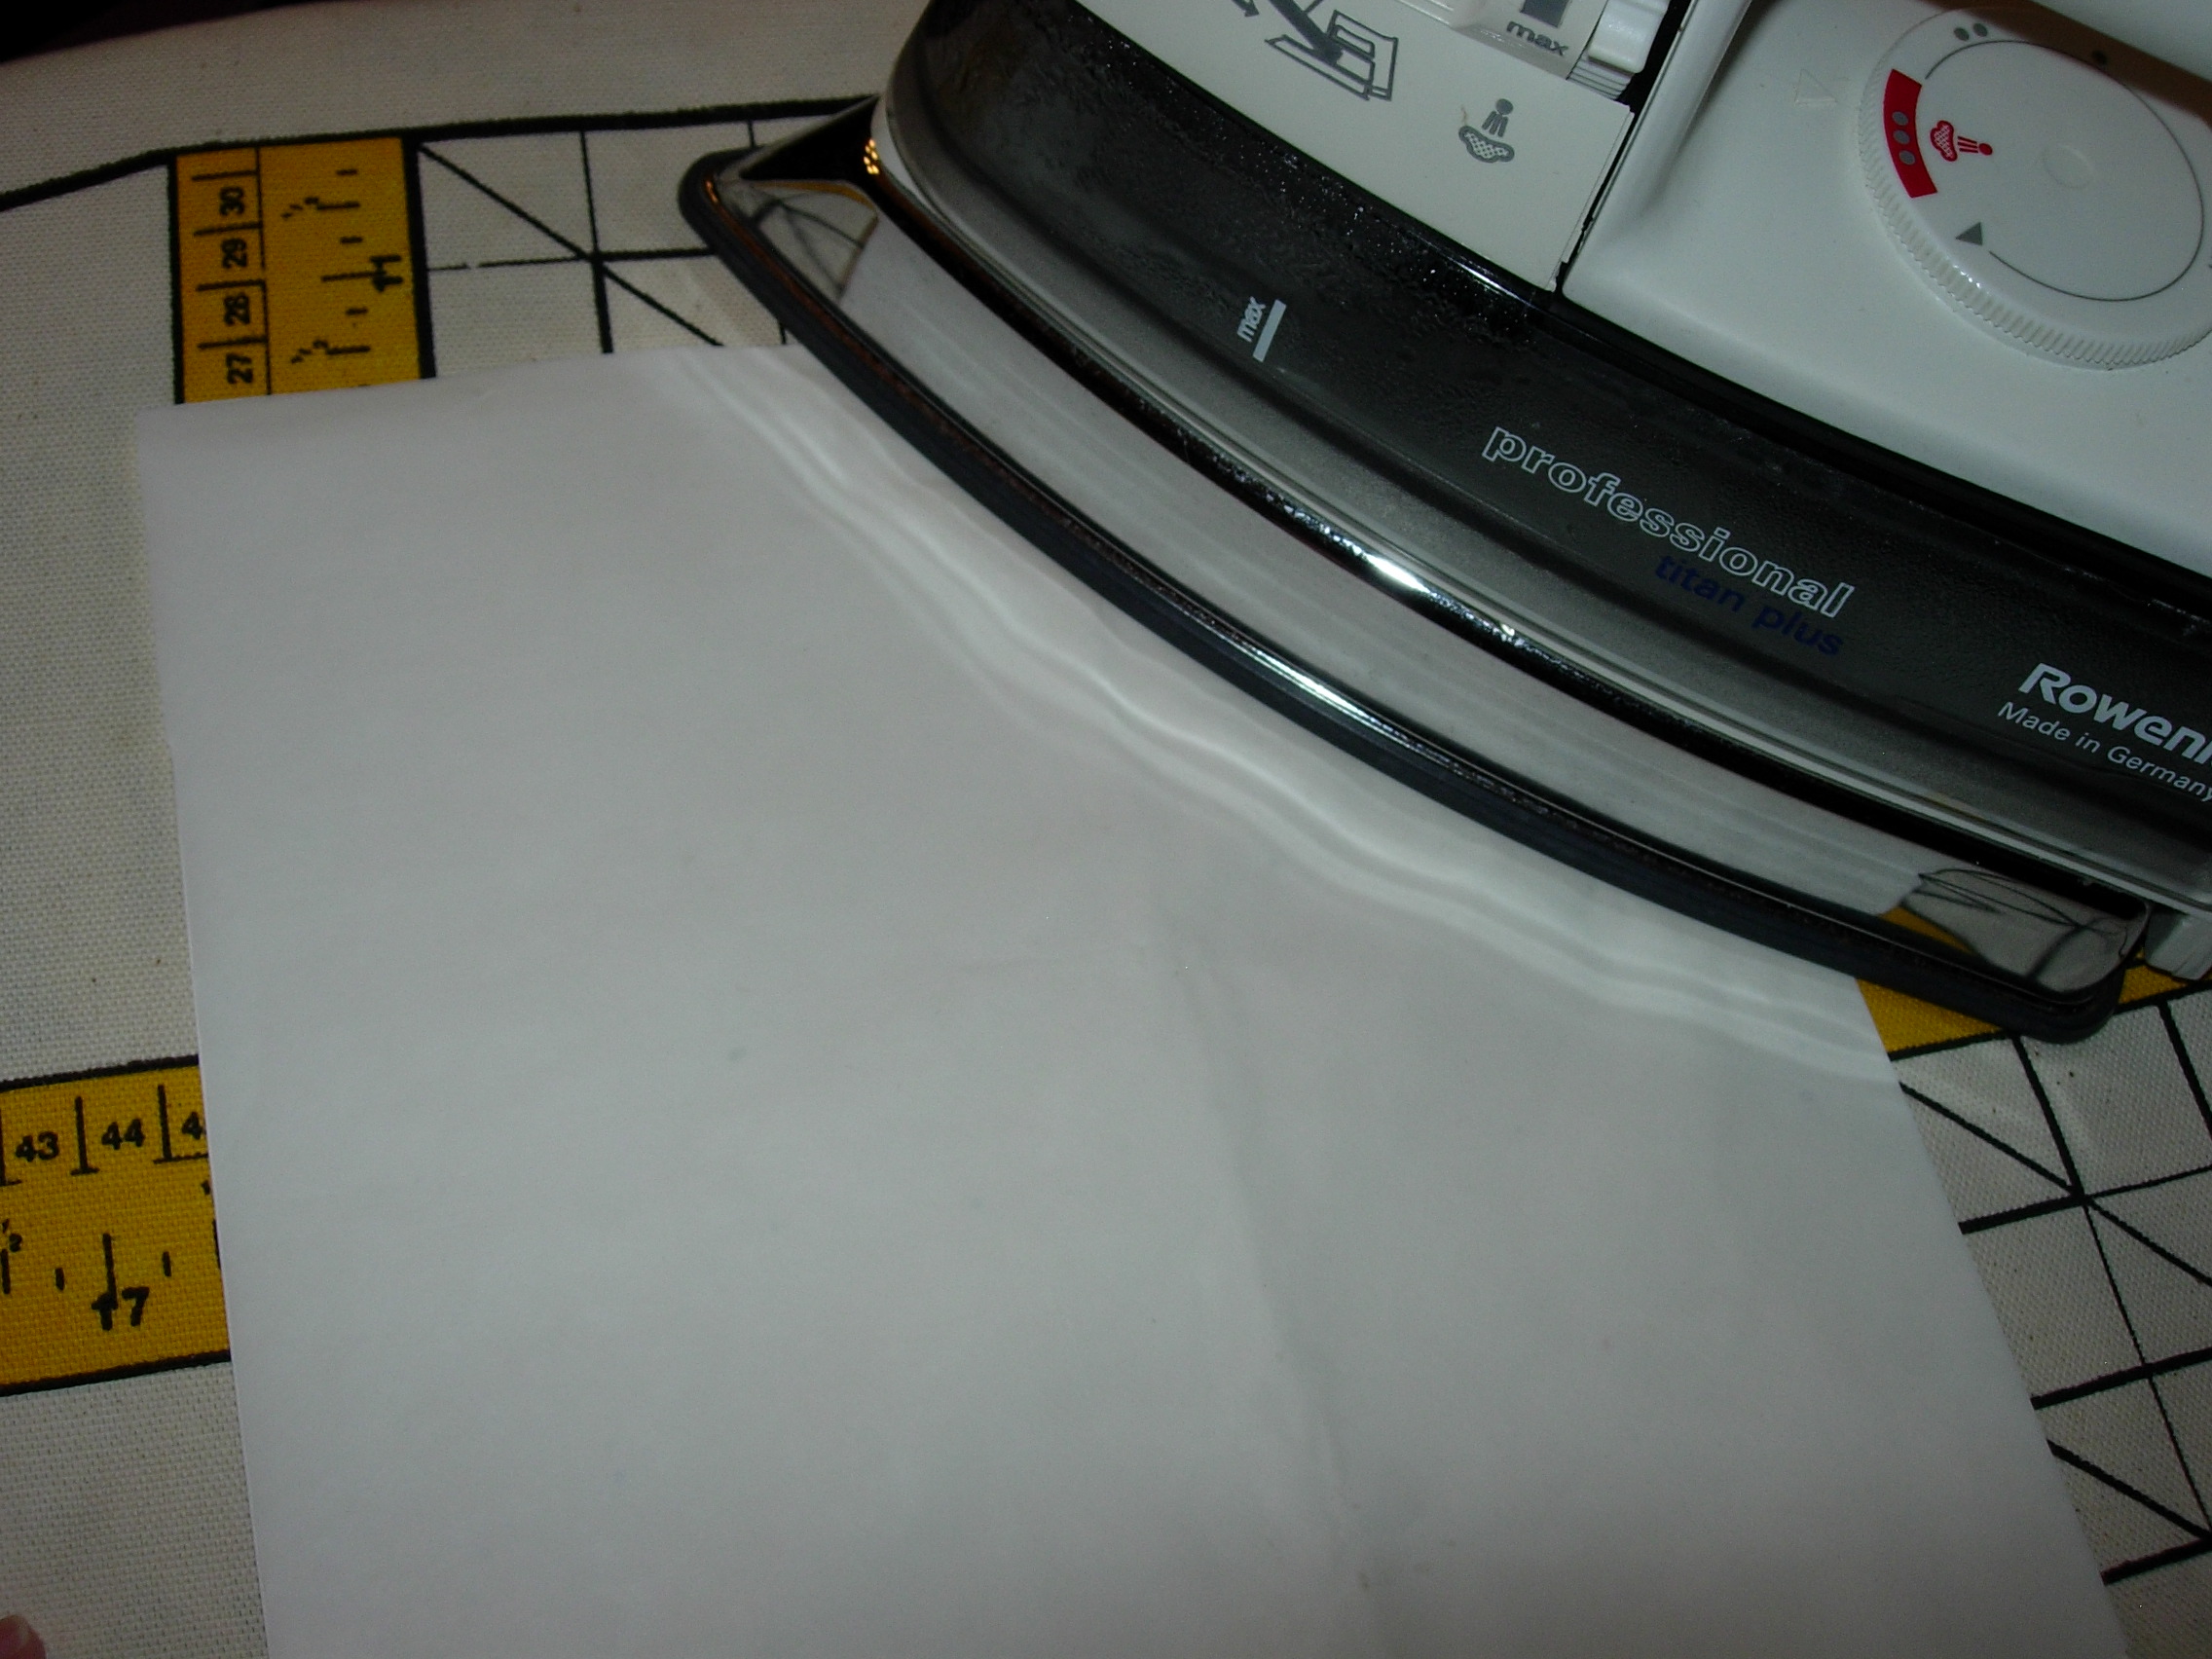
Press with a hot iron.
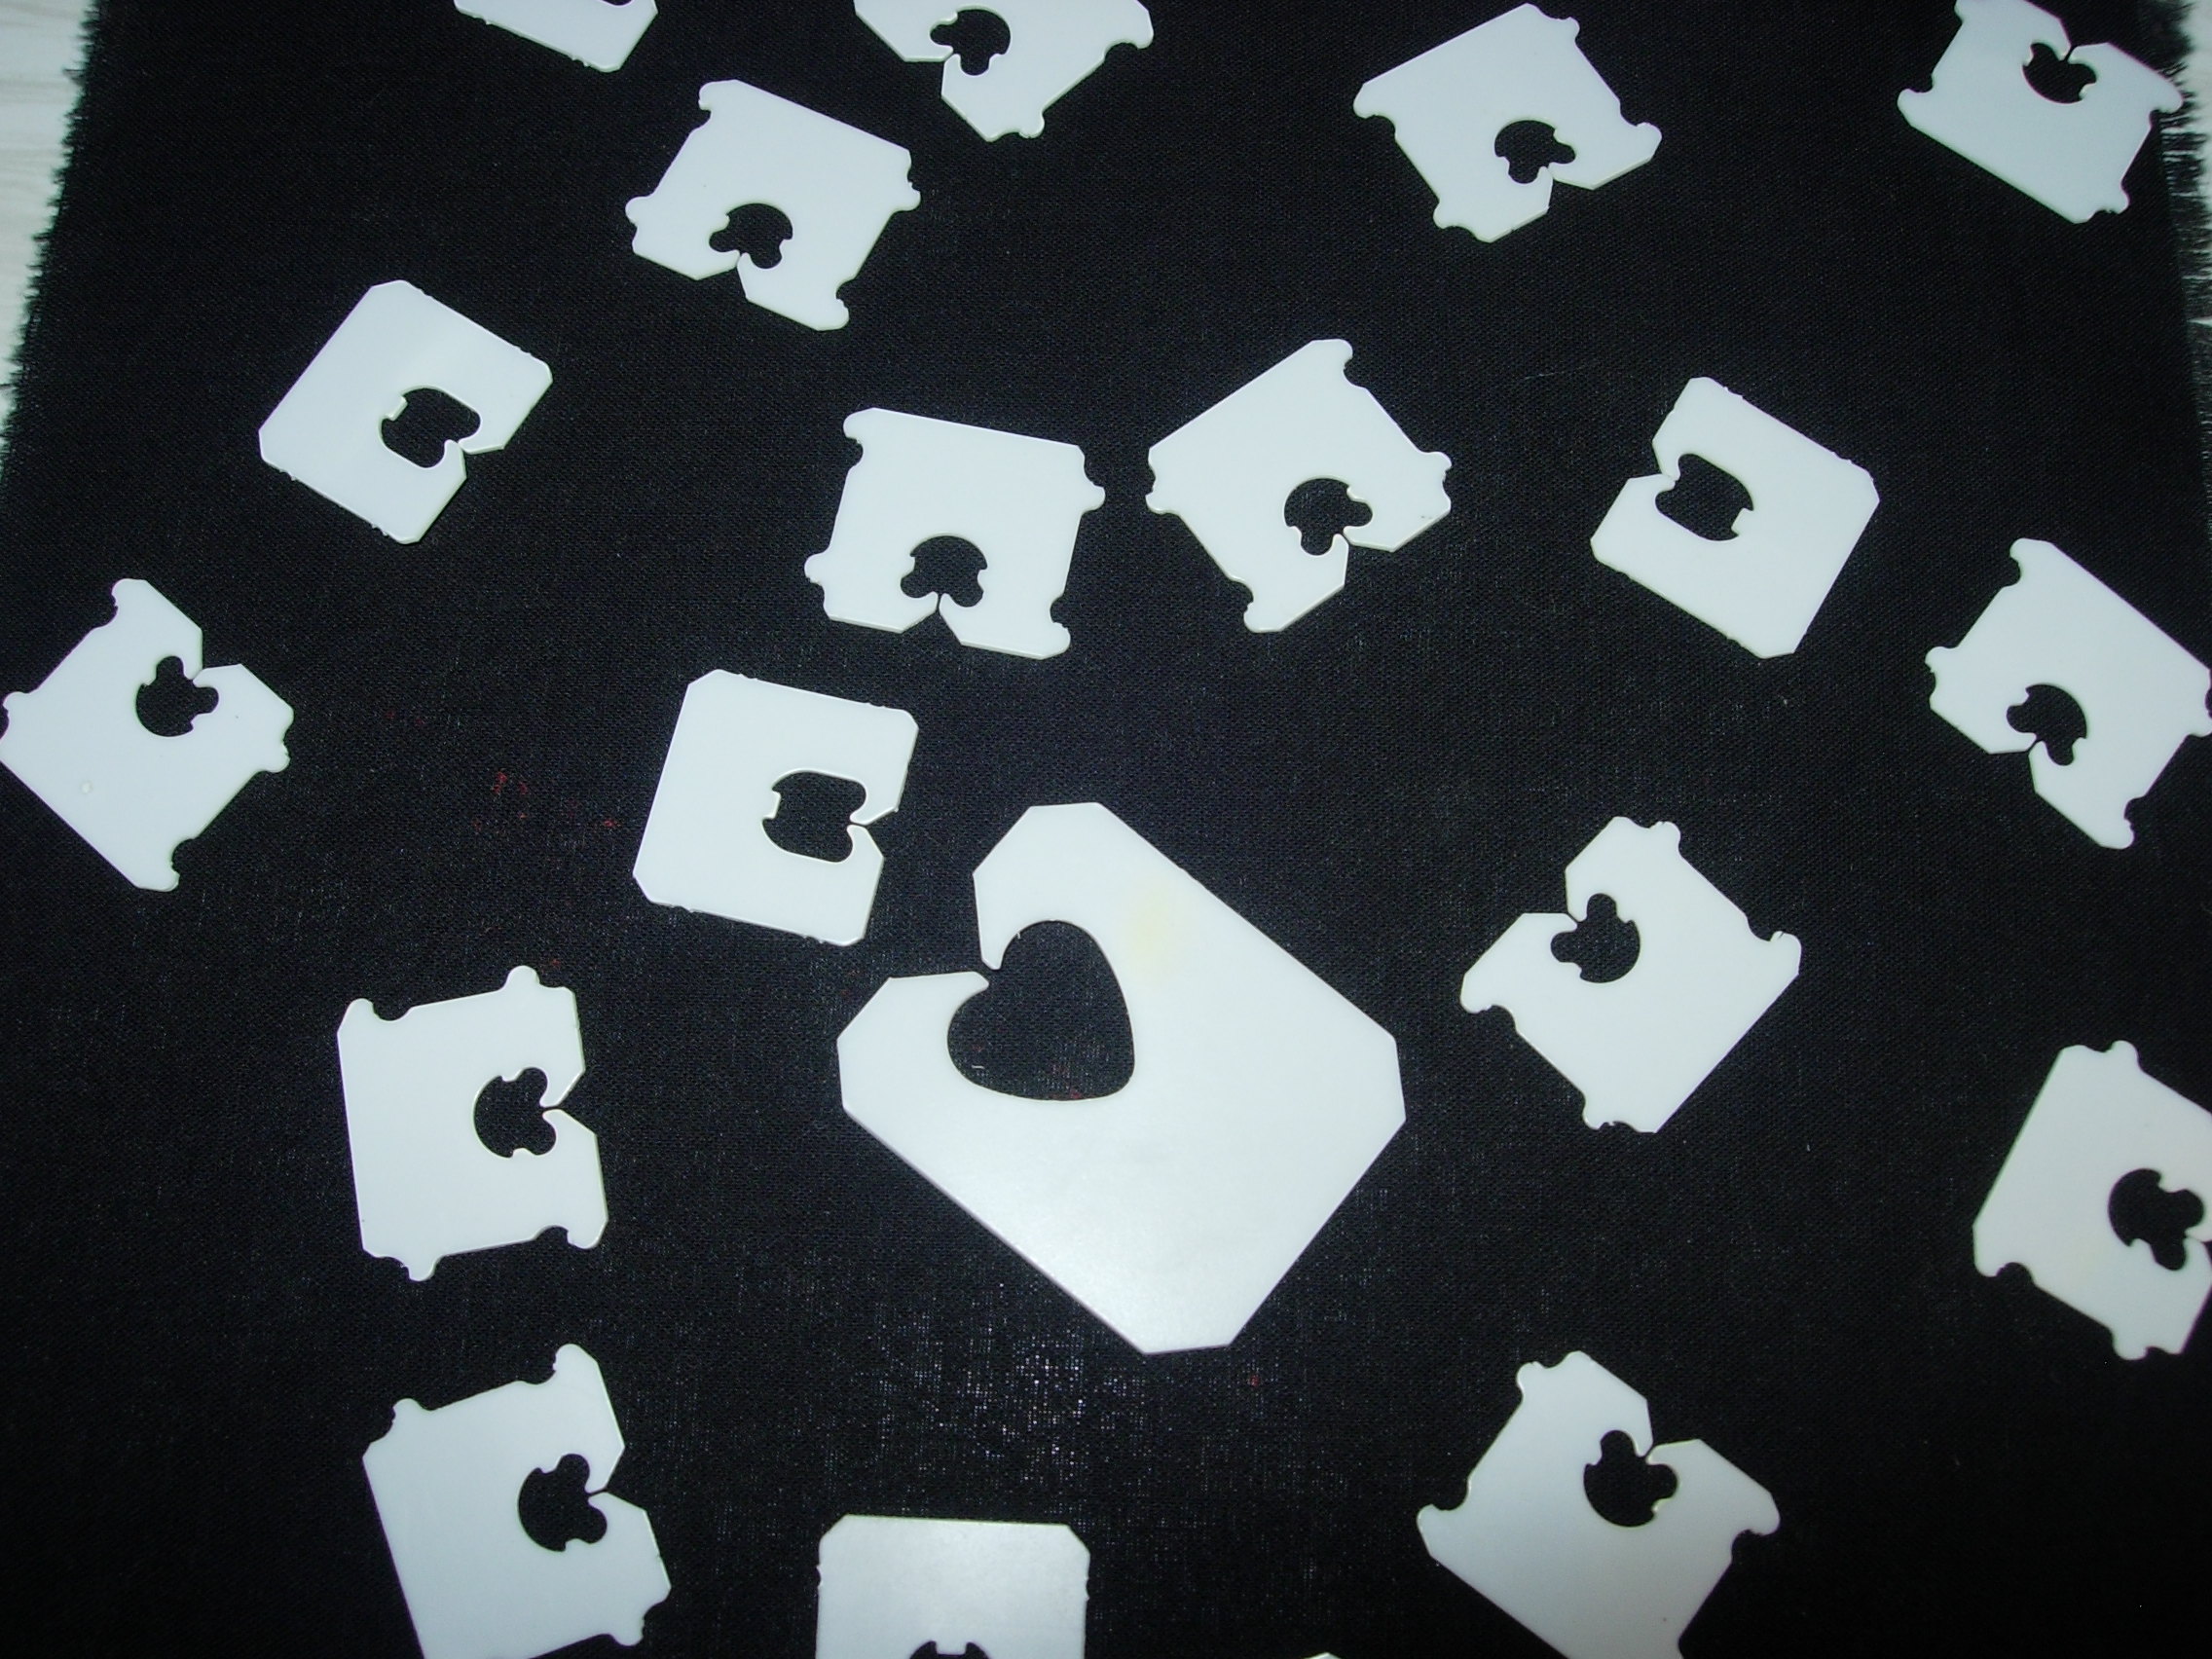
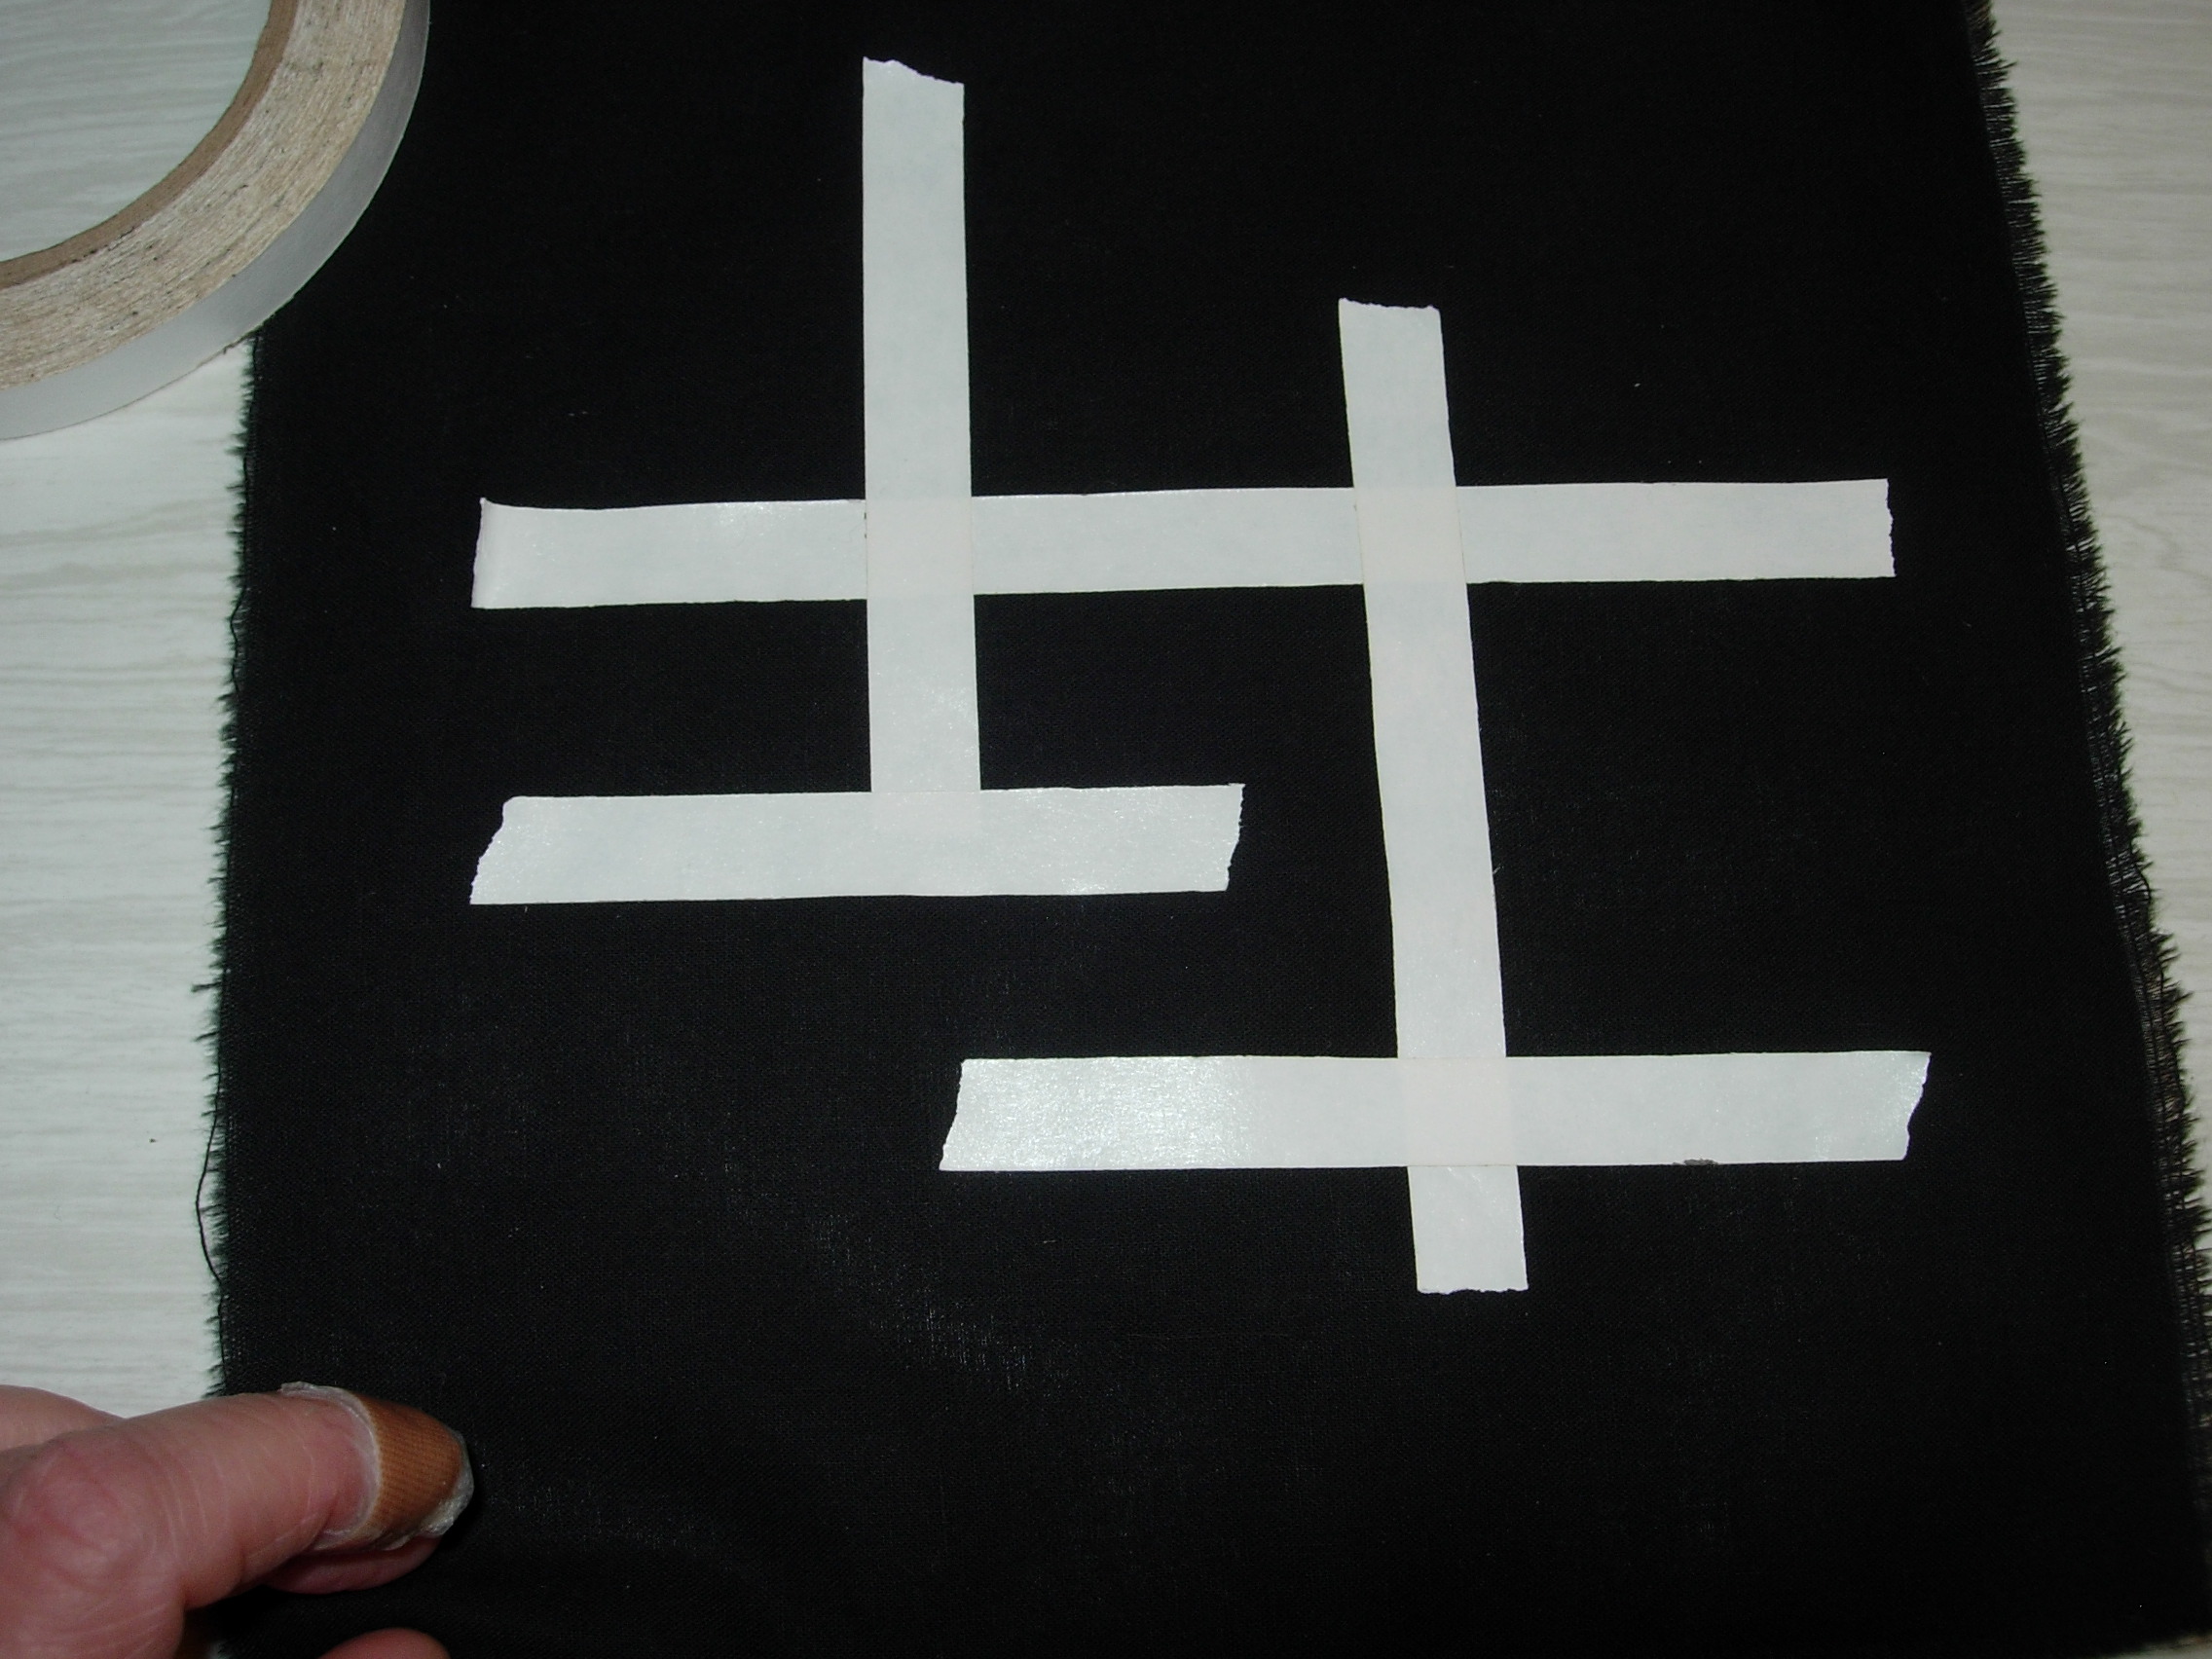
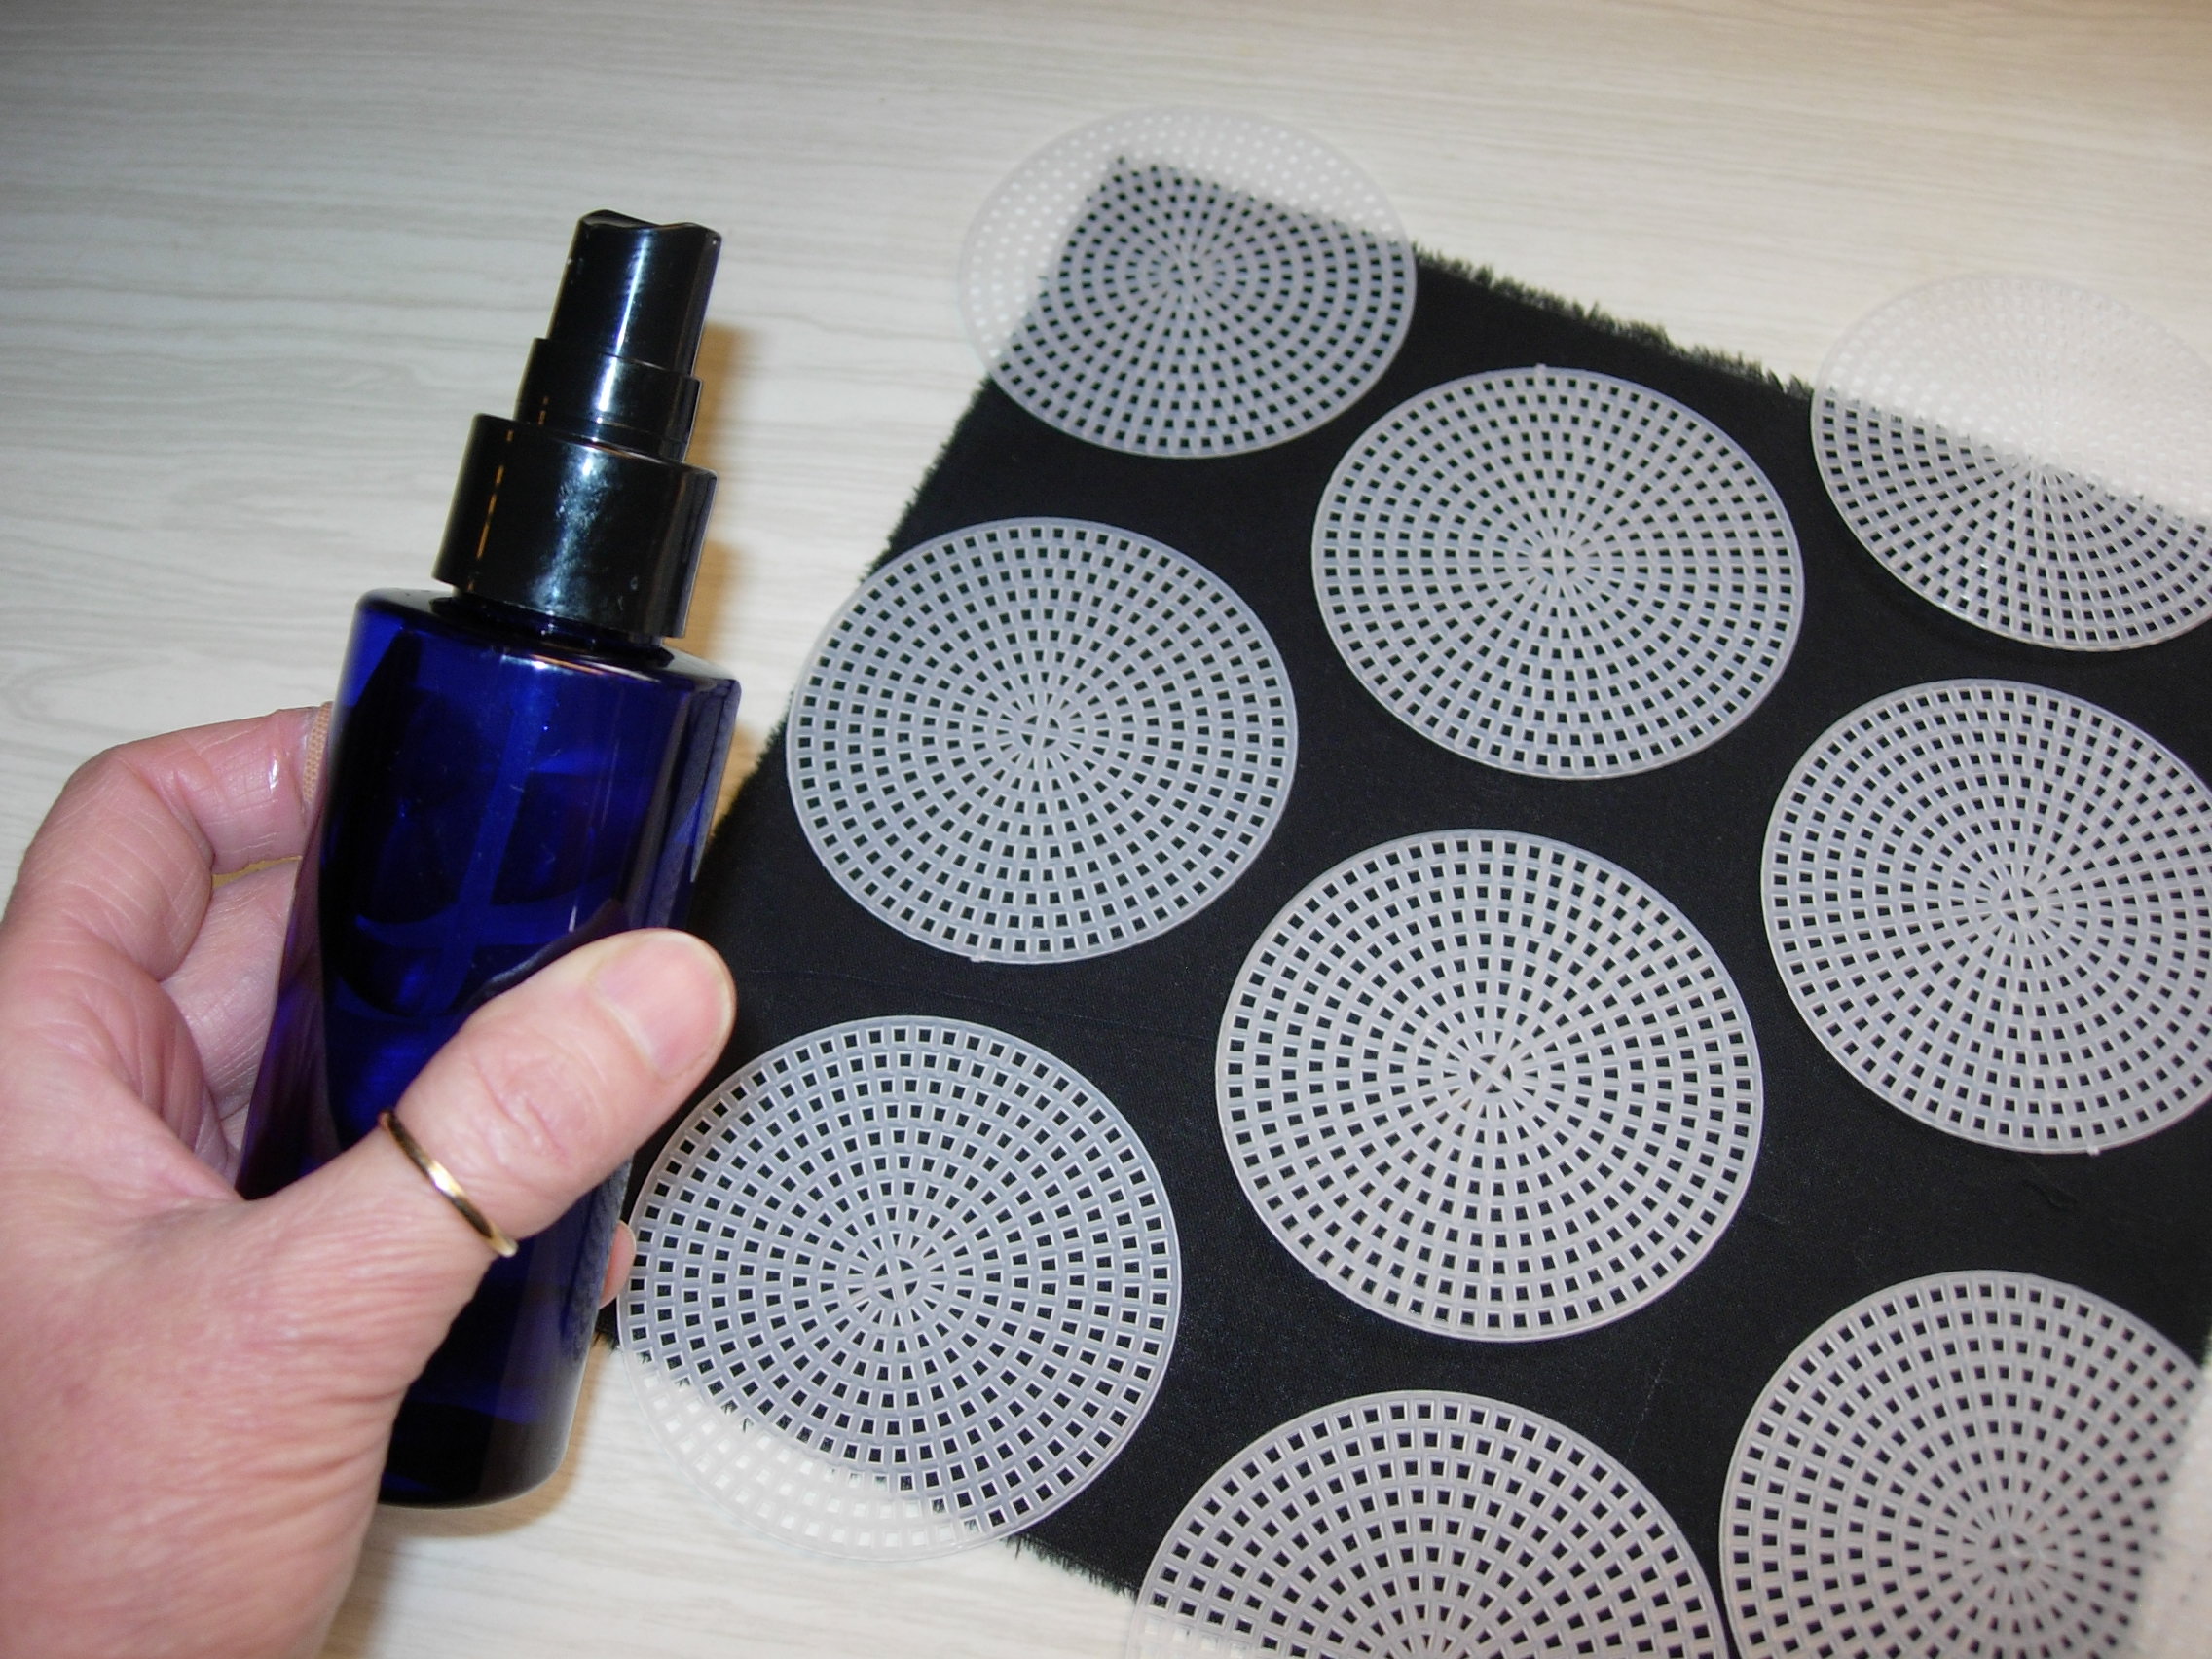
Next you will need some kind of stencil. I experimented with those plastic clips used to close bread bags, masking tape, as well as plastic canvas used for cross stitch projects. These all worked well, but you can use almost any stencil.
A common sense safety note for using chlorine bleach: Make sure that you work in a well ventilated area as the bleach can be an irritant. Protect your clothing and the surrounding area of your work space from any possible damage from the bleach. Use dishwashing or disposable gloves to protect sensitive skin. Do not spray the bleach near face or eyes. Do not leave the bleach unattended around children, pets, or the curious.
Carefully fill a spray bottle with Concentrated Bleach, any brand will do. Use a funnel if necessary. You can purchase a spray bottle but I recycled one that produced a fine mist. If you recycle a bottle make certain that all the contents are thoroughly washed out of the bottle as well as the spray tube and nozzle to prevent any interactions with the bleach.
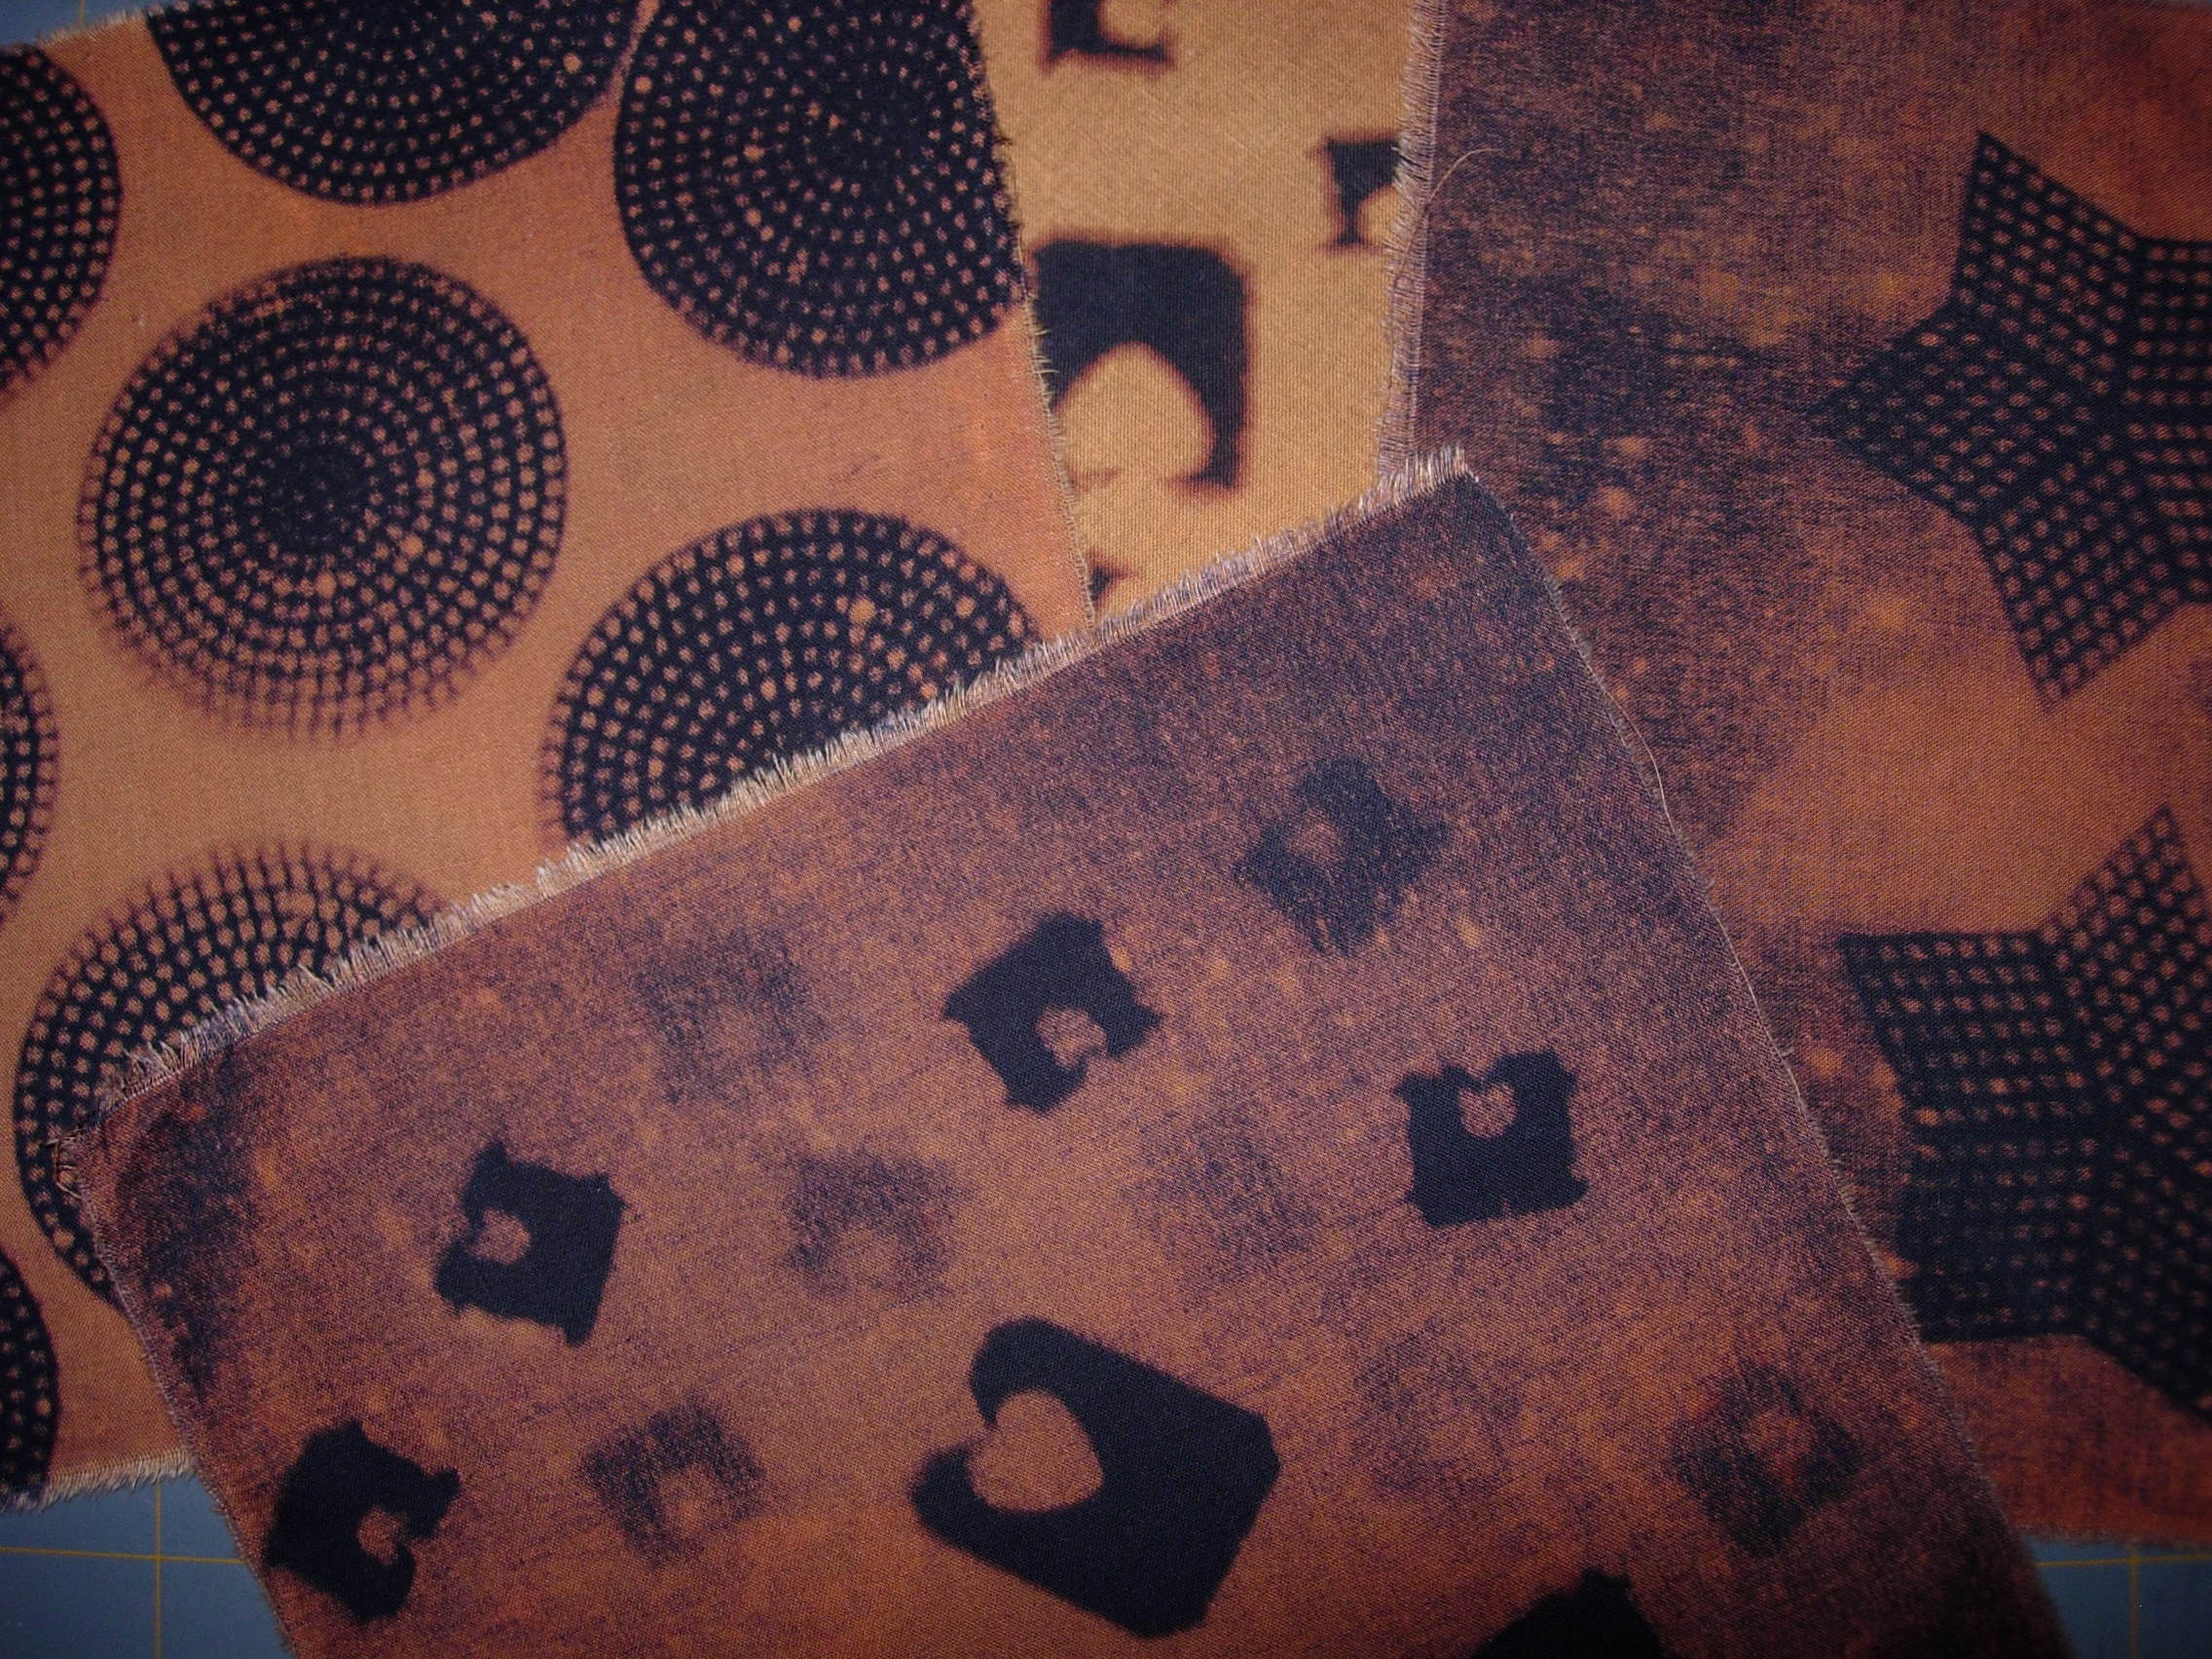
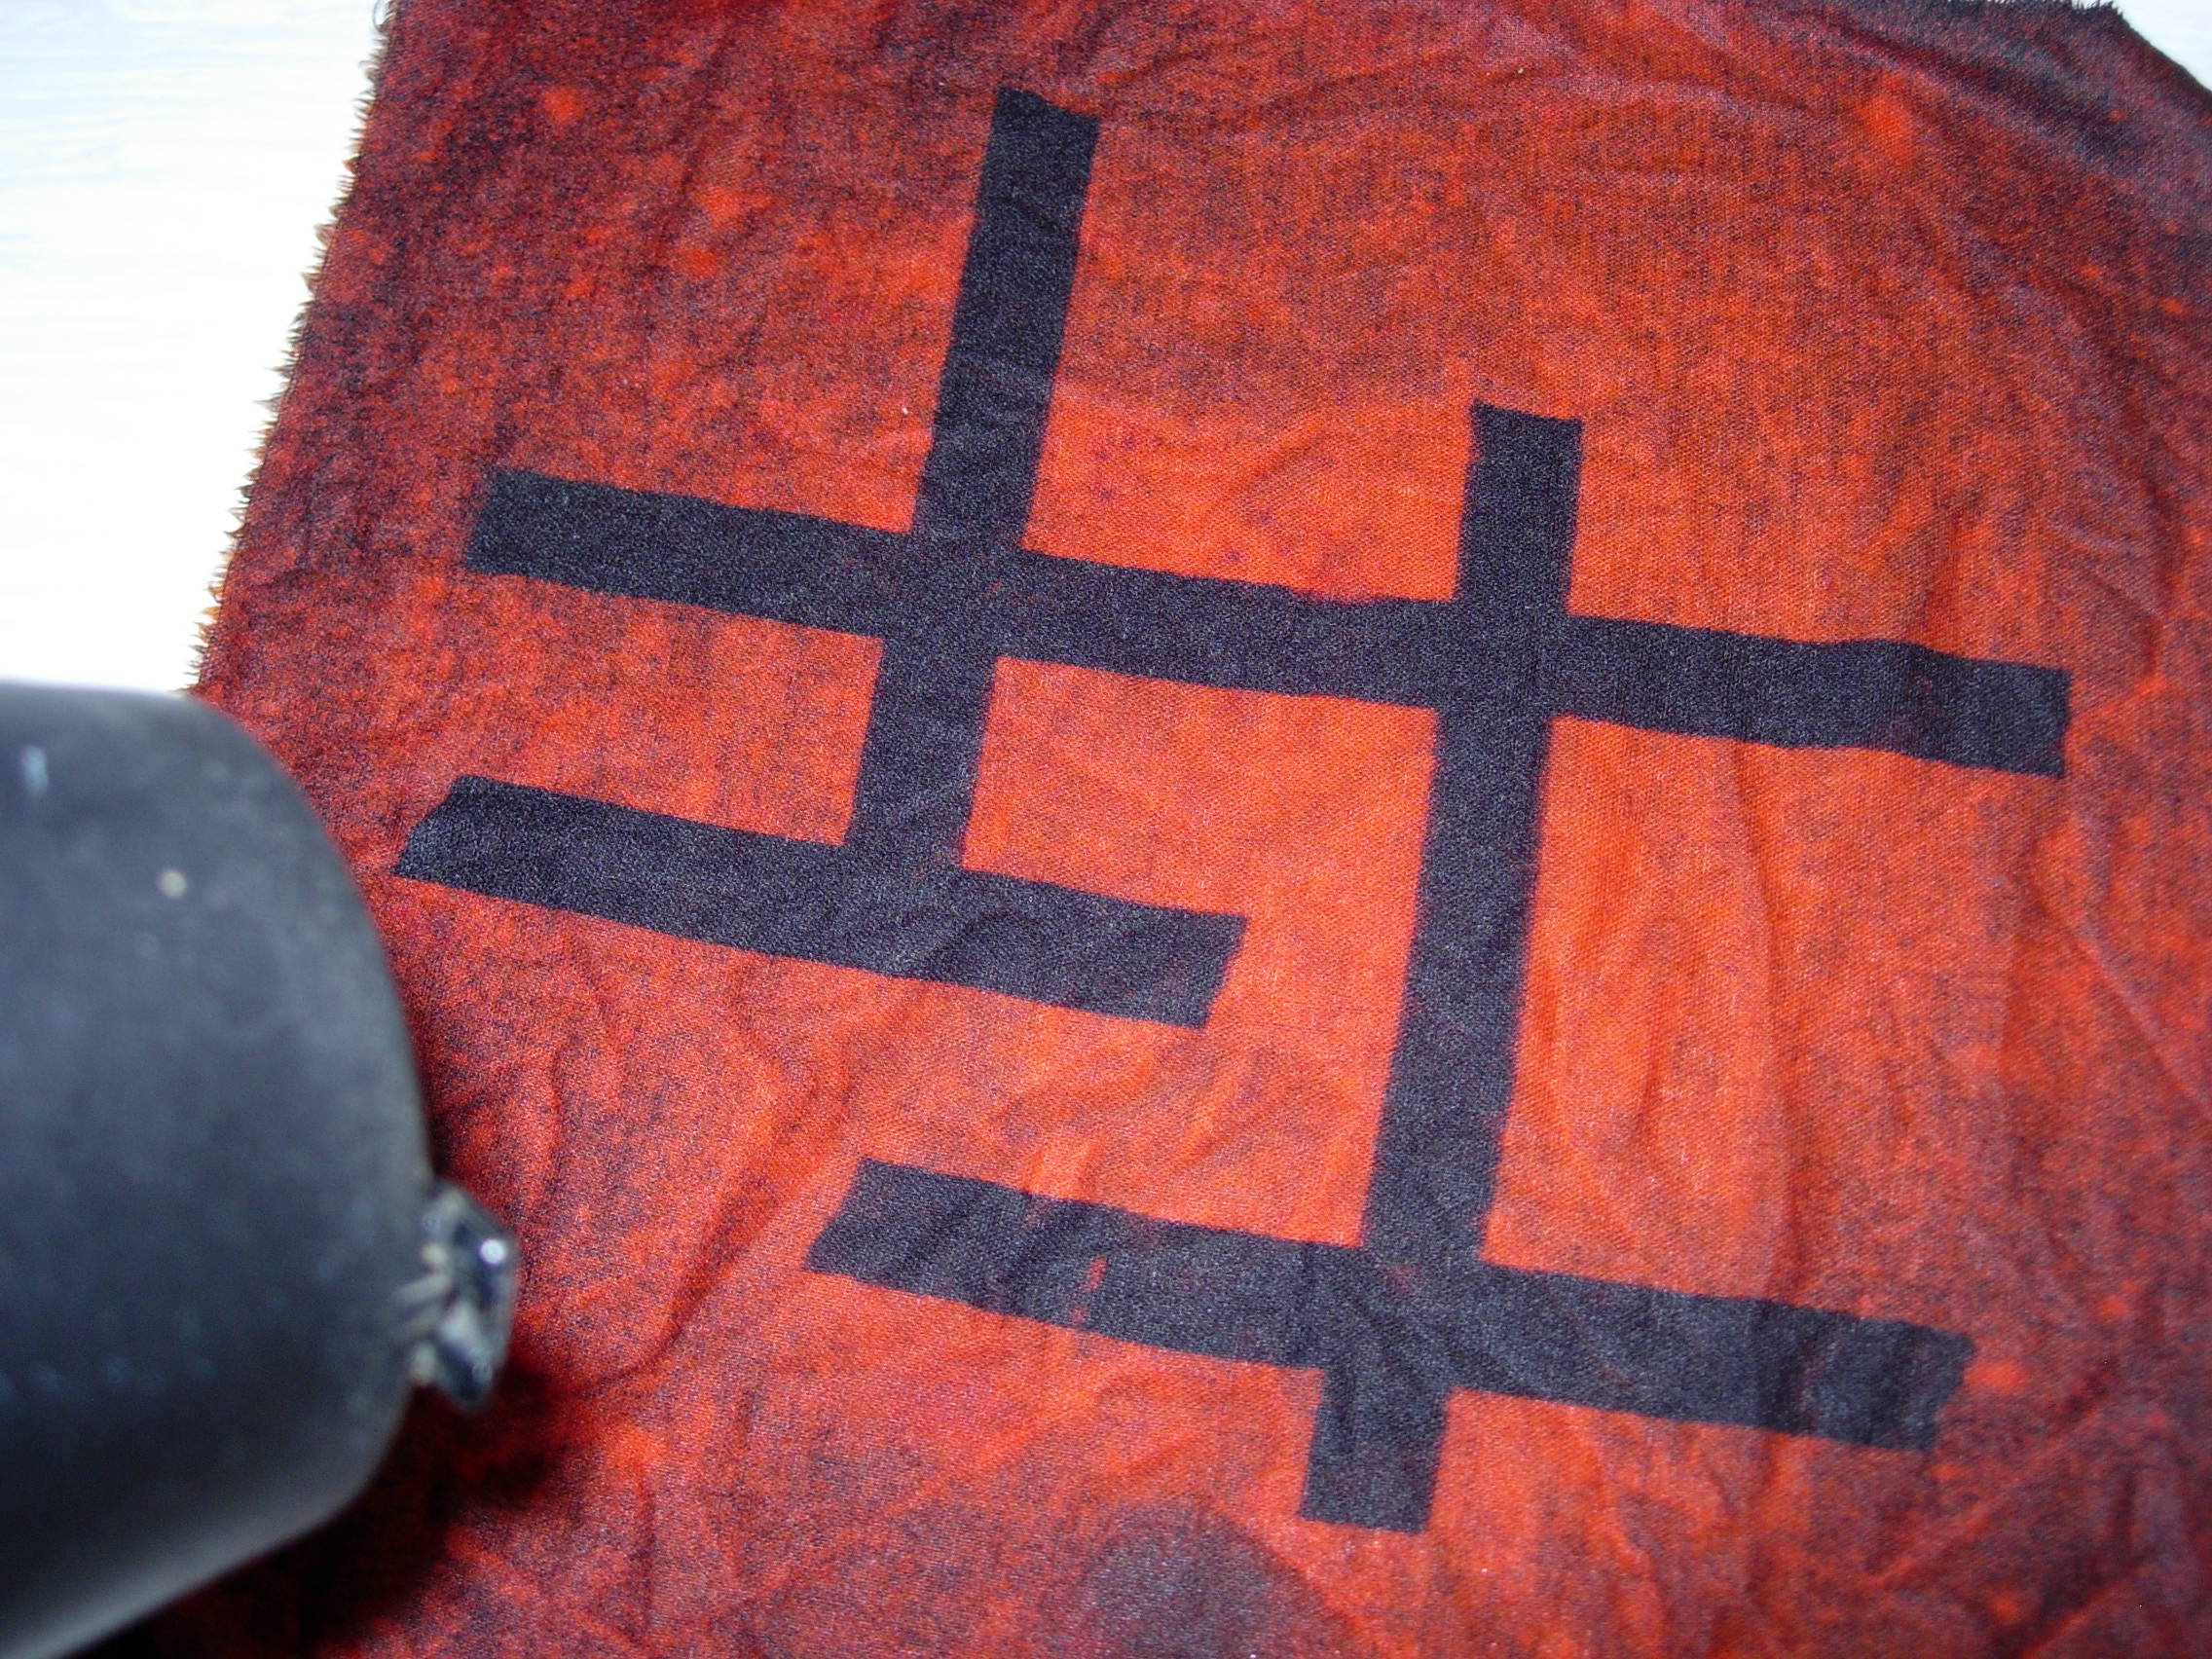
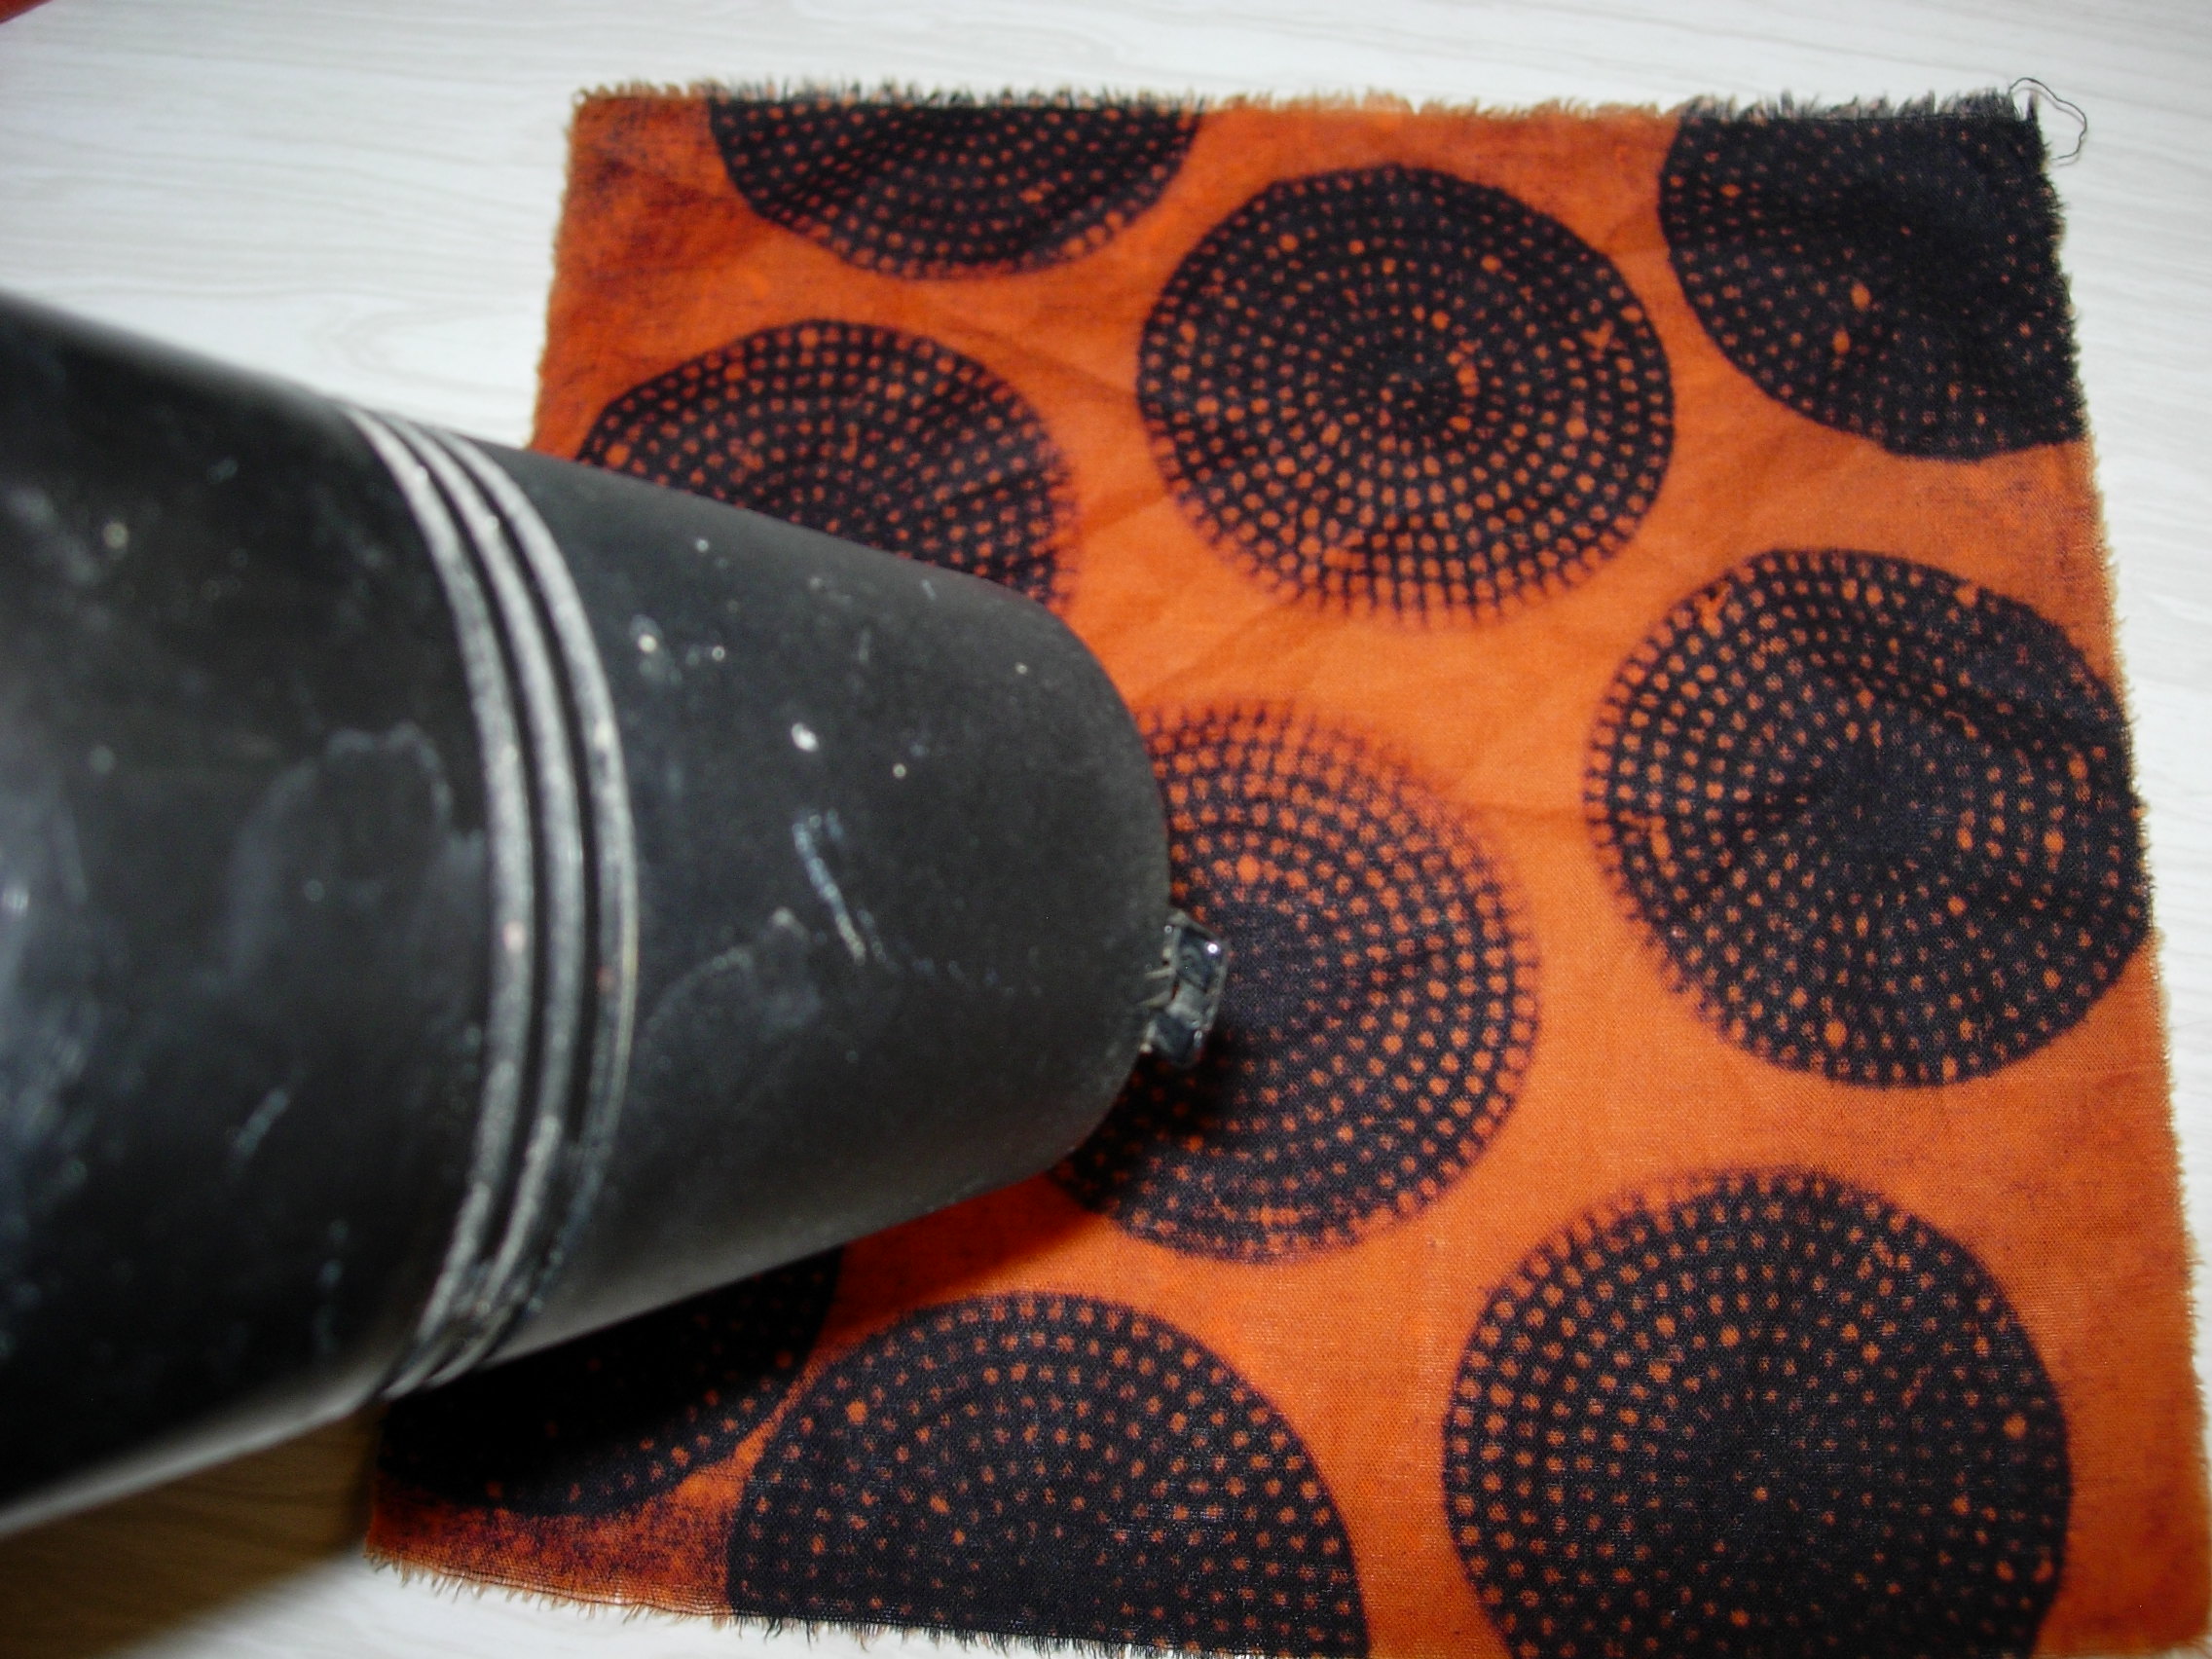
When you spray the bleach onto the fabric, the color will usually change very rapidly depending on the dye used in the manufacture of your textile. Experiment on a small scrap of your fabric before beginning your project to see how fast the color will discharge from your particular fabric.
When you are ready place your stencil on your clean and pressed 8 1/2 inch fabric square. Keep in mind the center of the fabric is the center of the top of your box. The edges of the fabric will be inside of the lid.
When you spray the bleach onto the fabric be consistent with your spray pattern. Not too heavy in one area, but an even allover mist is your goal.
Carefully without moving it, lift the edge of your stencil and peek to see how things are going. You may need to spray the bleach a second time.
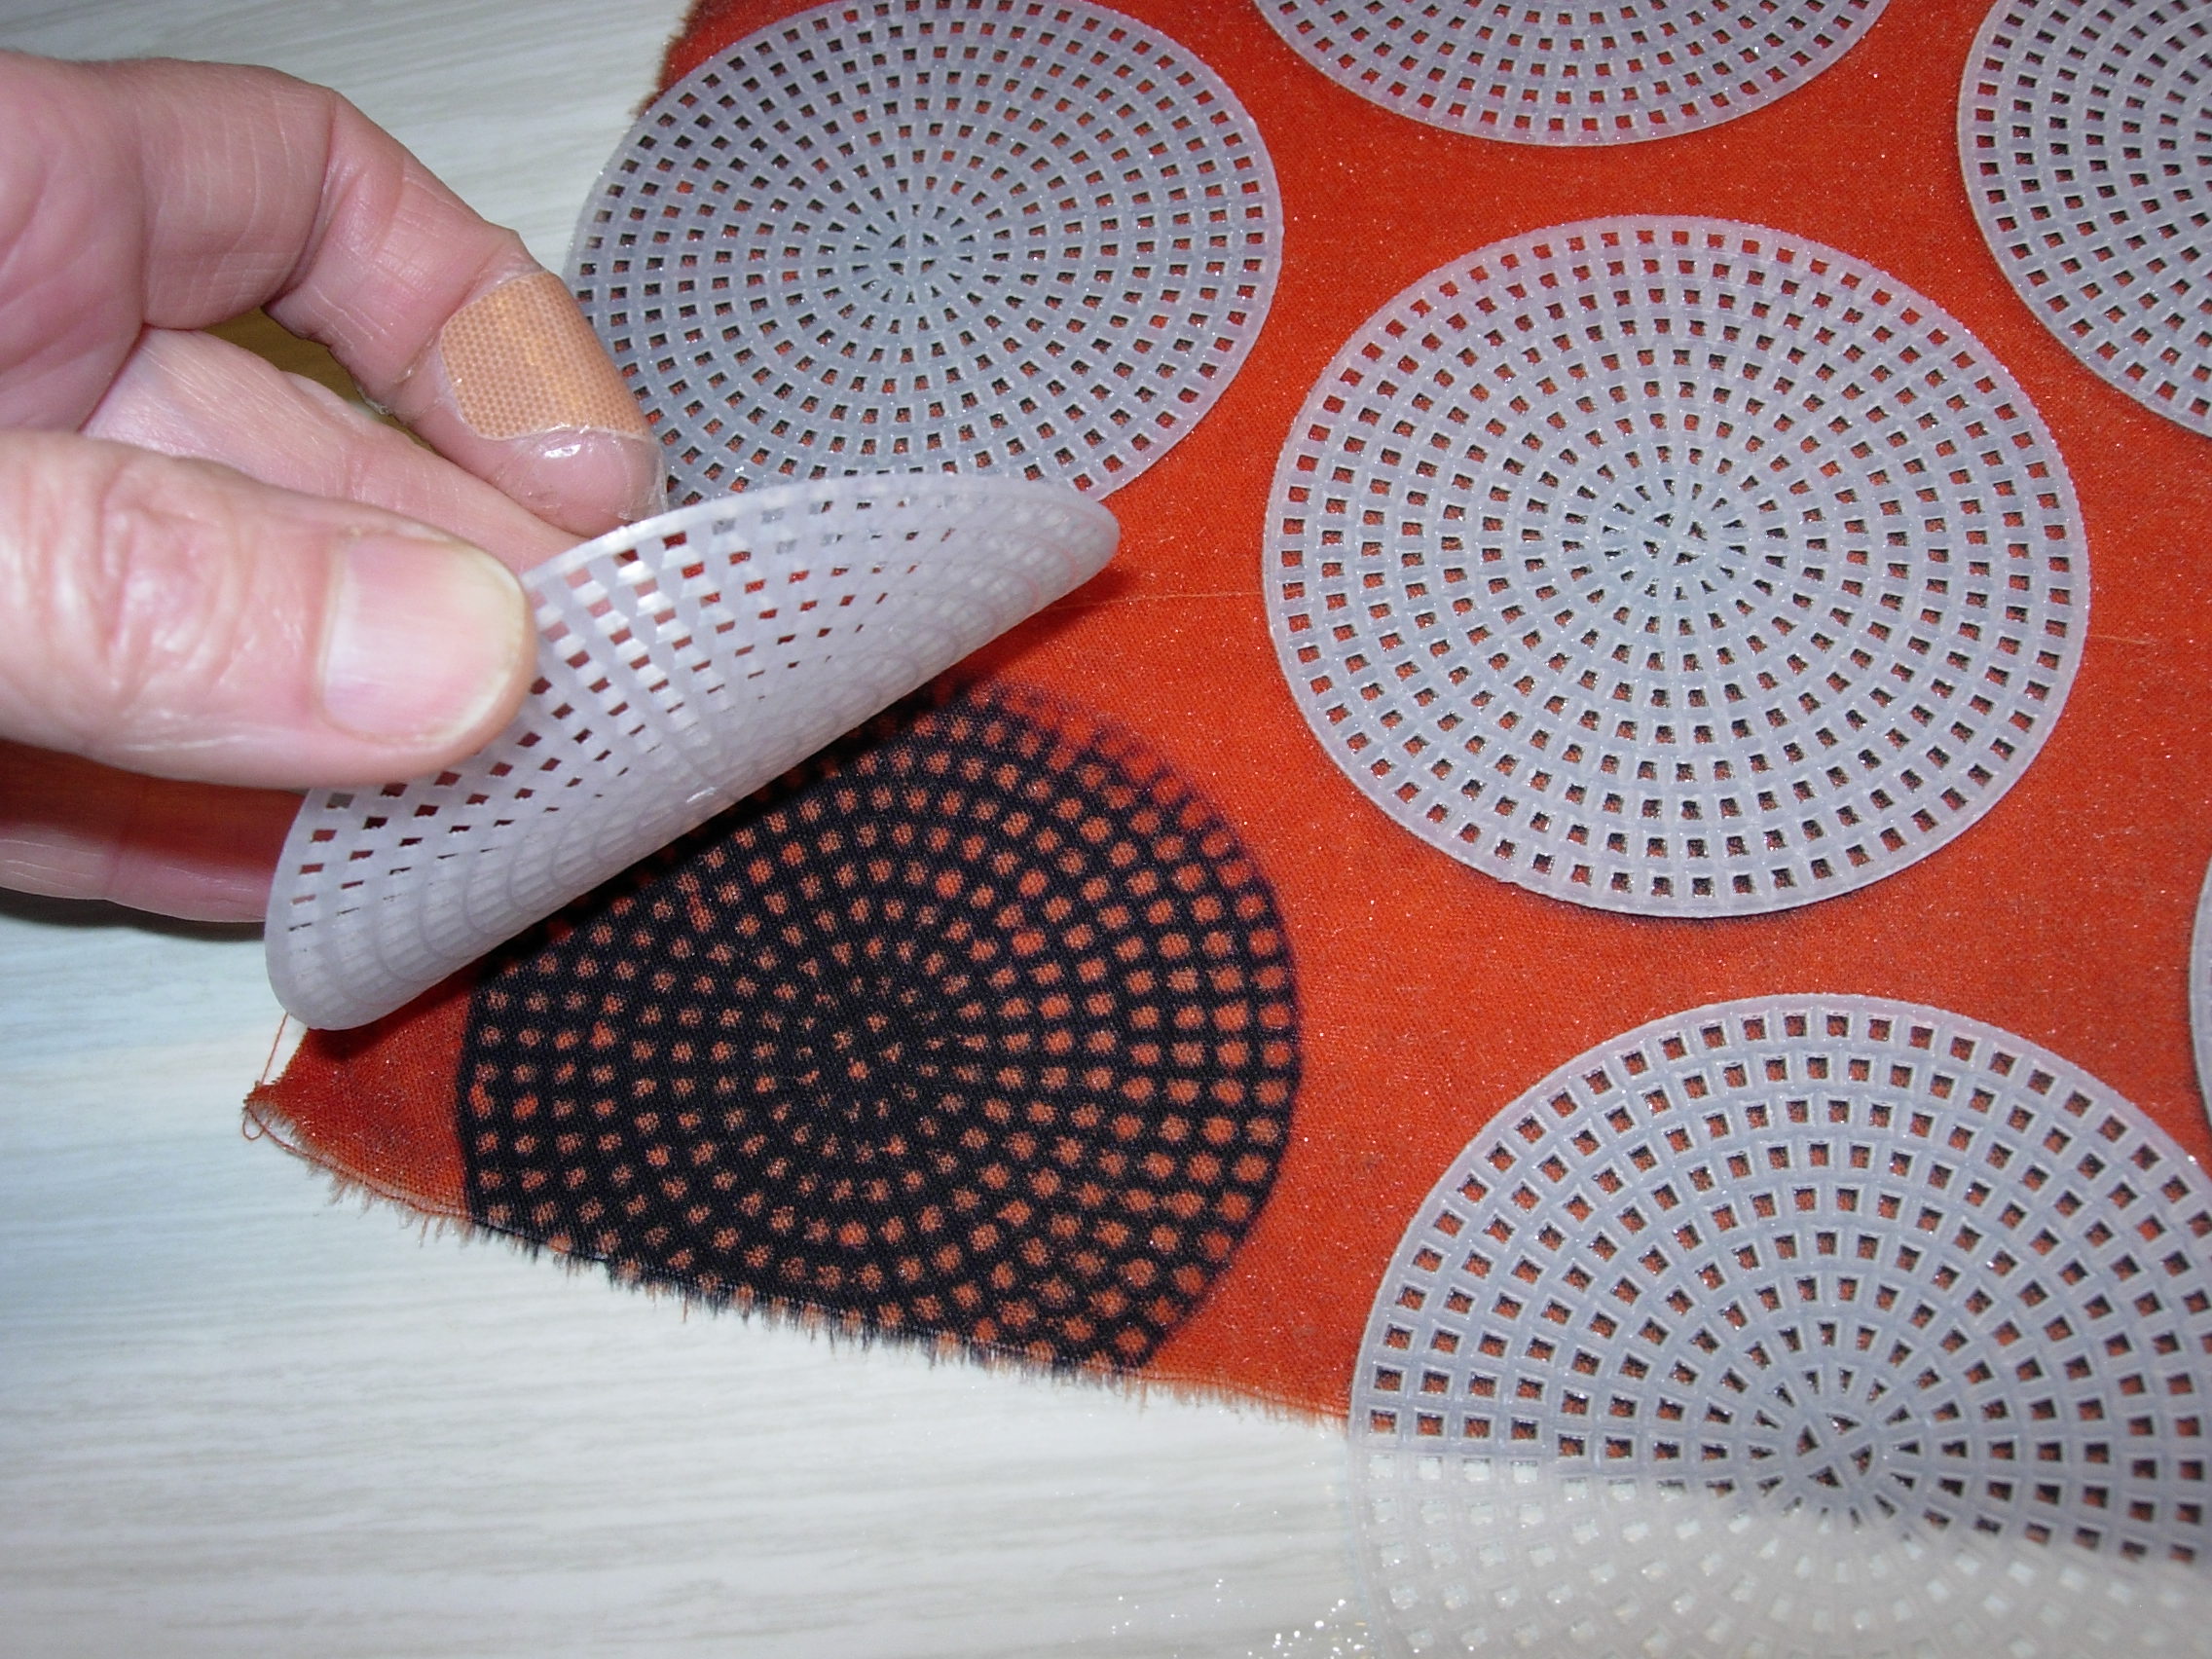
When you are happy with the result, rinse the fabric and your stencils in several cycles of clear water to remove the bleach.
Remove and completely rinse the bleach out of the spray bottle when you are finished.
Dry the fabric and press with a hot iron.

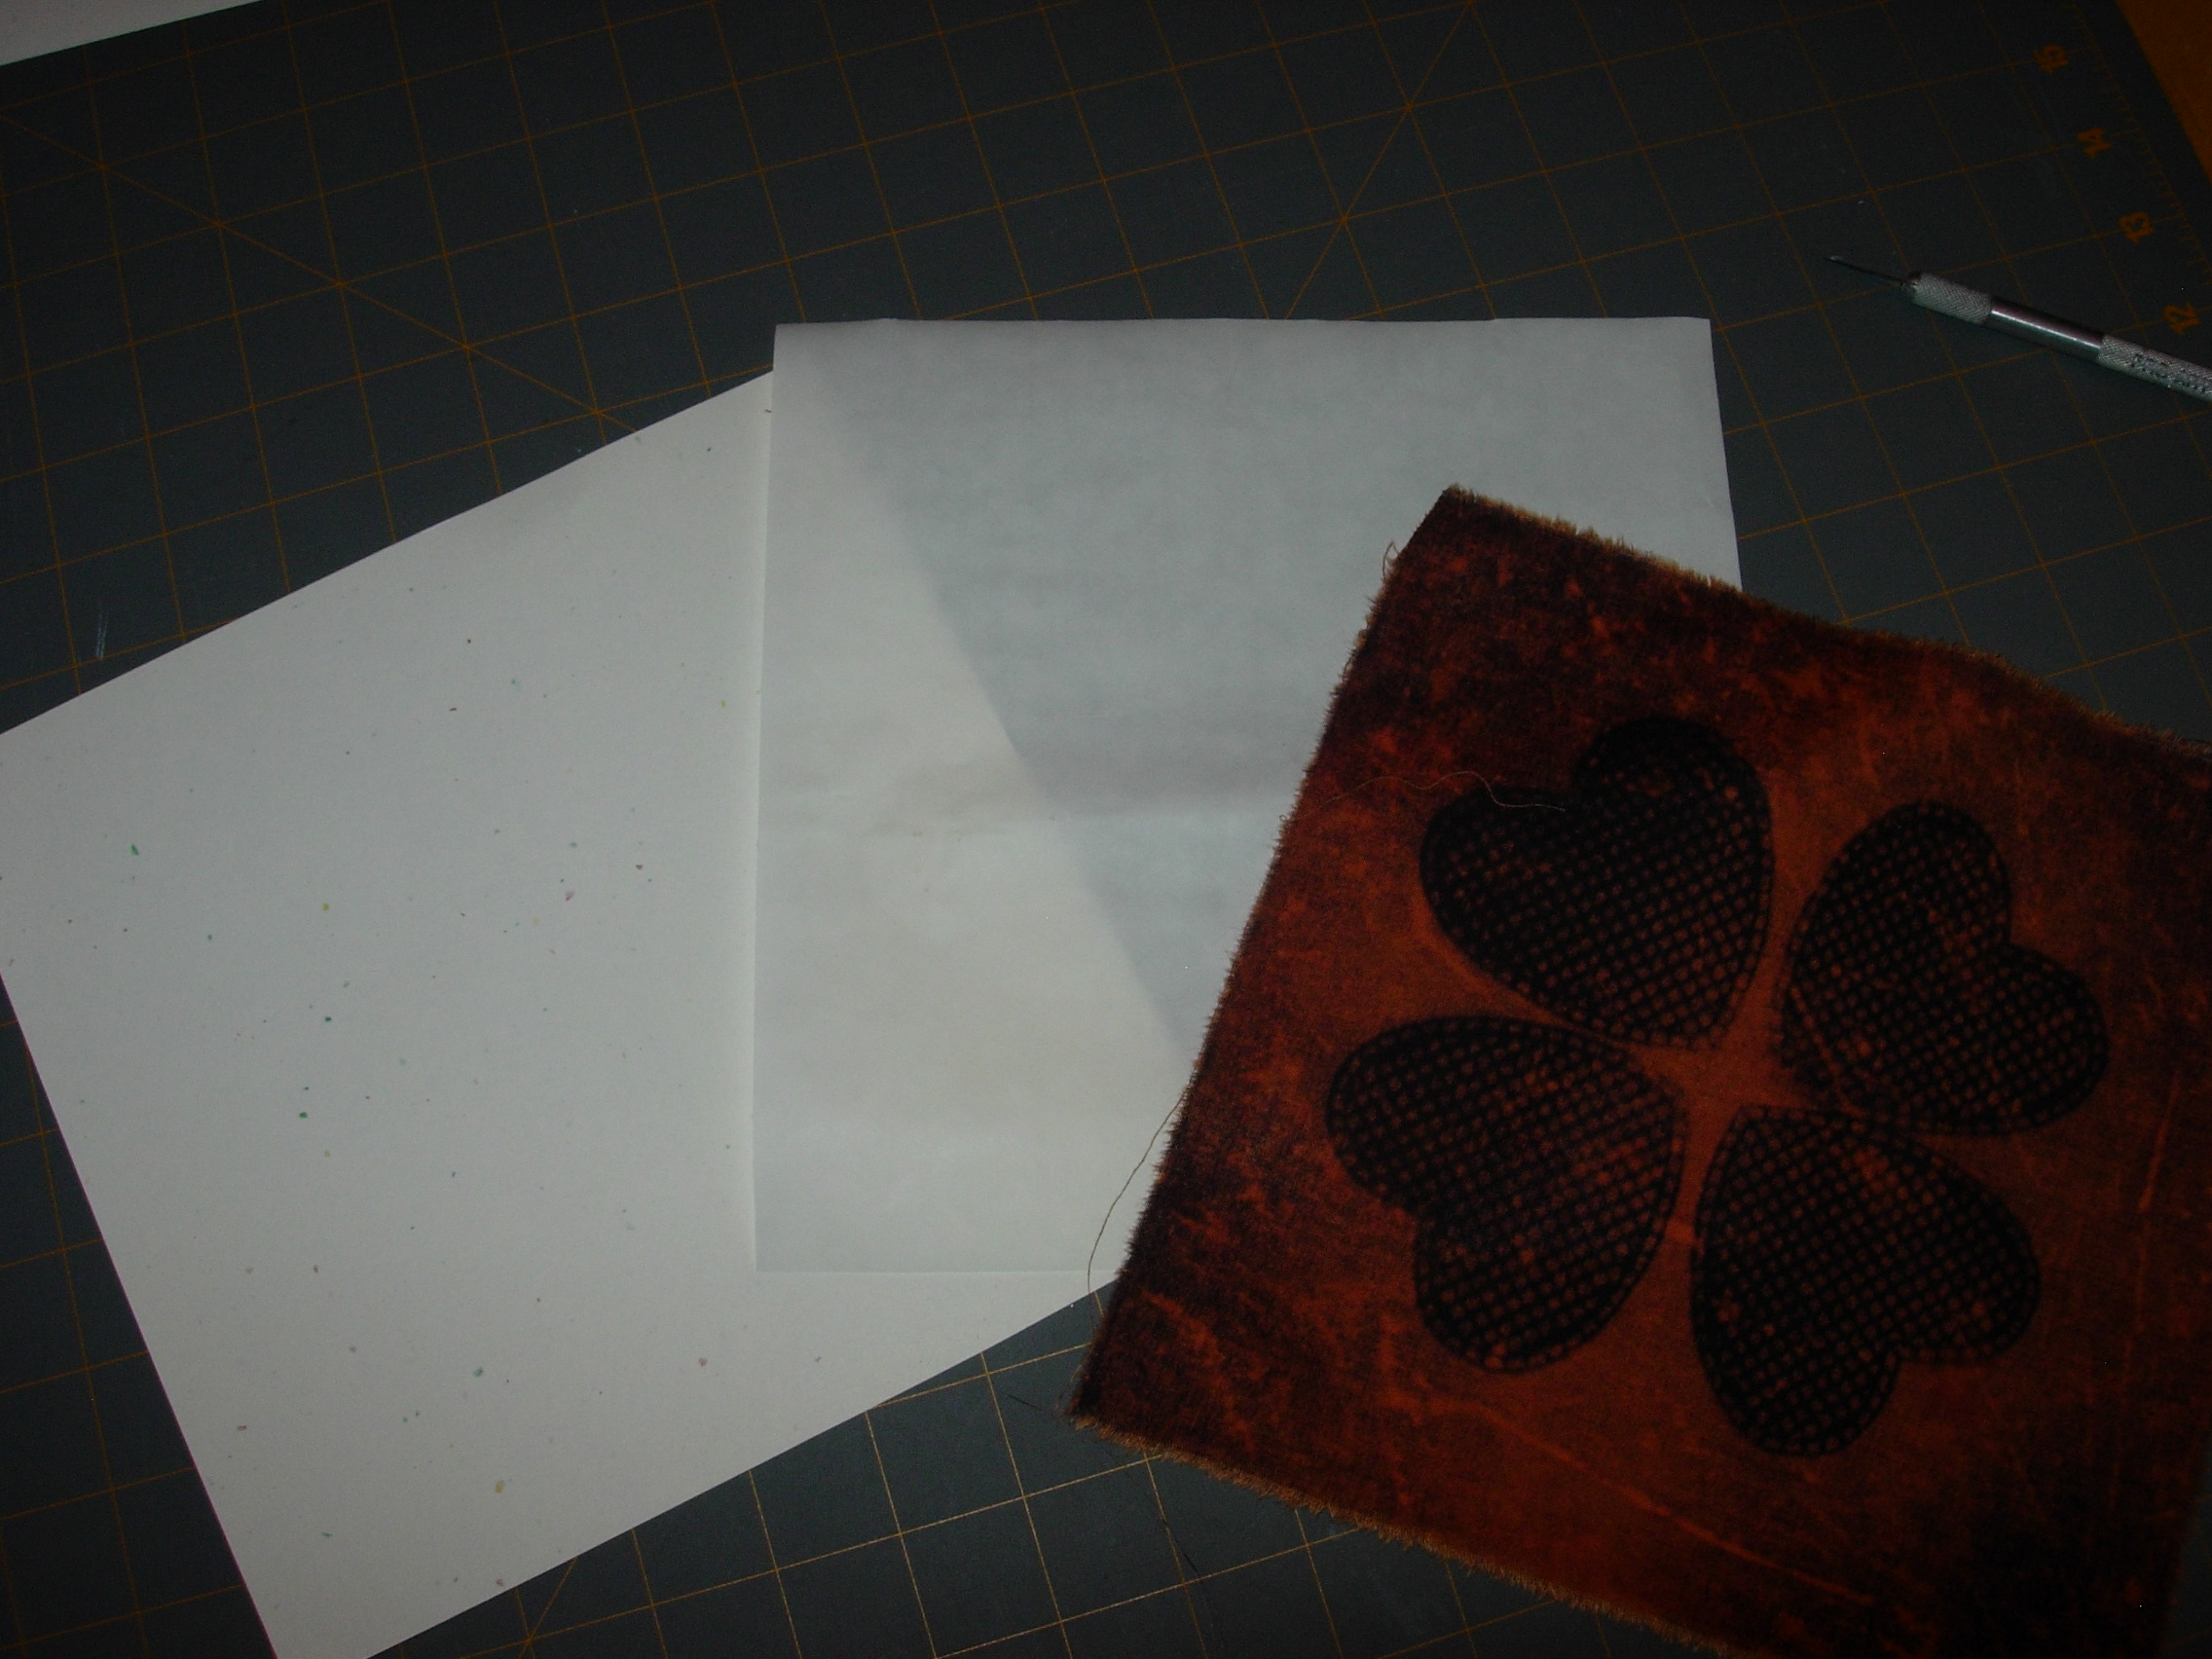
For the lid of your box, you will need: fusible web such as Heat N’ Bond or Wonder Under, card stock, and your fabric, all prepared to 8 1/2 inch squares.
The card stock can be any color of your choice.
Following manufacturer’s instructions for your fusible web, press the web onto the 8 1/2 inch square of card stock. Make sure the fusible web is paper side up or you will fuse to your iron. Once cool, carefully peel the paper side of the web away. Then press to fuse the card stock to the fabric. You will end up with a kind of fabric, fusible web, card stock ‘sandwich’.
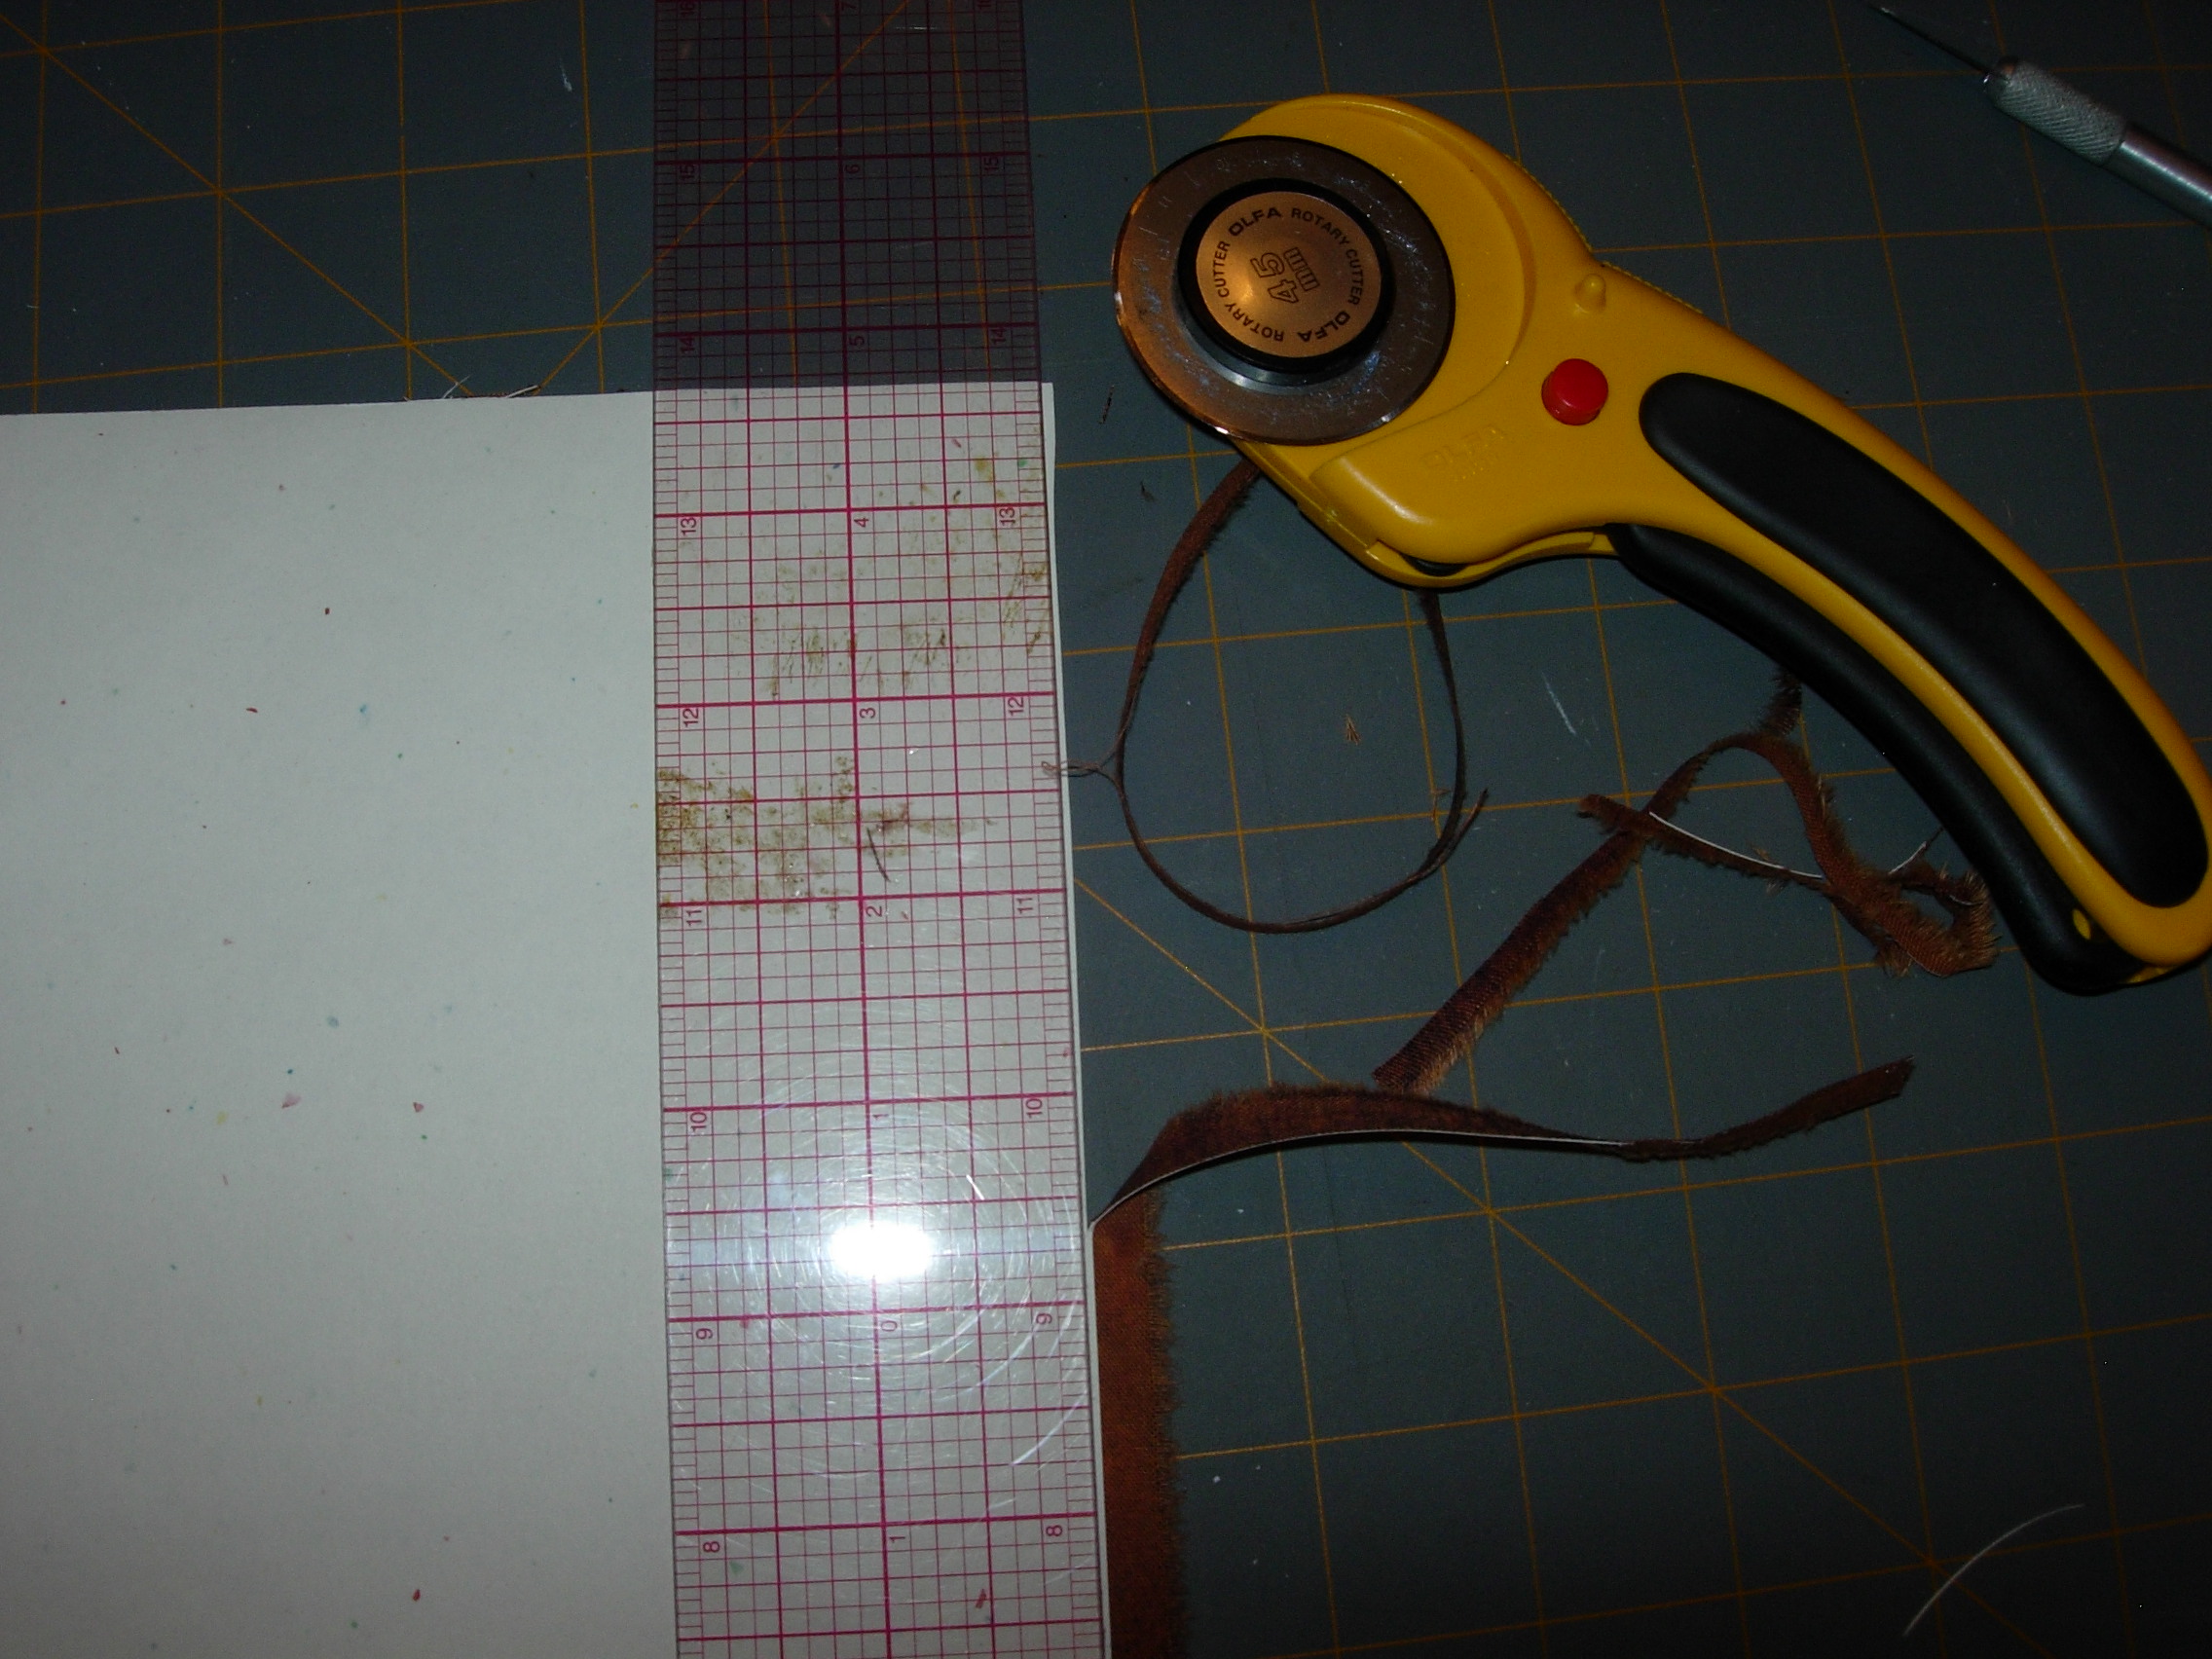
Trim the edges so that all three layers of your fabric, web, card stock ‘sandwich’ are even. Cut carefully to maintain your perfect 8 1/2 inch square. A ruler and rotary cutter work best for this.
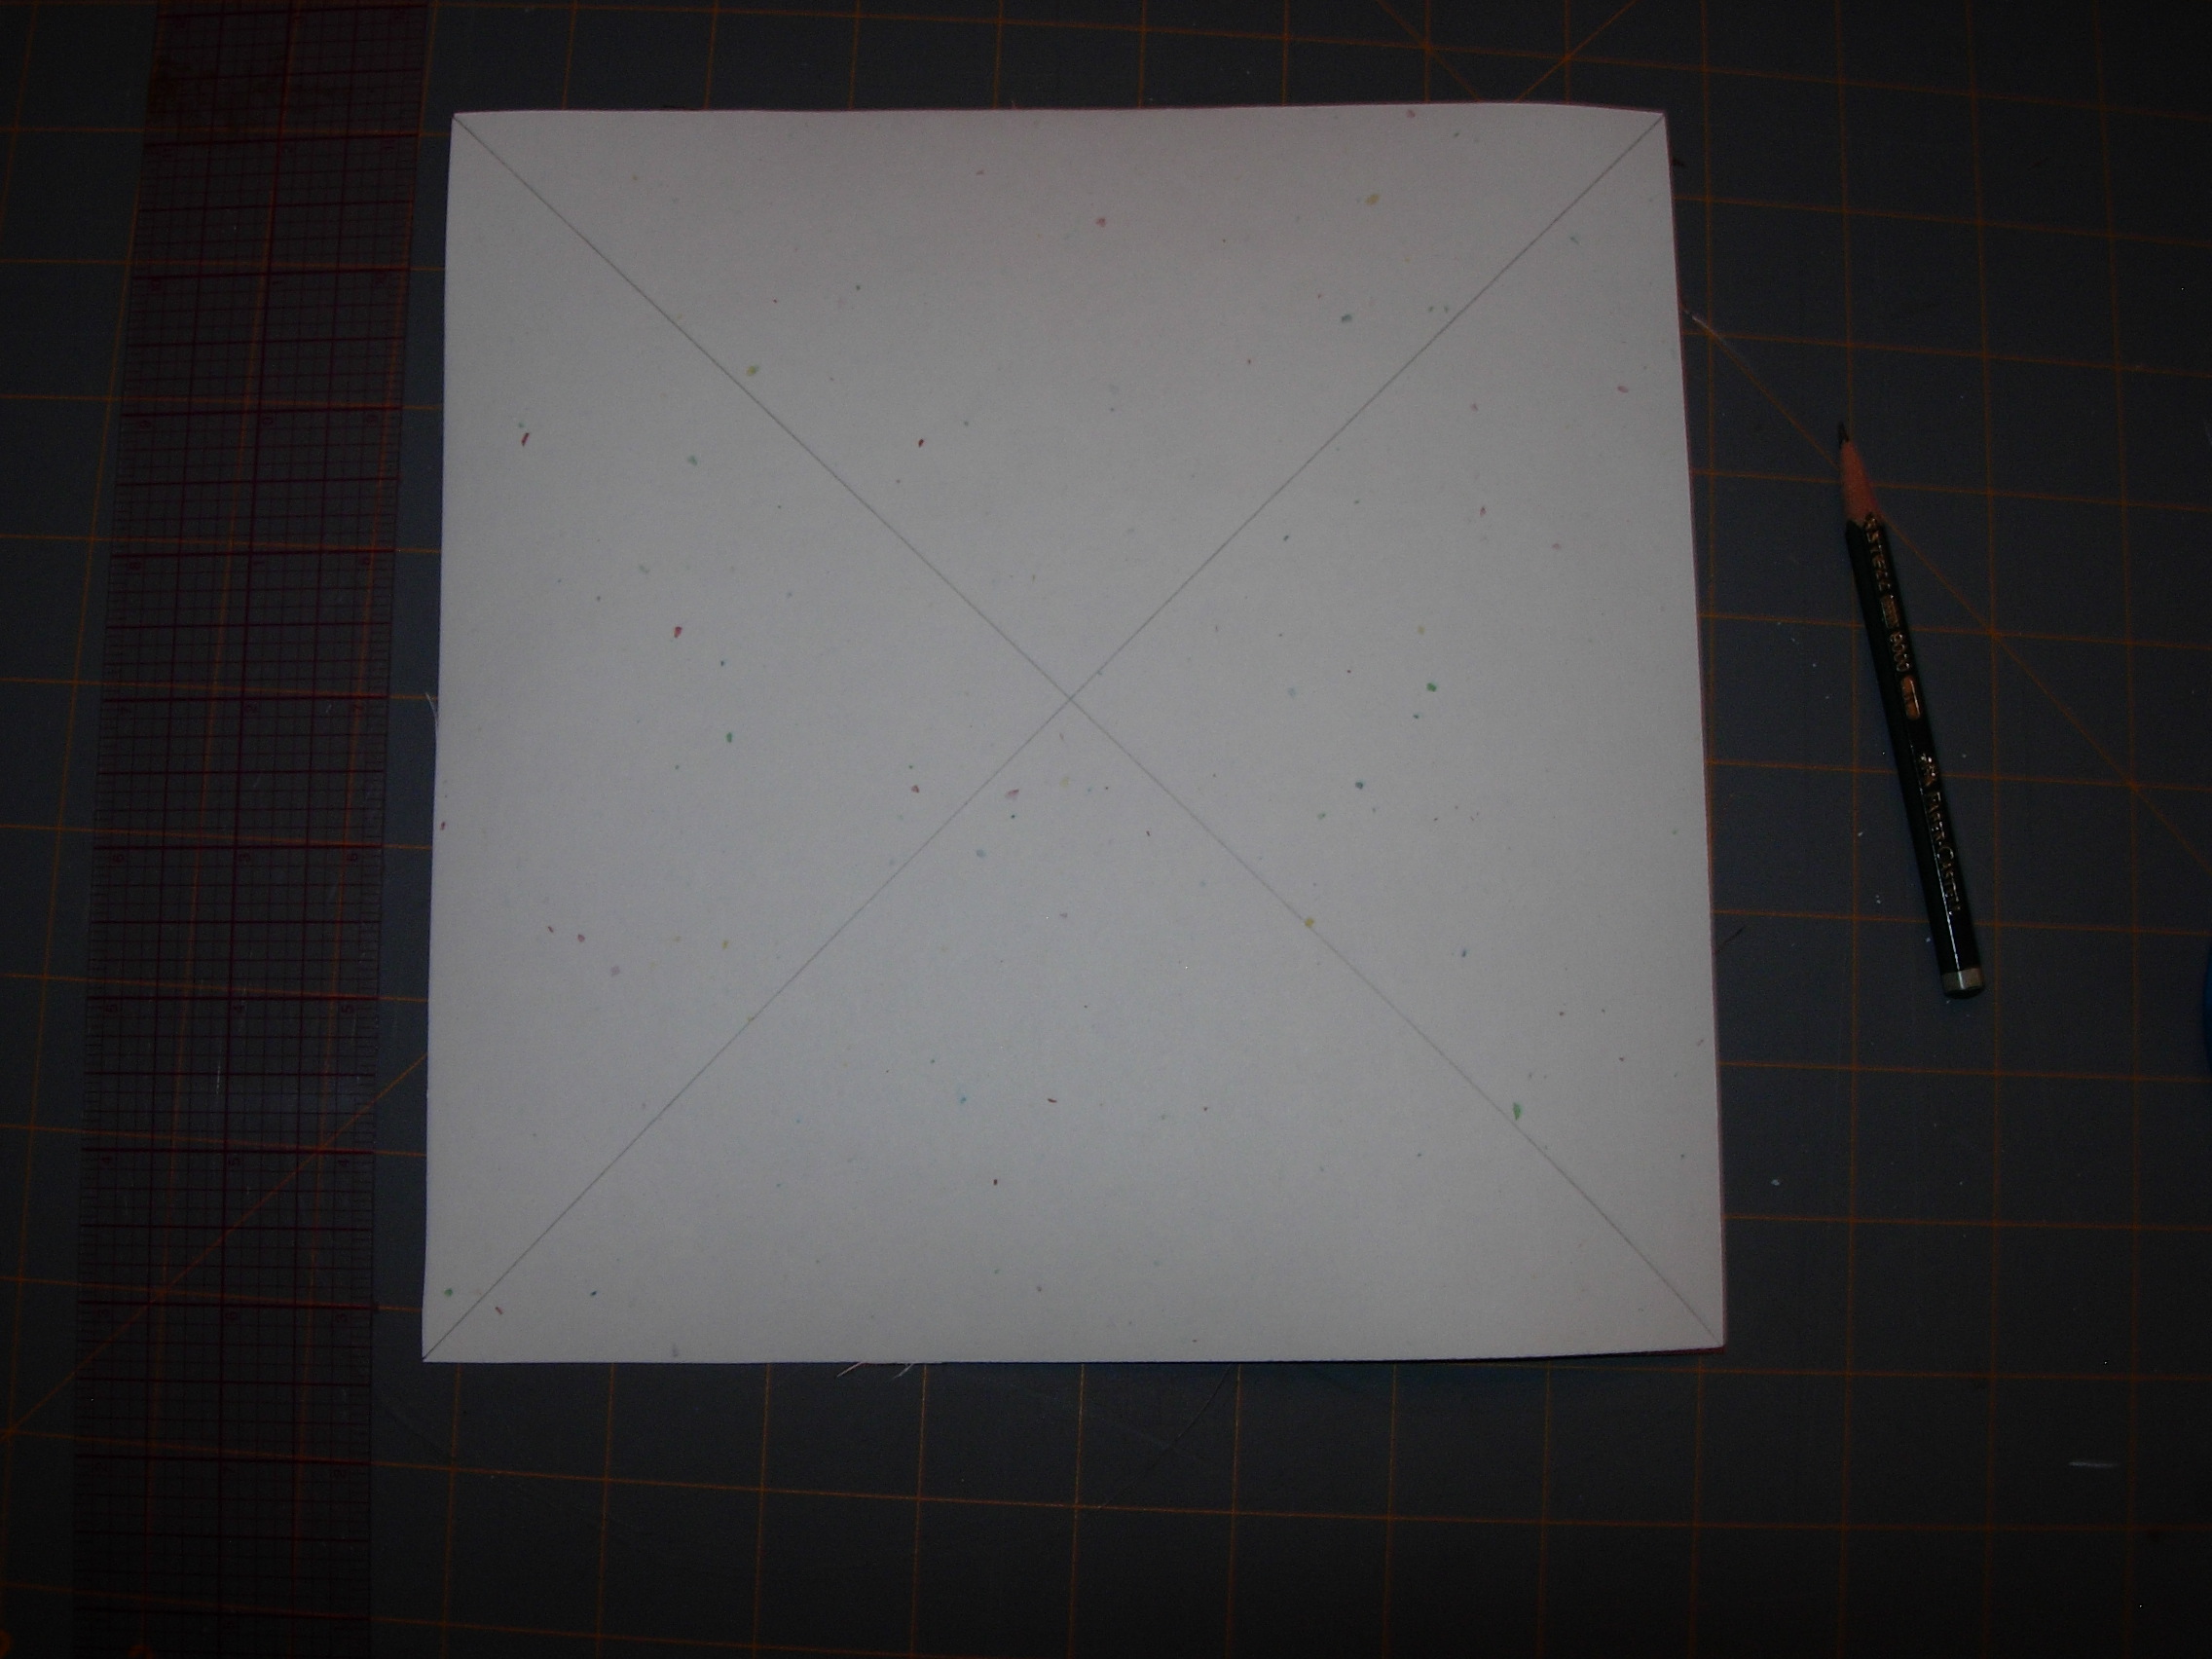
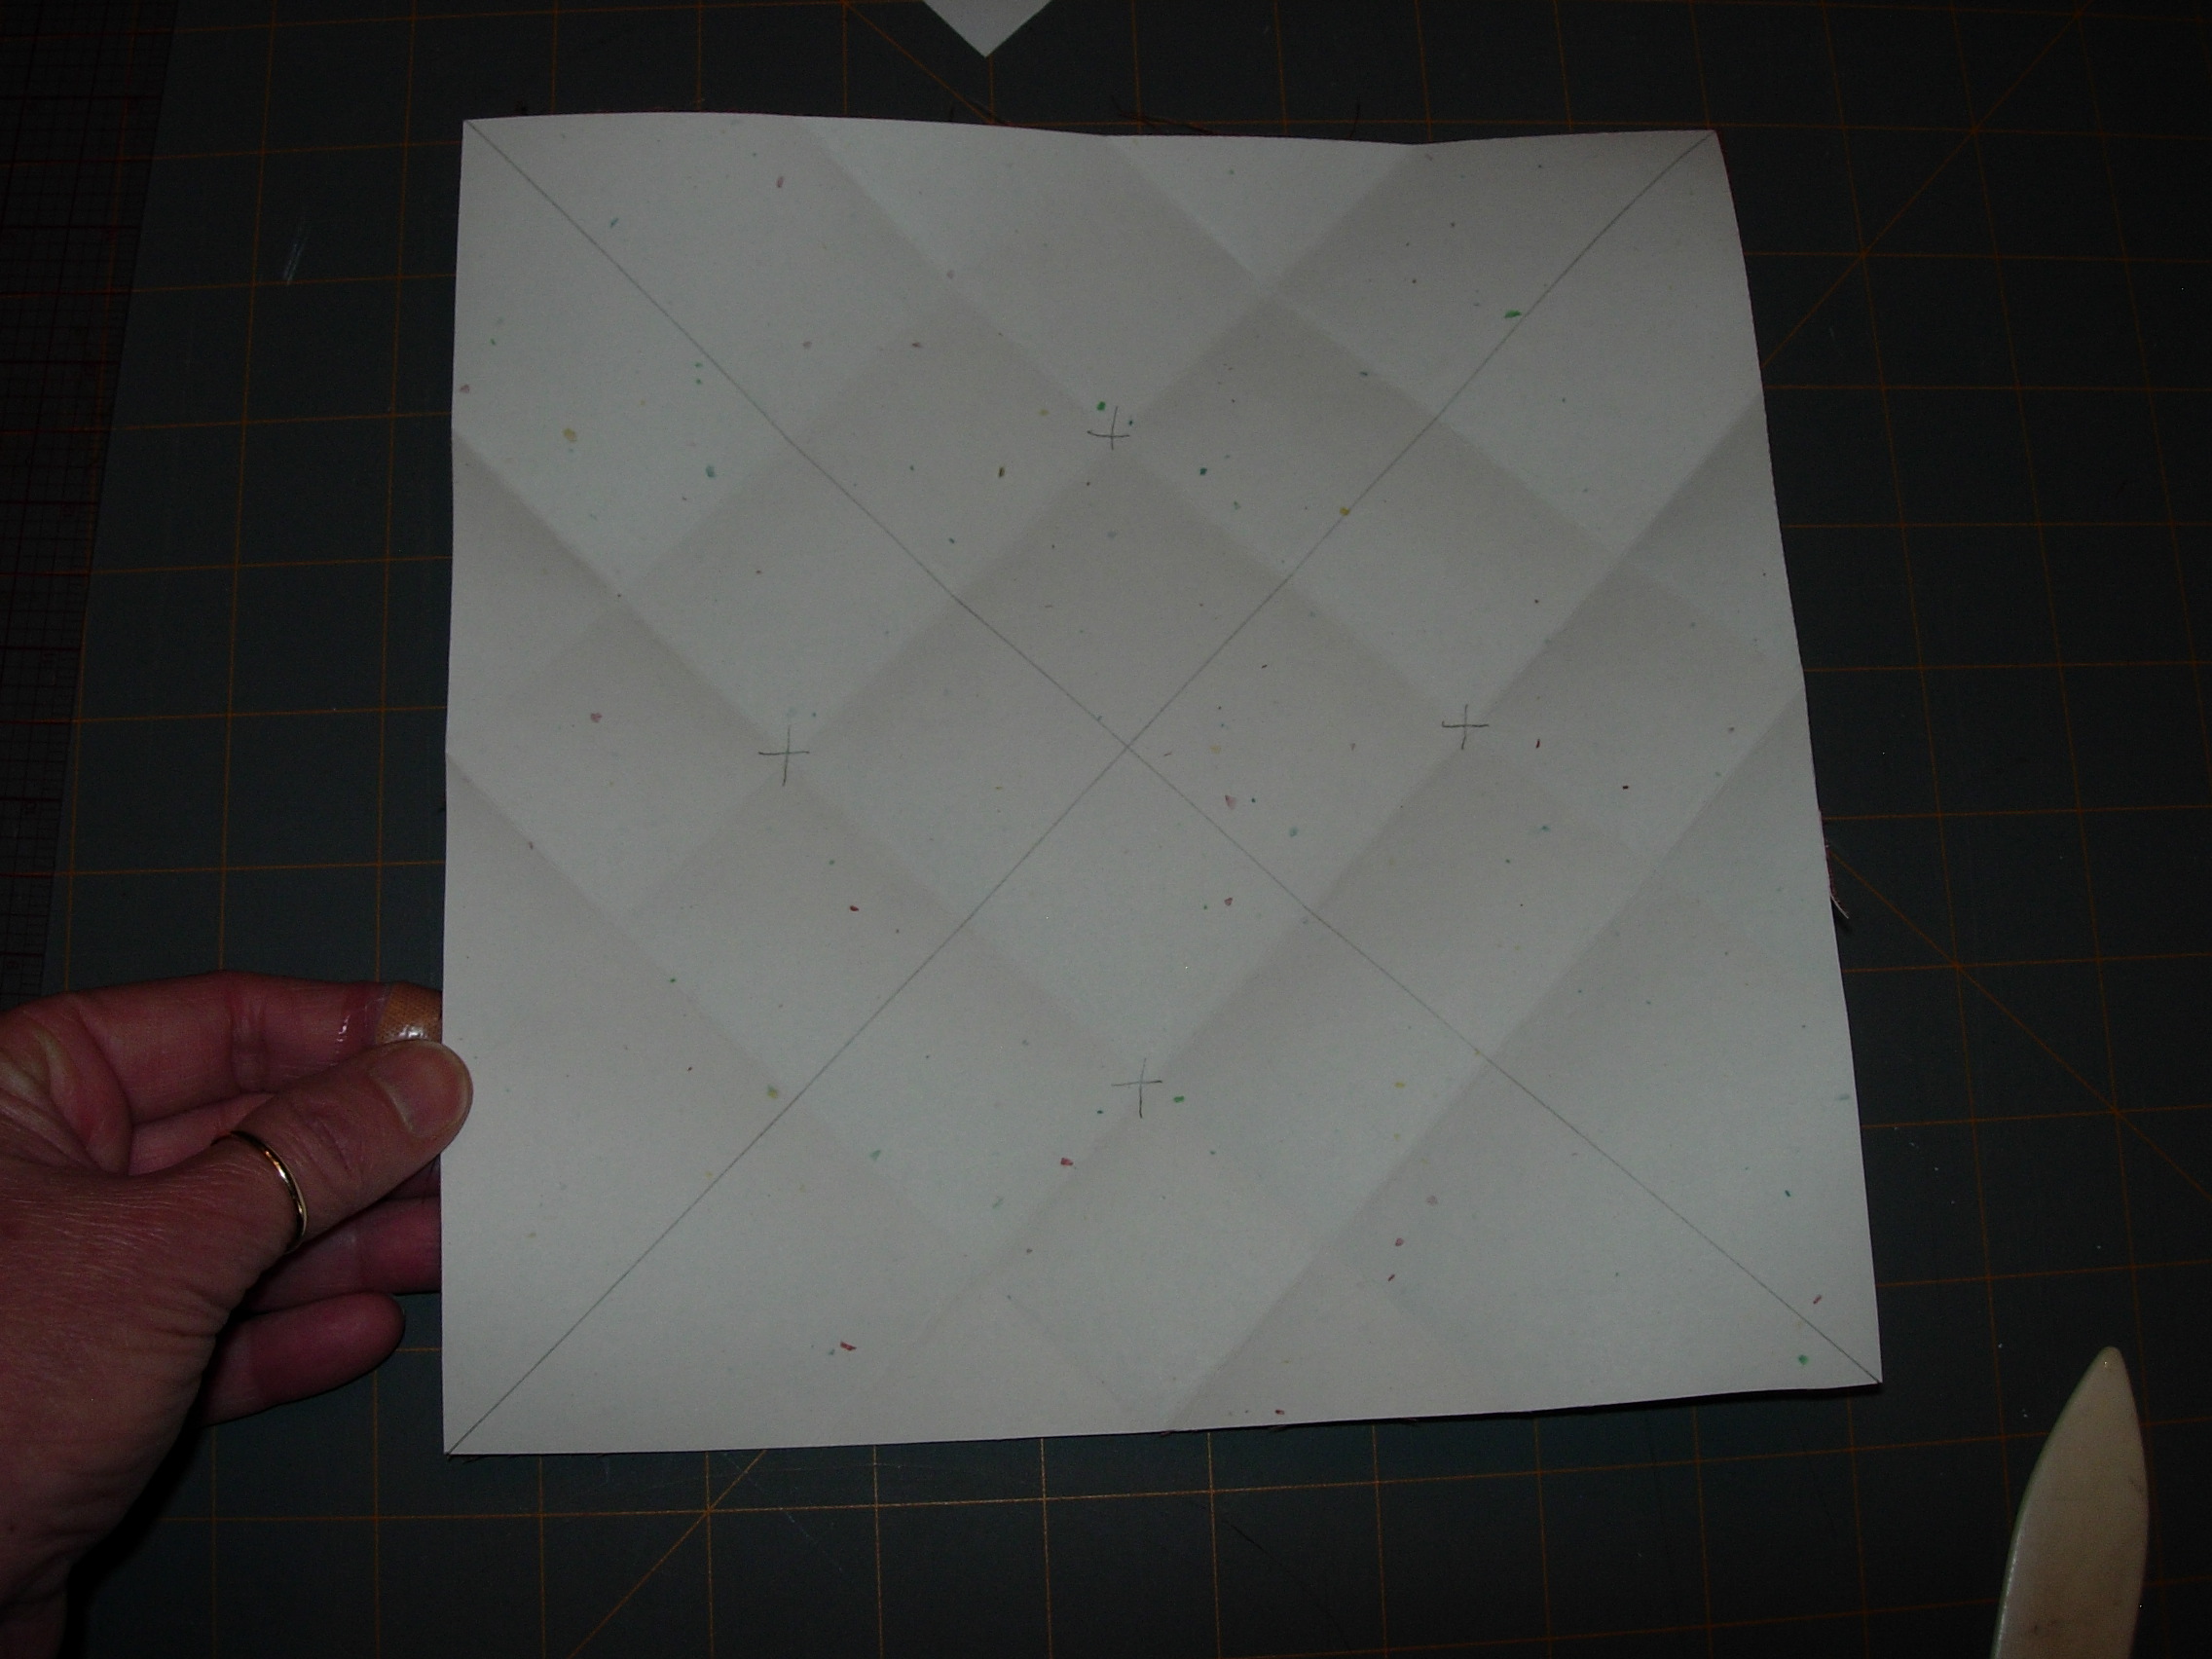
FOLDING THE LID OF THE BOX: on the card stock side, use a pencil to lightly draw a line from corner to corner, creating an ‘x’.
Fold each of the 4 corner points up the the center of the ‘x’. A bone folder helps to make a crisp crease.
Next fold each corner again, this time up to where the pencil line meets the first fold.
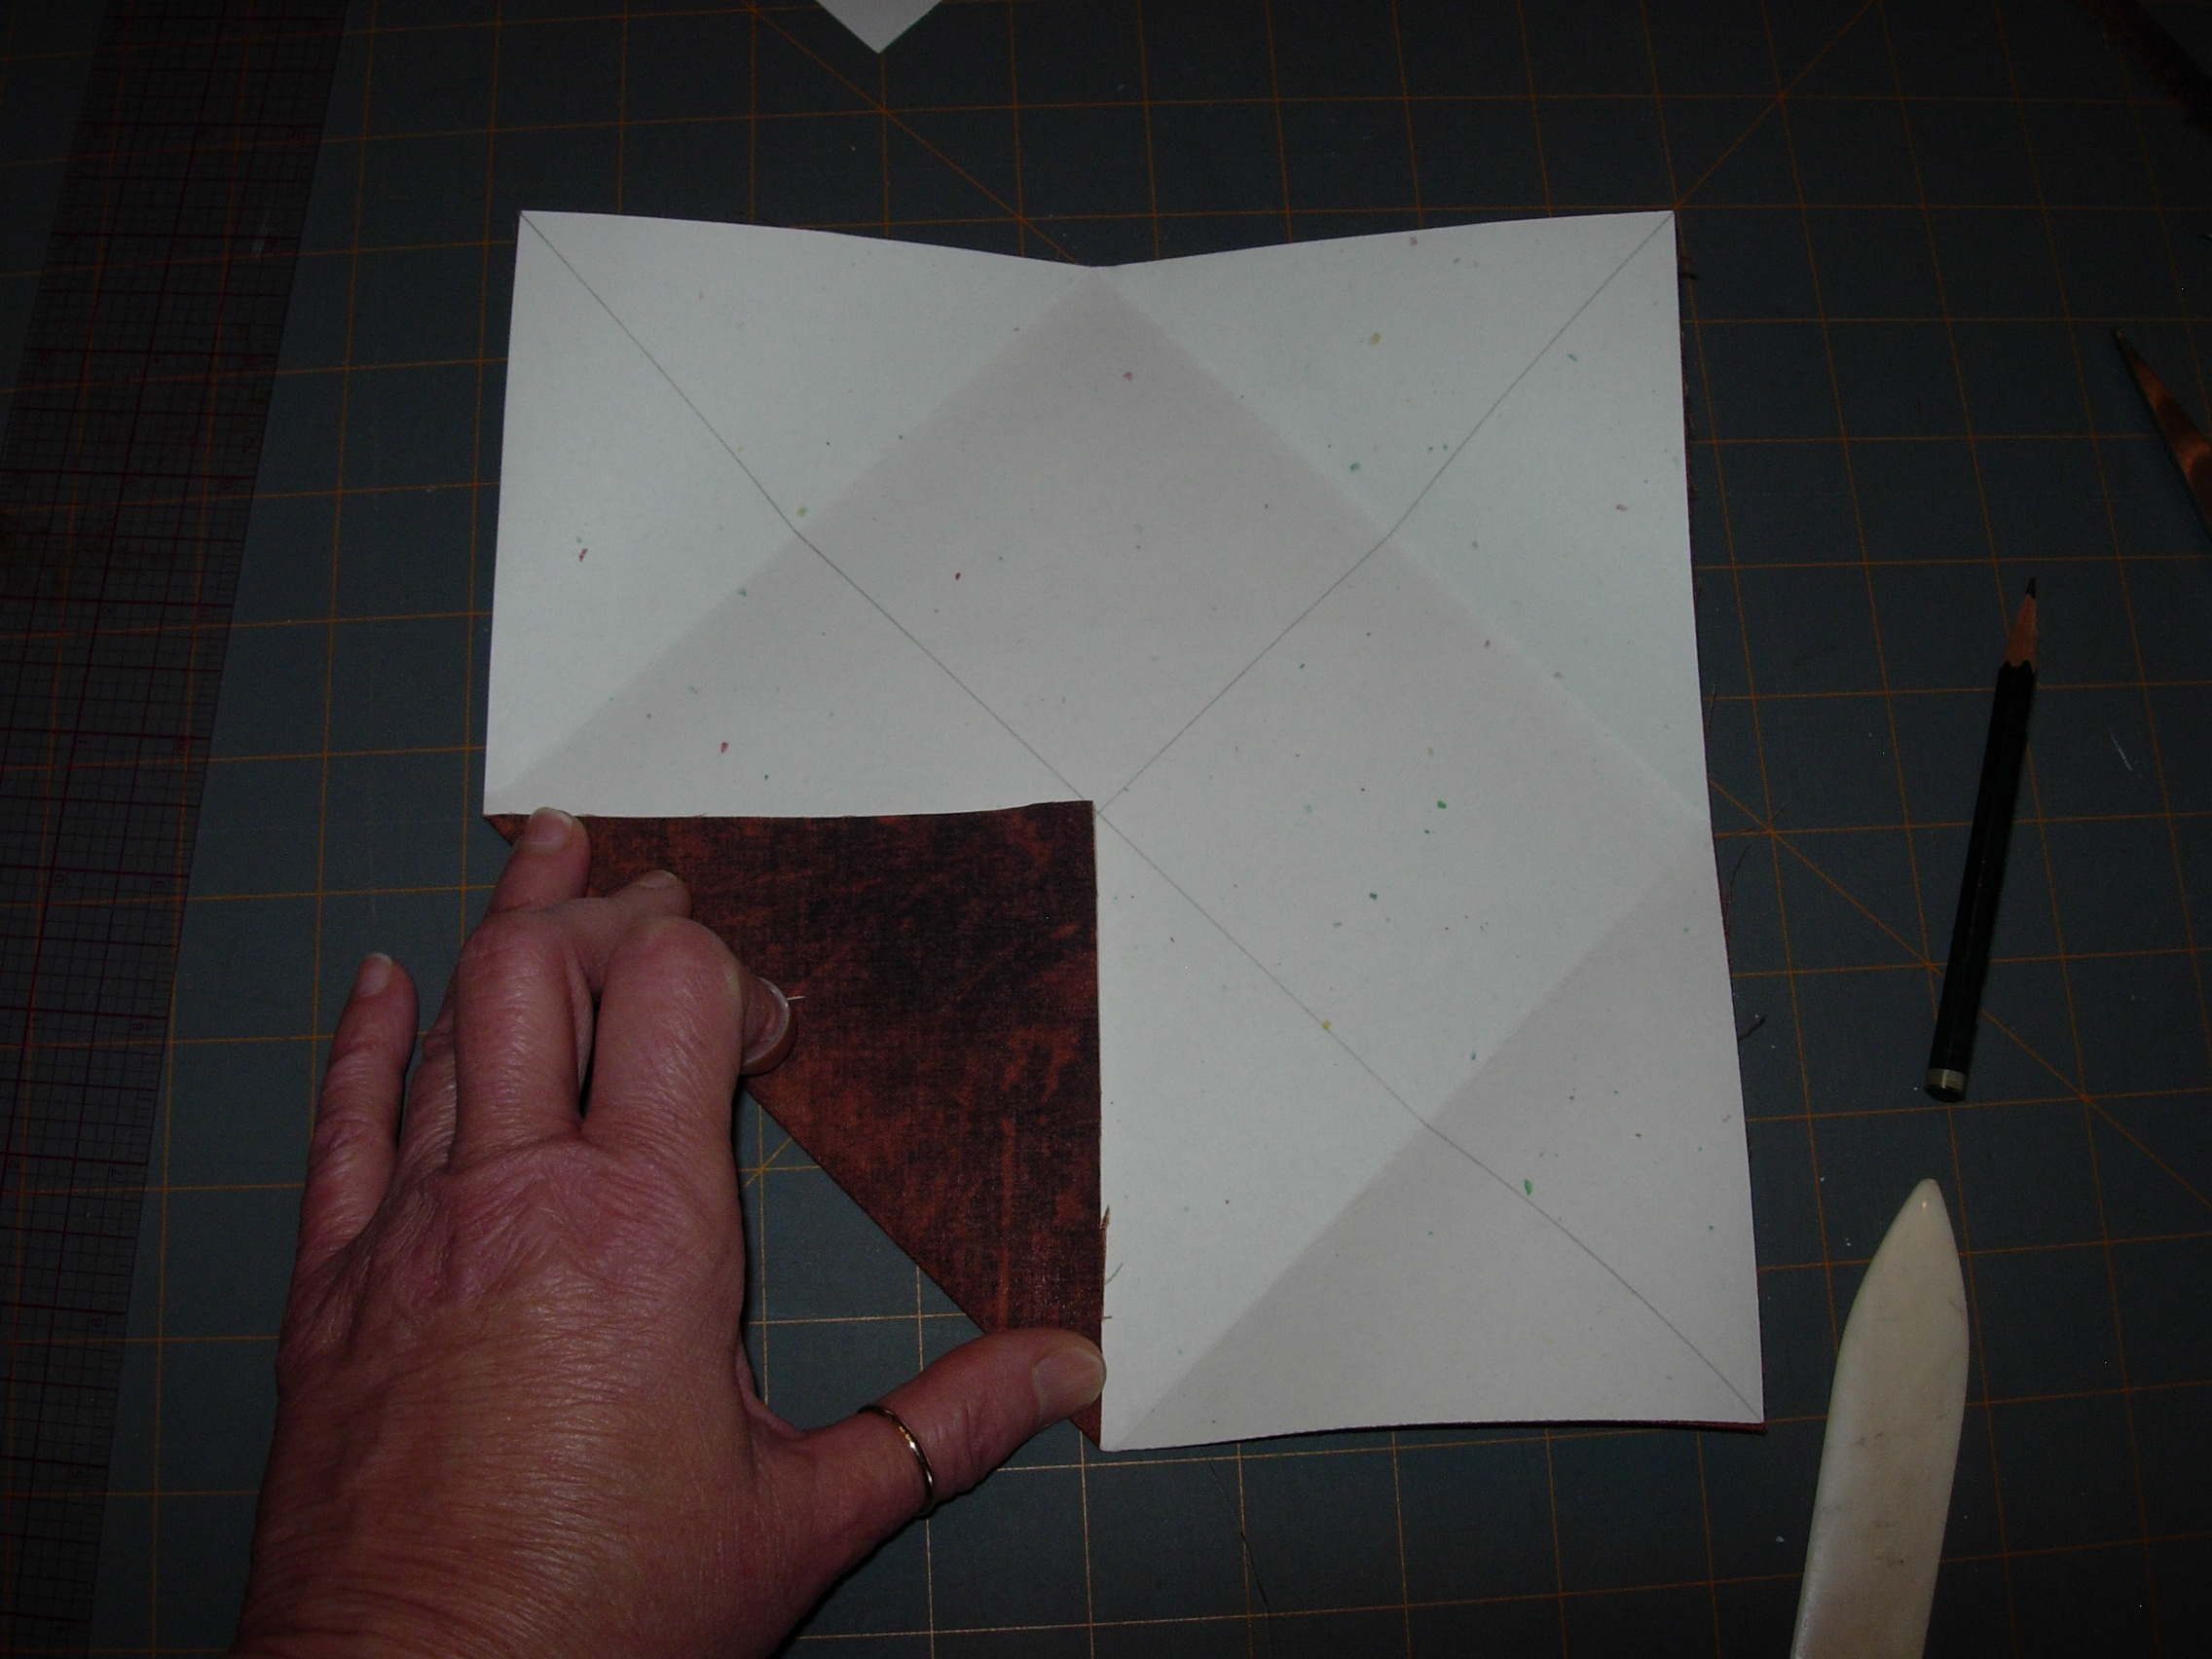
When opened out flat you should see 8 fold lines. Notice that there is a small square in the center. that small square is the inside of the top of your box.
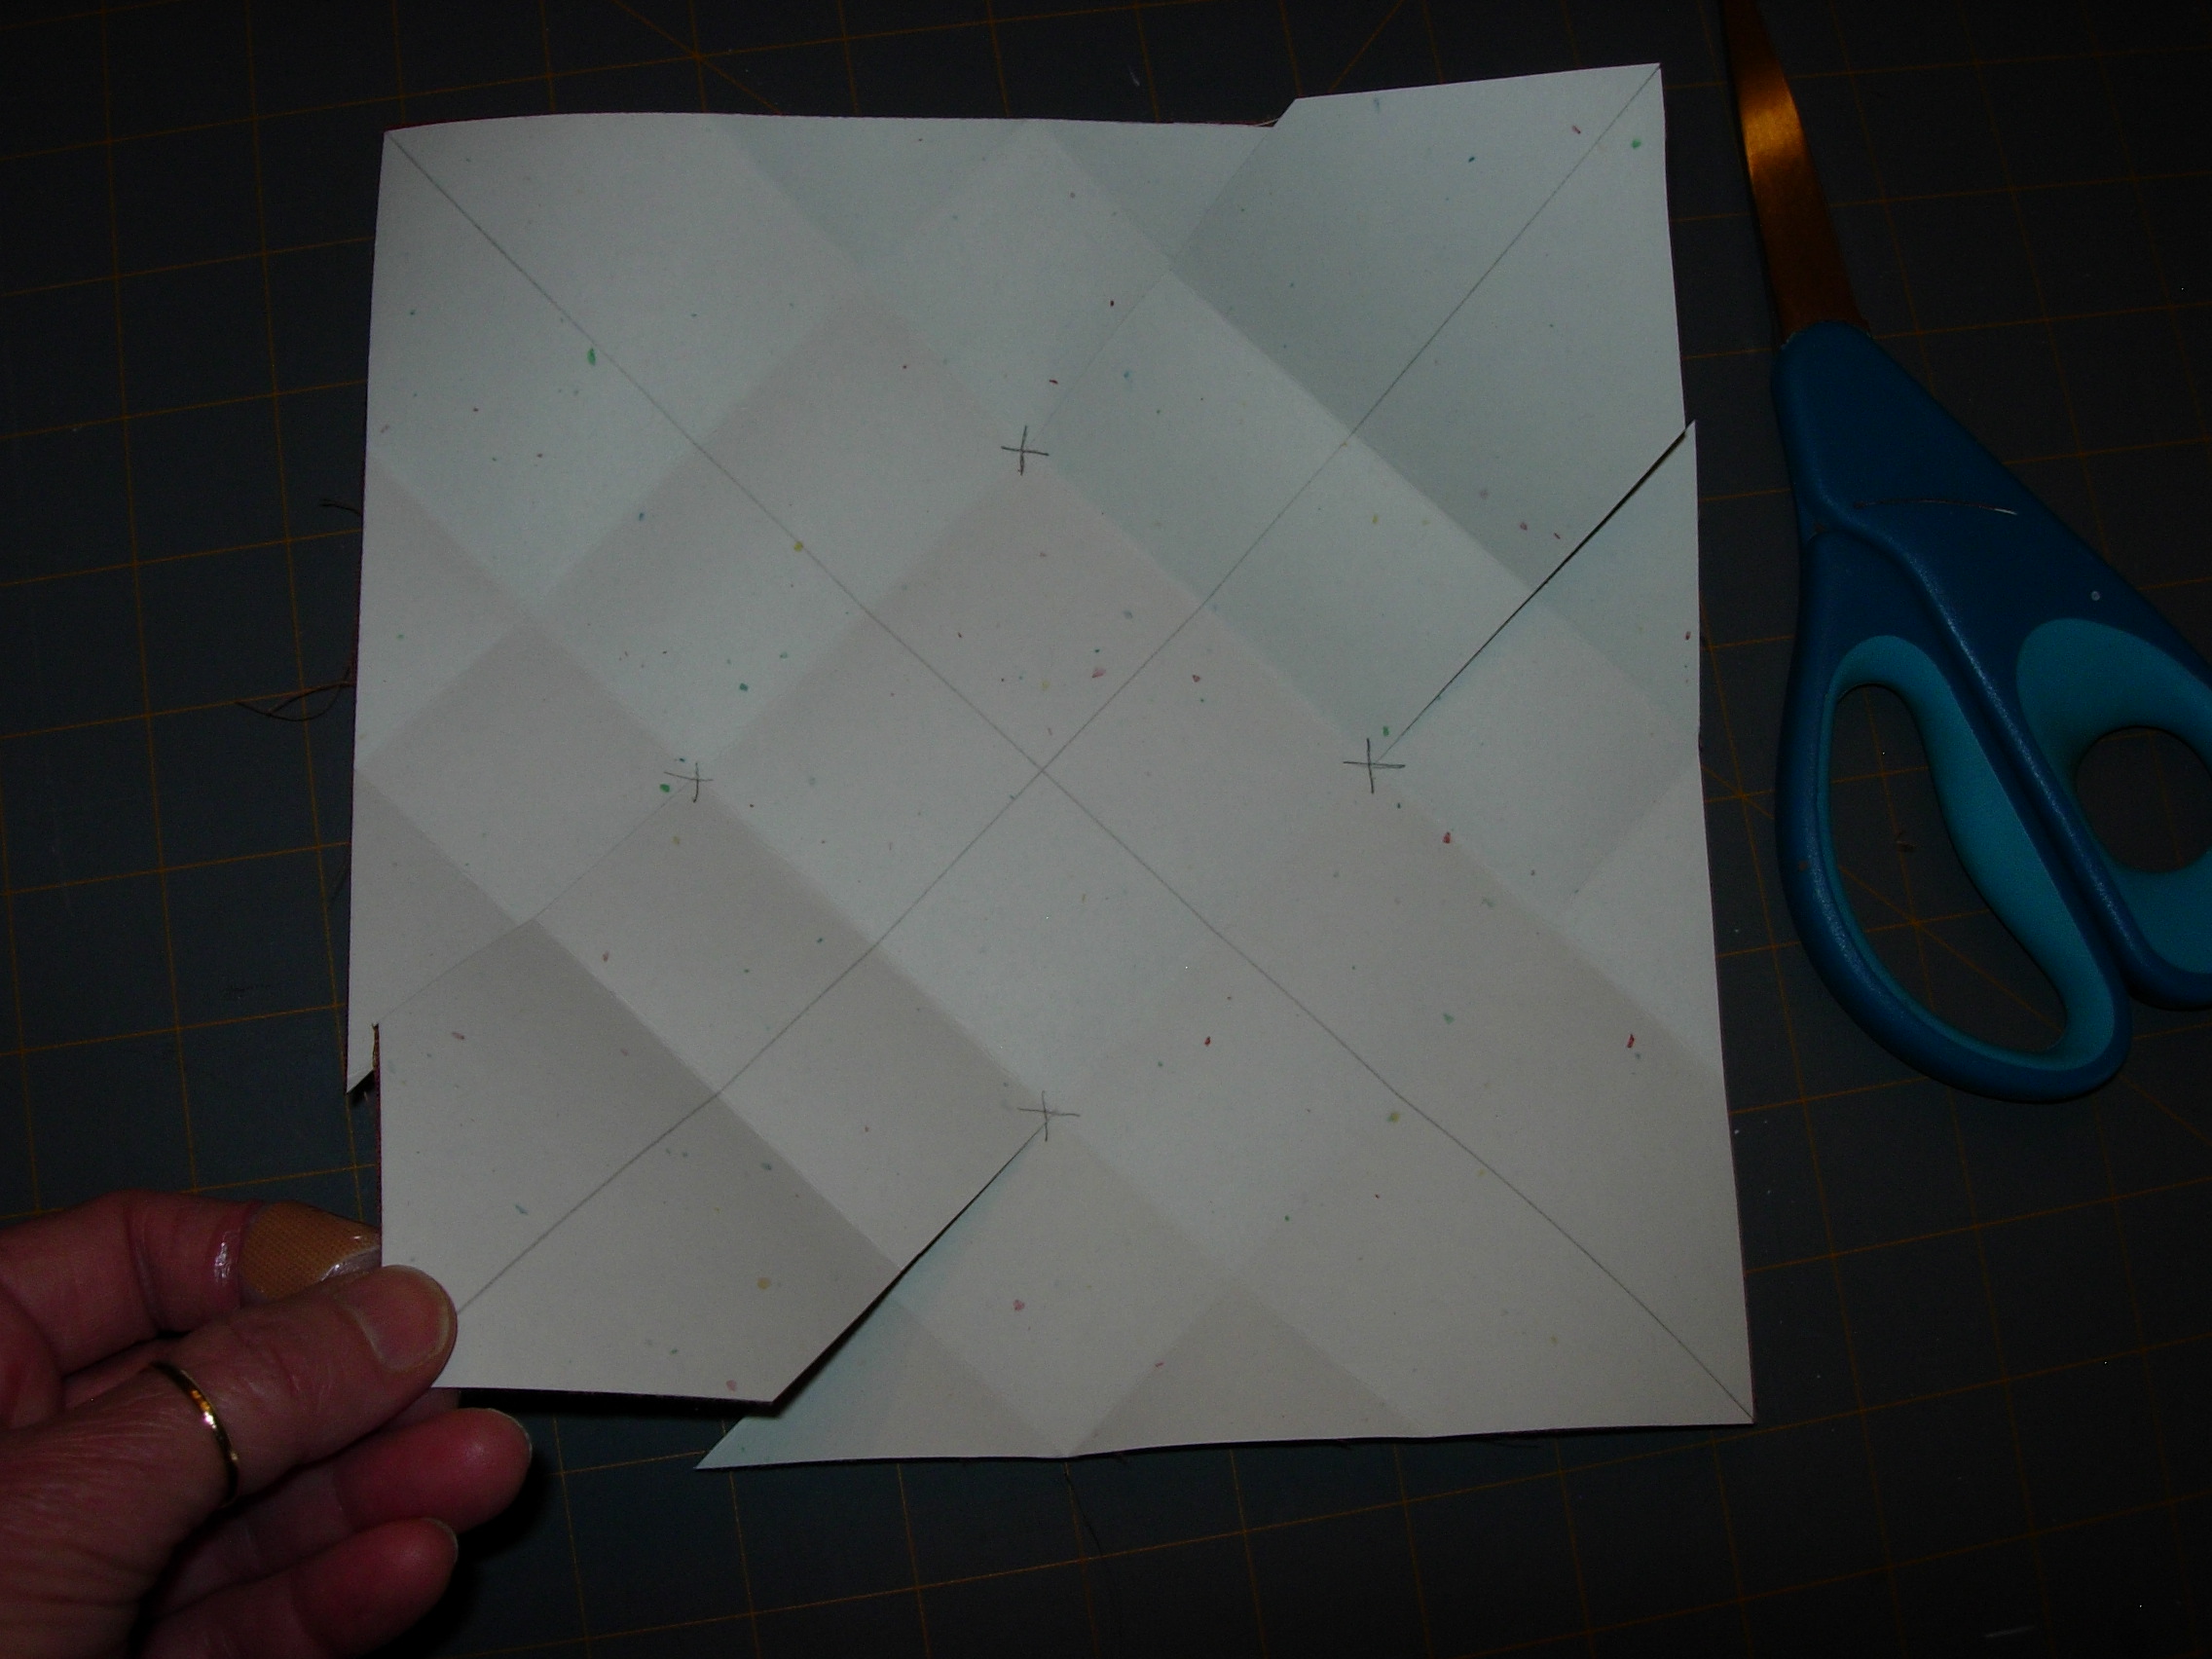
On two opposite sides, cut with scissors up to the first fold lines. You will have four short cuts that reach up to the four corners of that middle square.
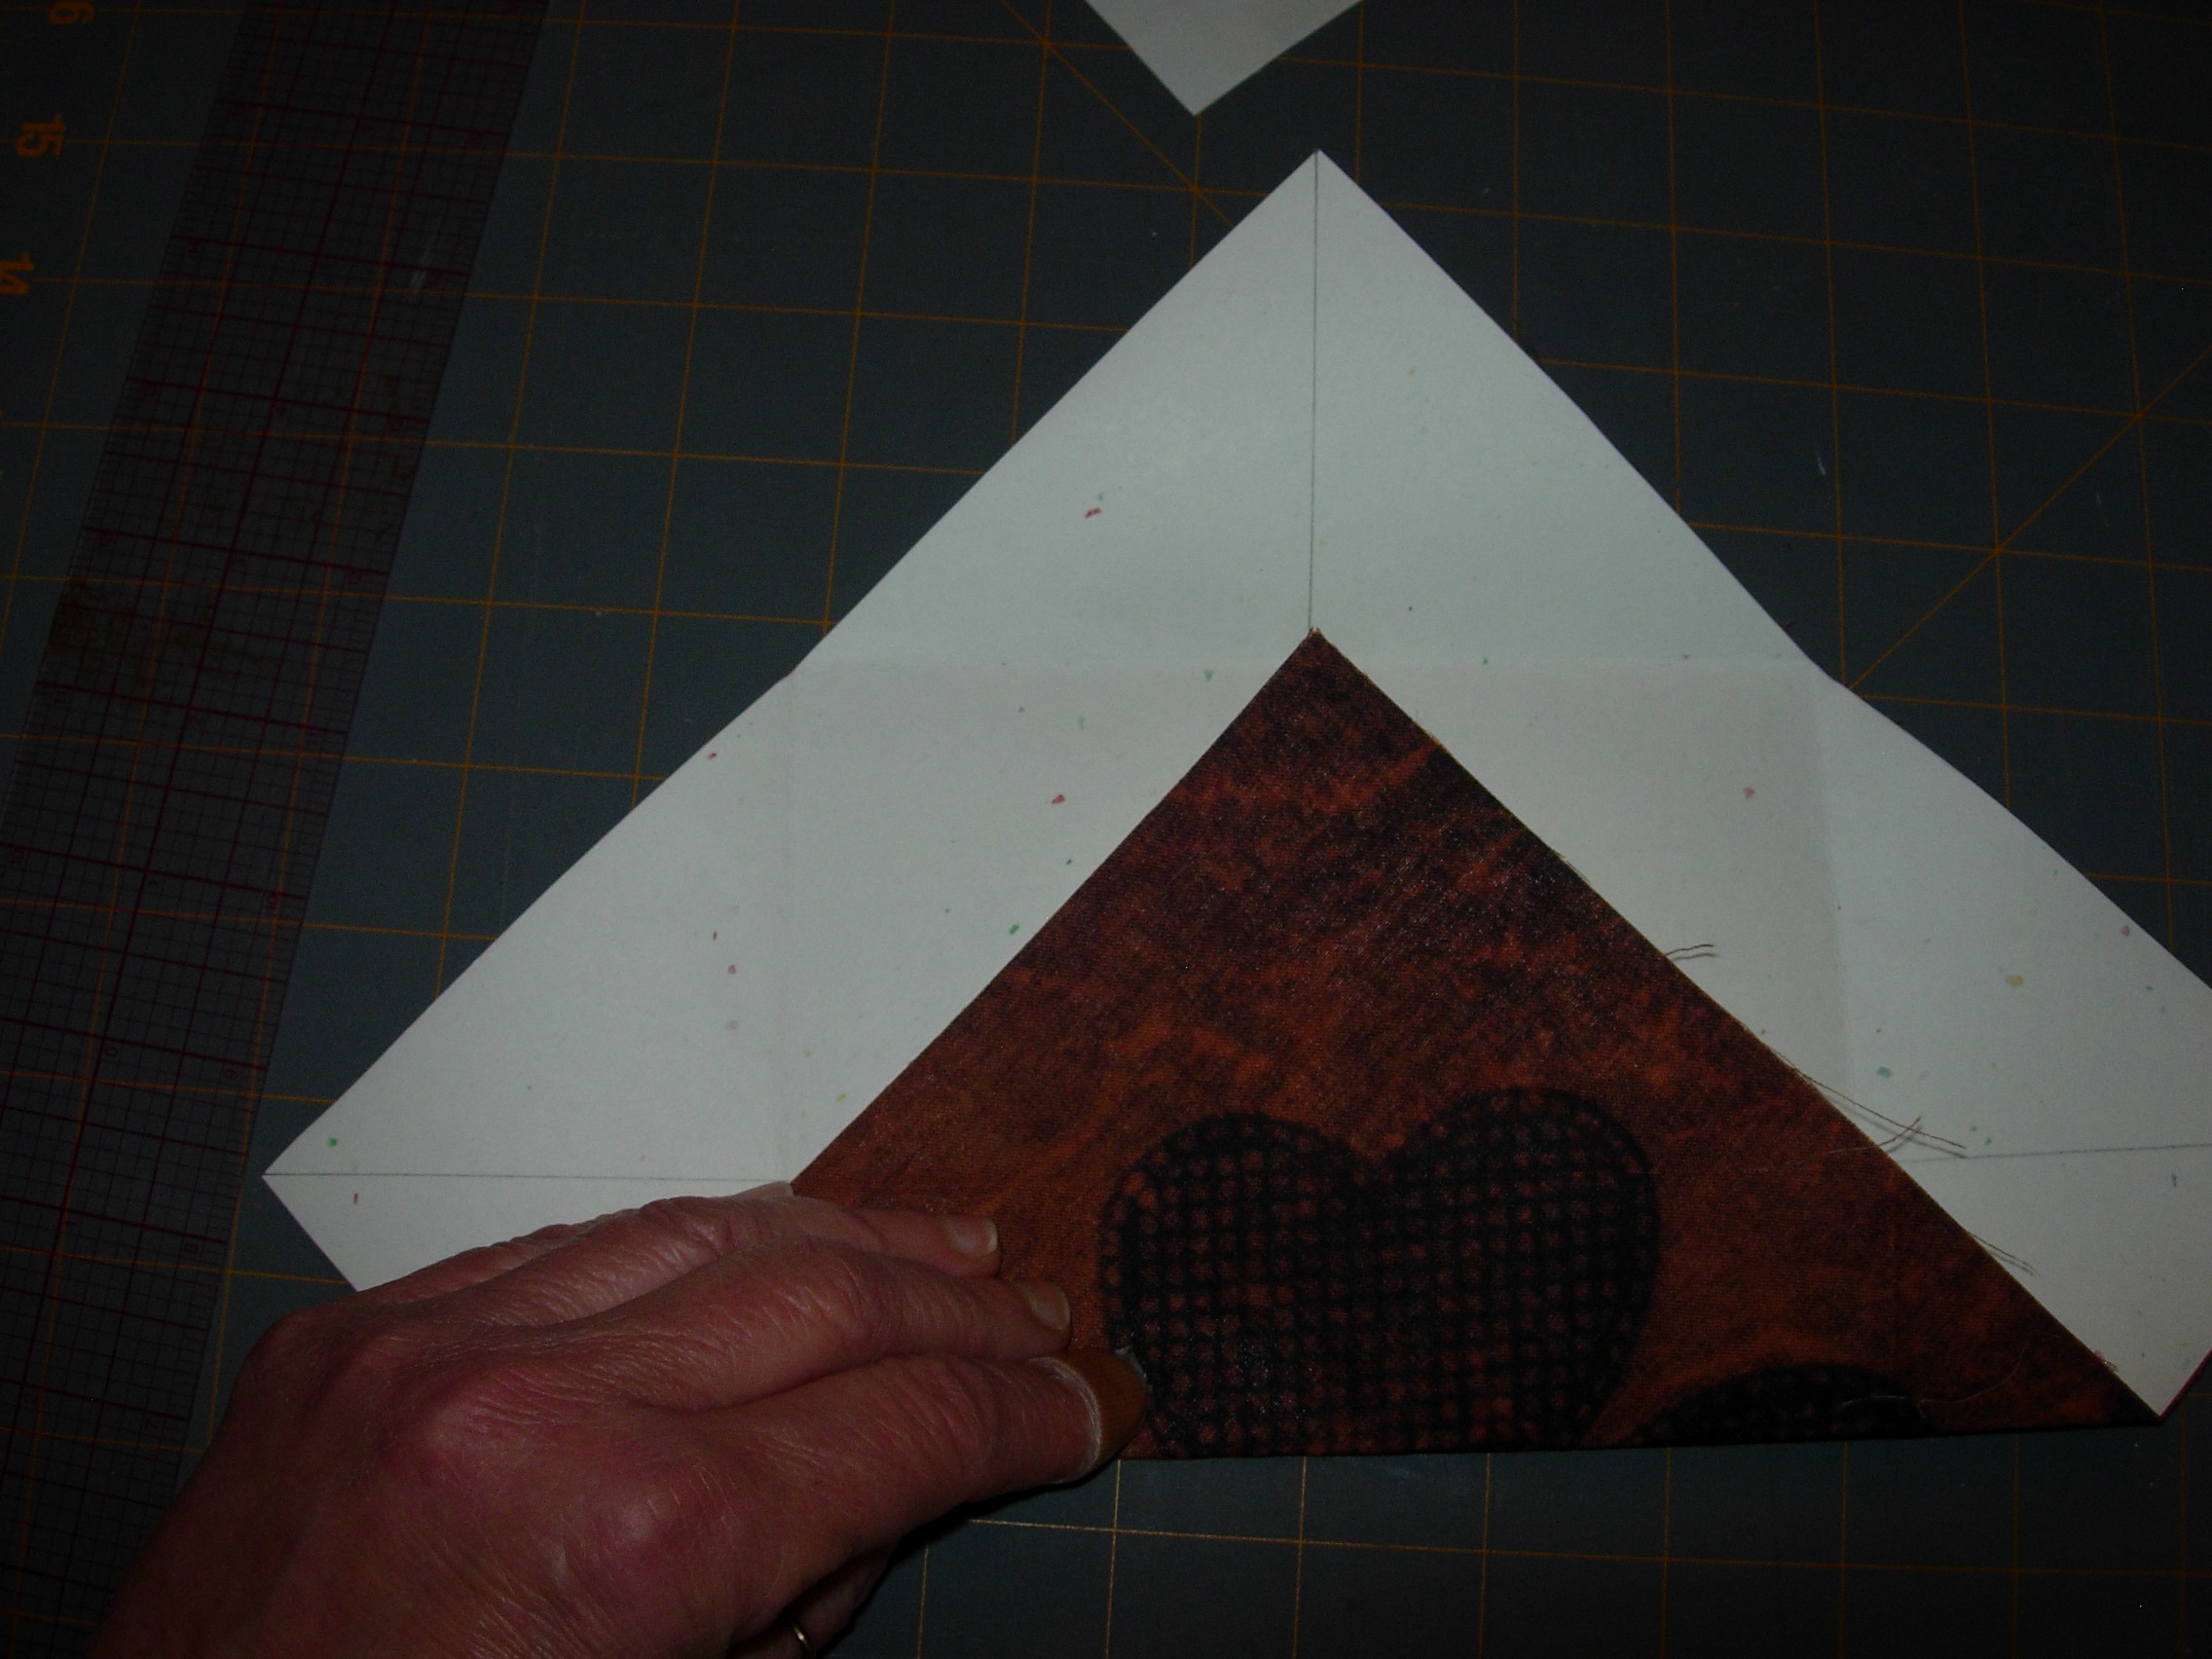
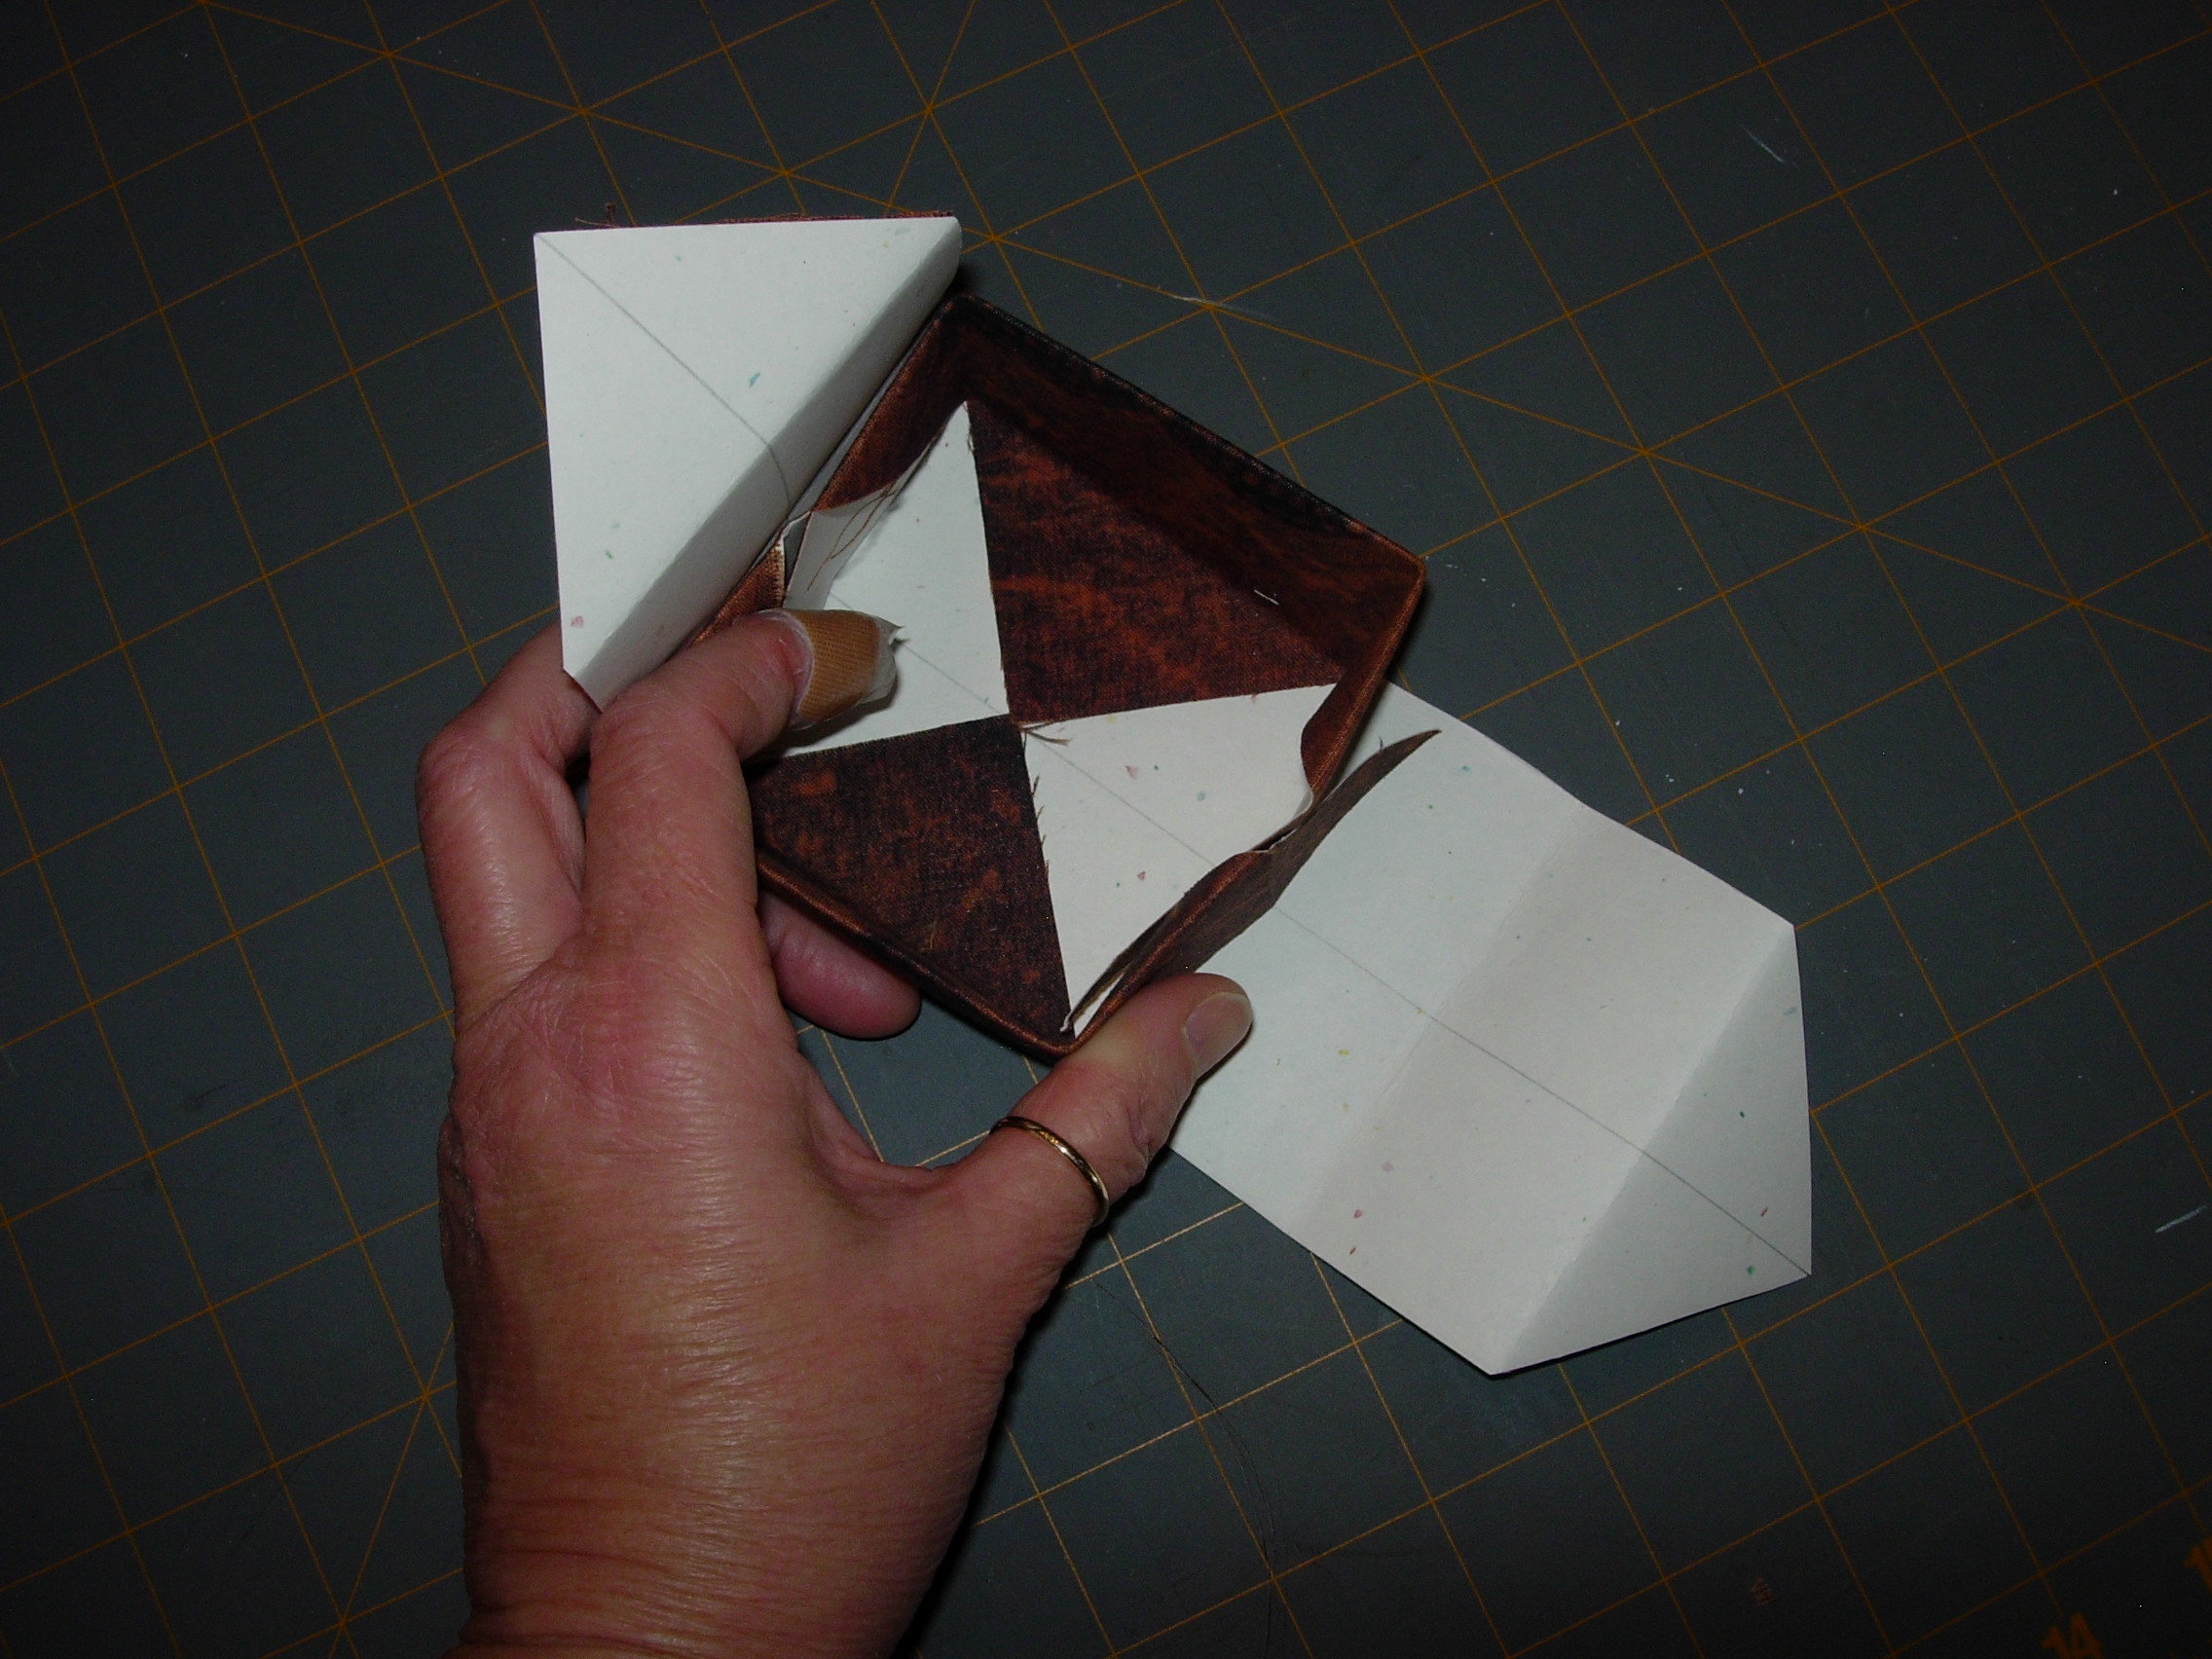
Following the pictures below, refold all four corners on your already creased lines.
The very tips of all four corners will need to be folded backward to meet point to point inside the box top. When complete, all four points will touch to meet exactly at the center of that ‘x’ you drew with pencil.
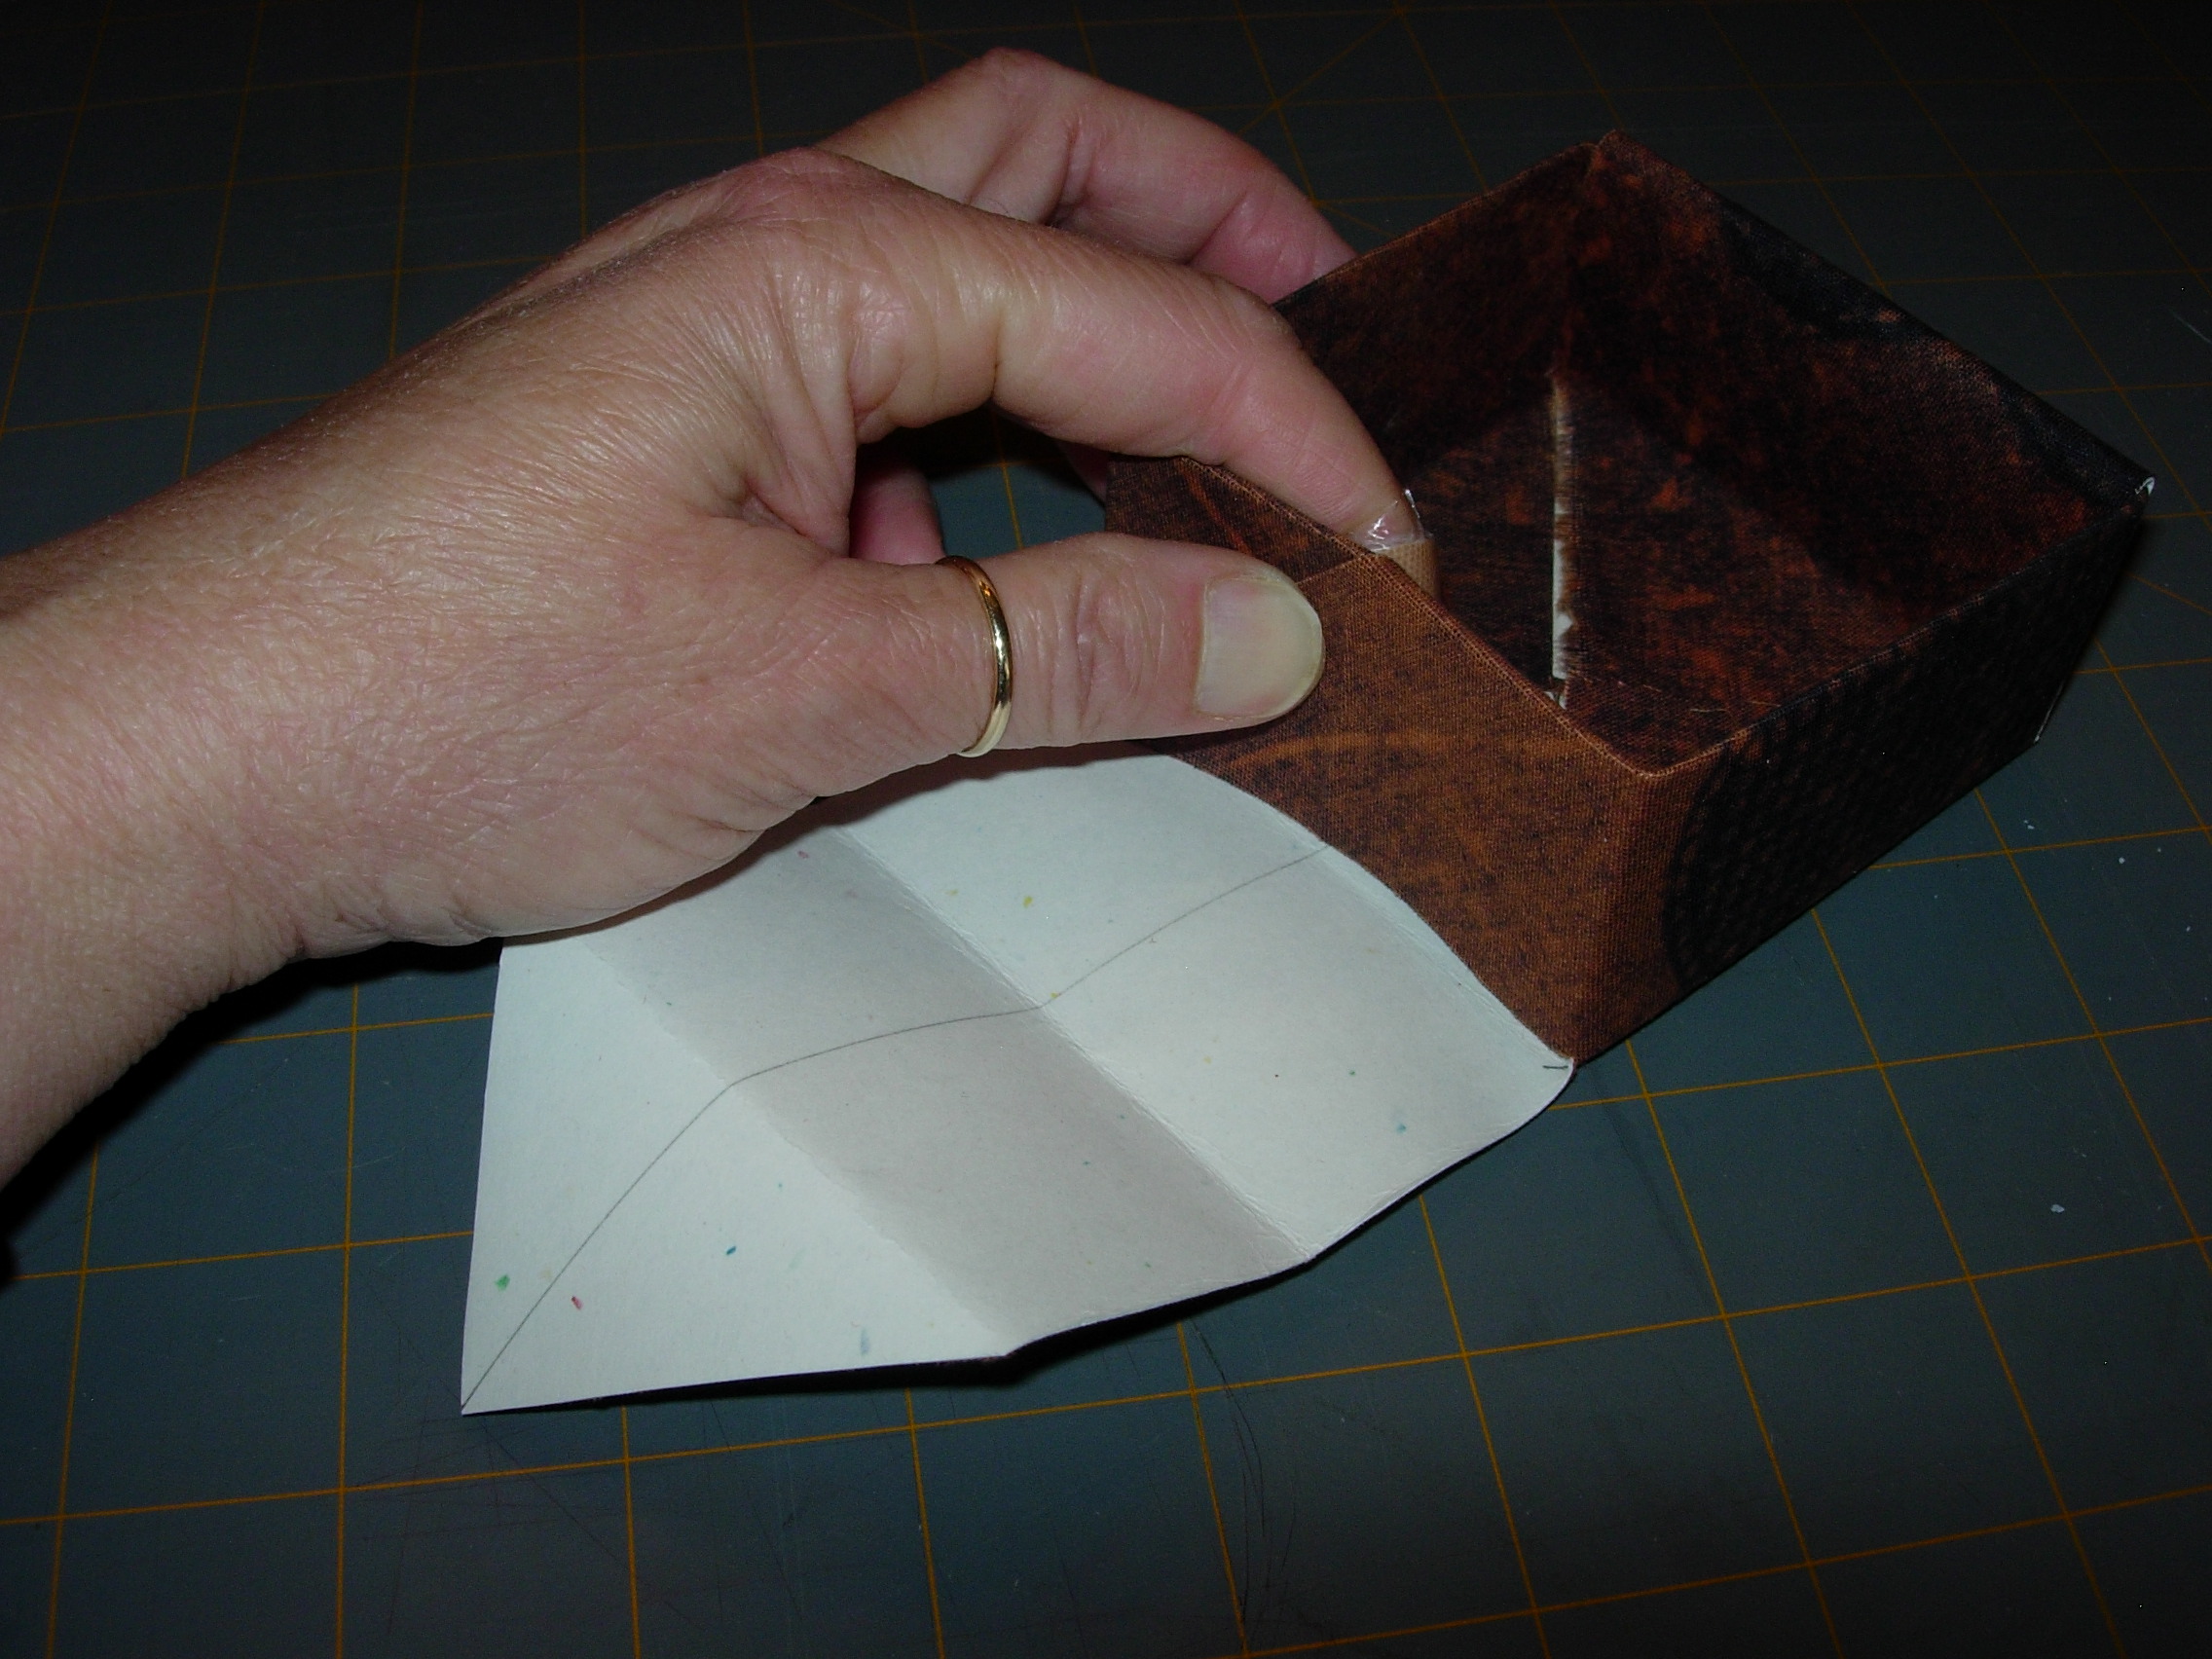
Fold the uncut sides to create flaps that wrap around. These flaps fit under and reinforce the side edges.
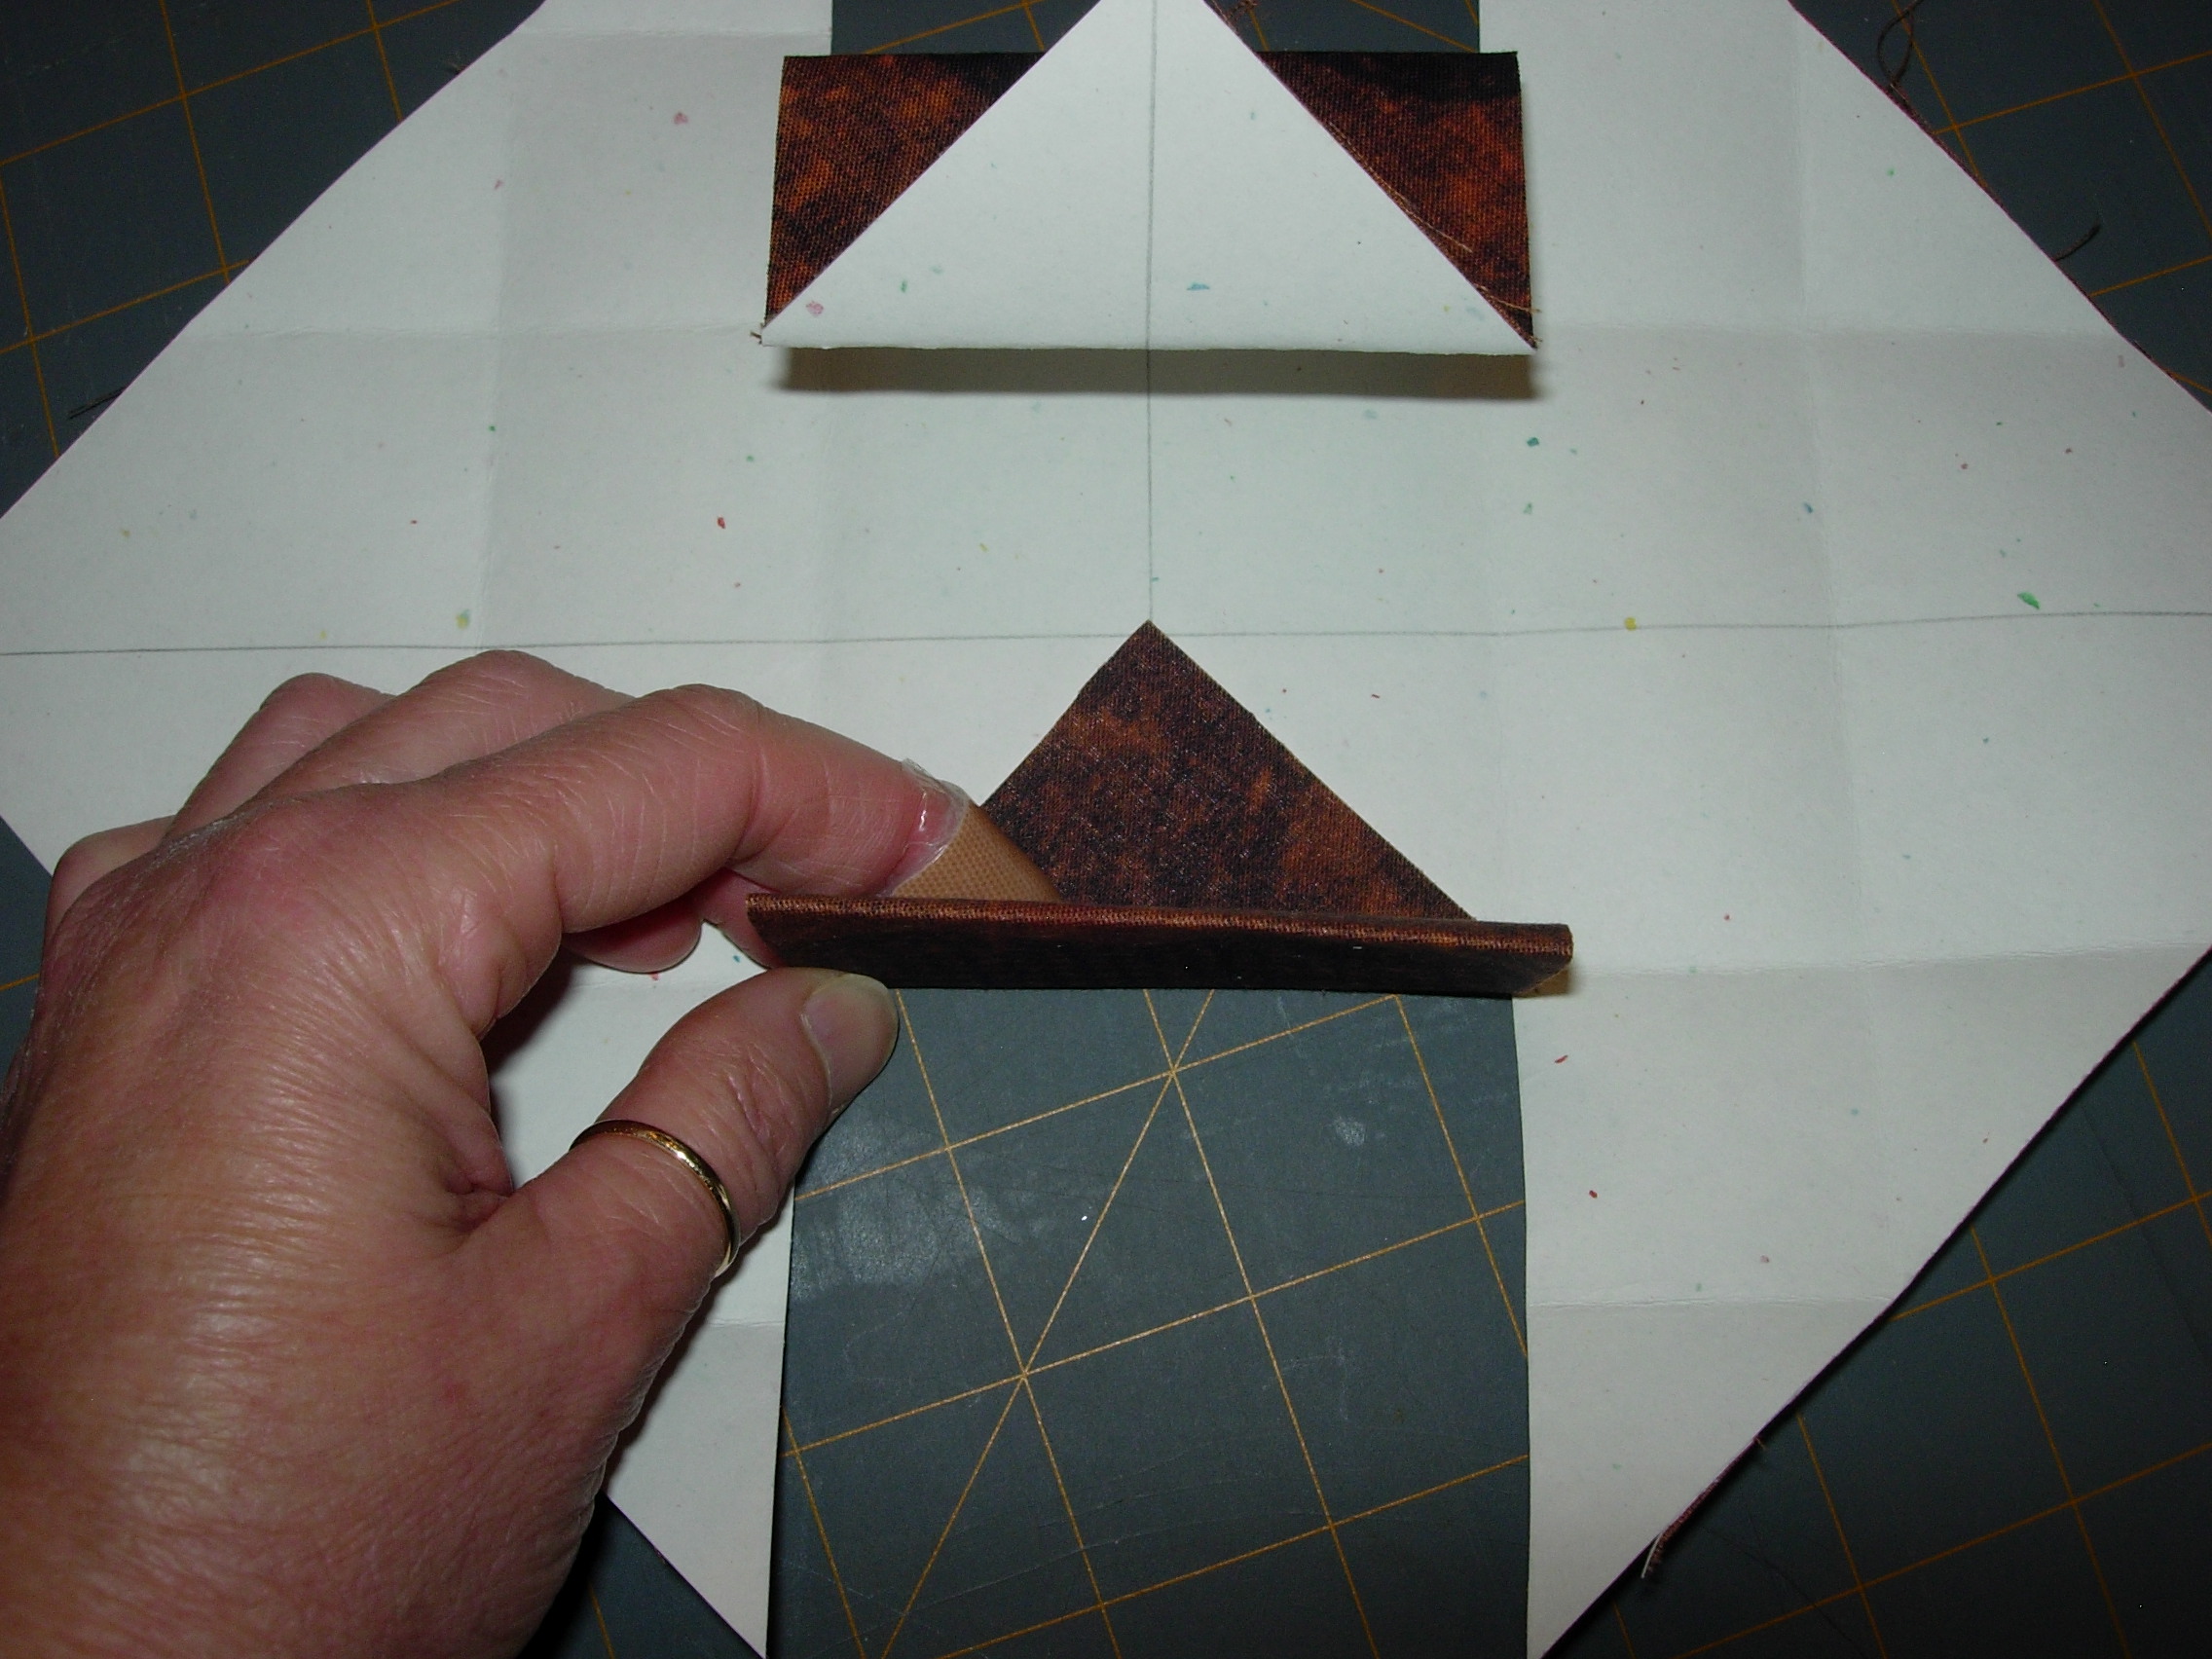
Fold up all four of the edges to check for a fit.
Use a small dab of glue on the four points to secure them to the inside of the box lid.
 .
.
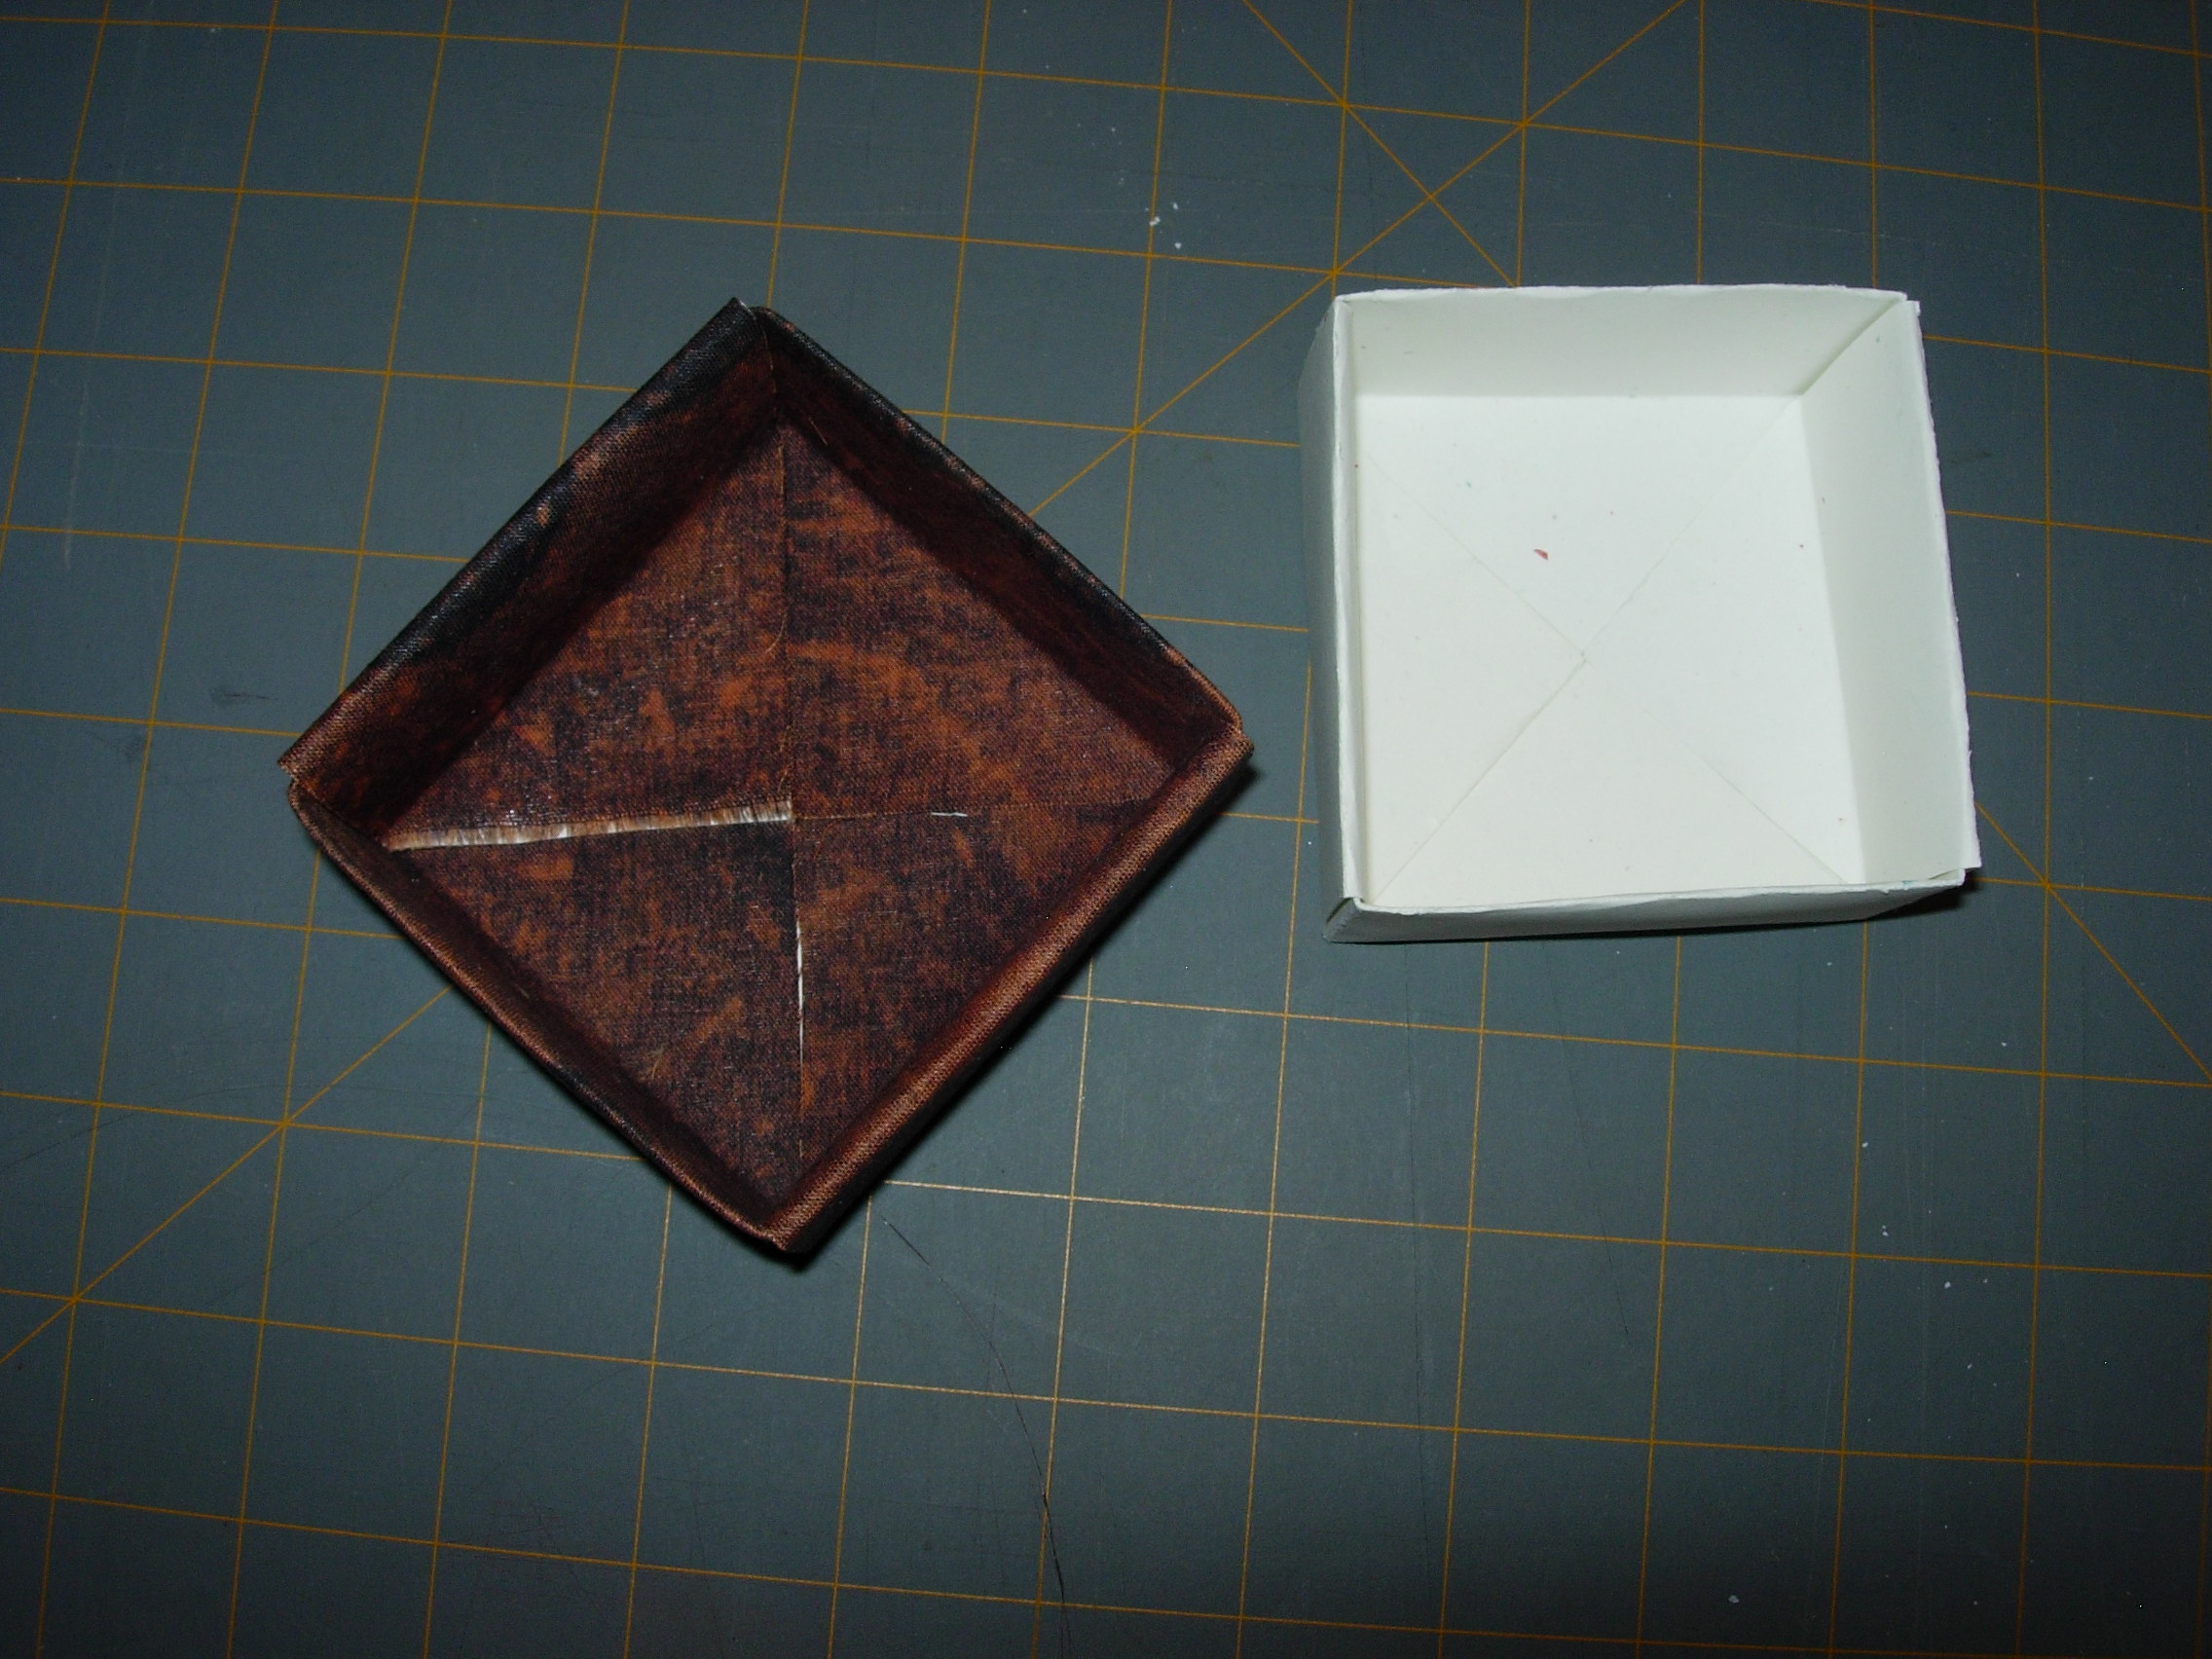
To create a bottom for your box cut an 8 inch square from the card stock. Cutting the bottom square 1/2 inch smaller than the top ensures a perfect fit. Follow the instructions for folding the lid of the box.
The picture below shows the inside view of the top and bottom of the box.
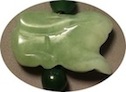
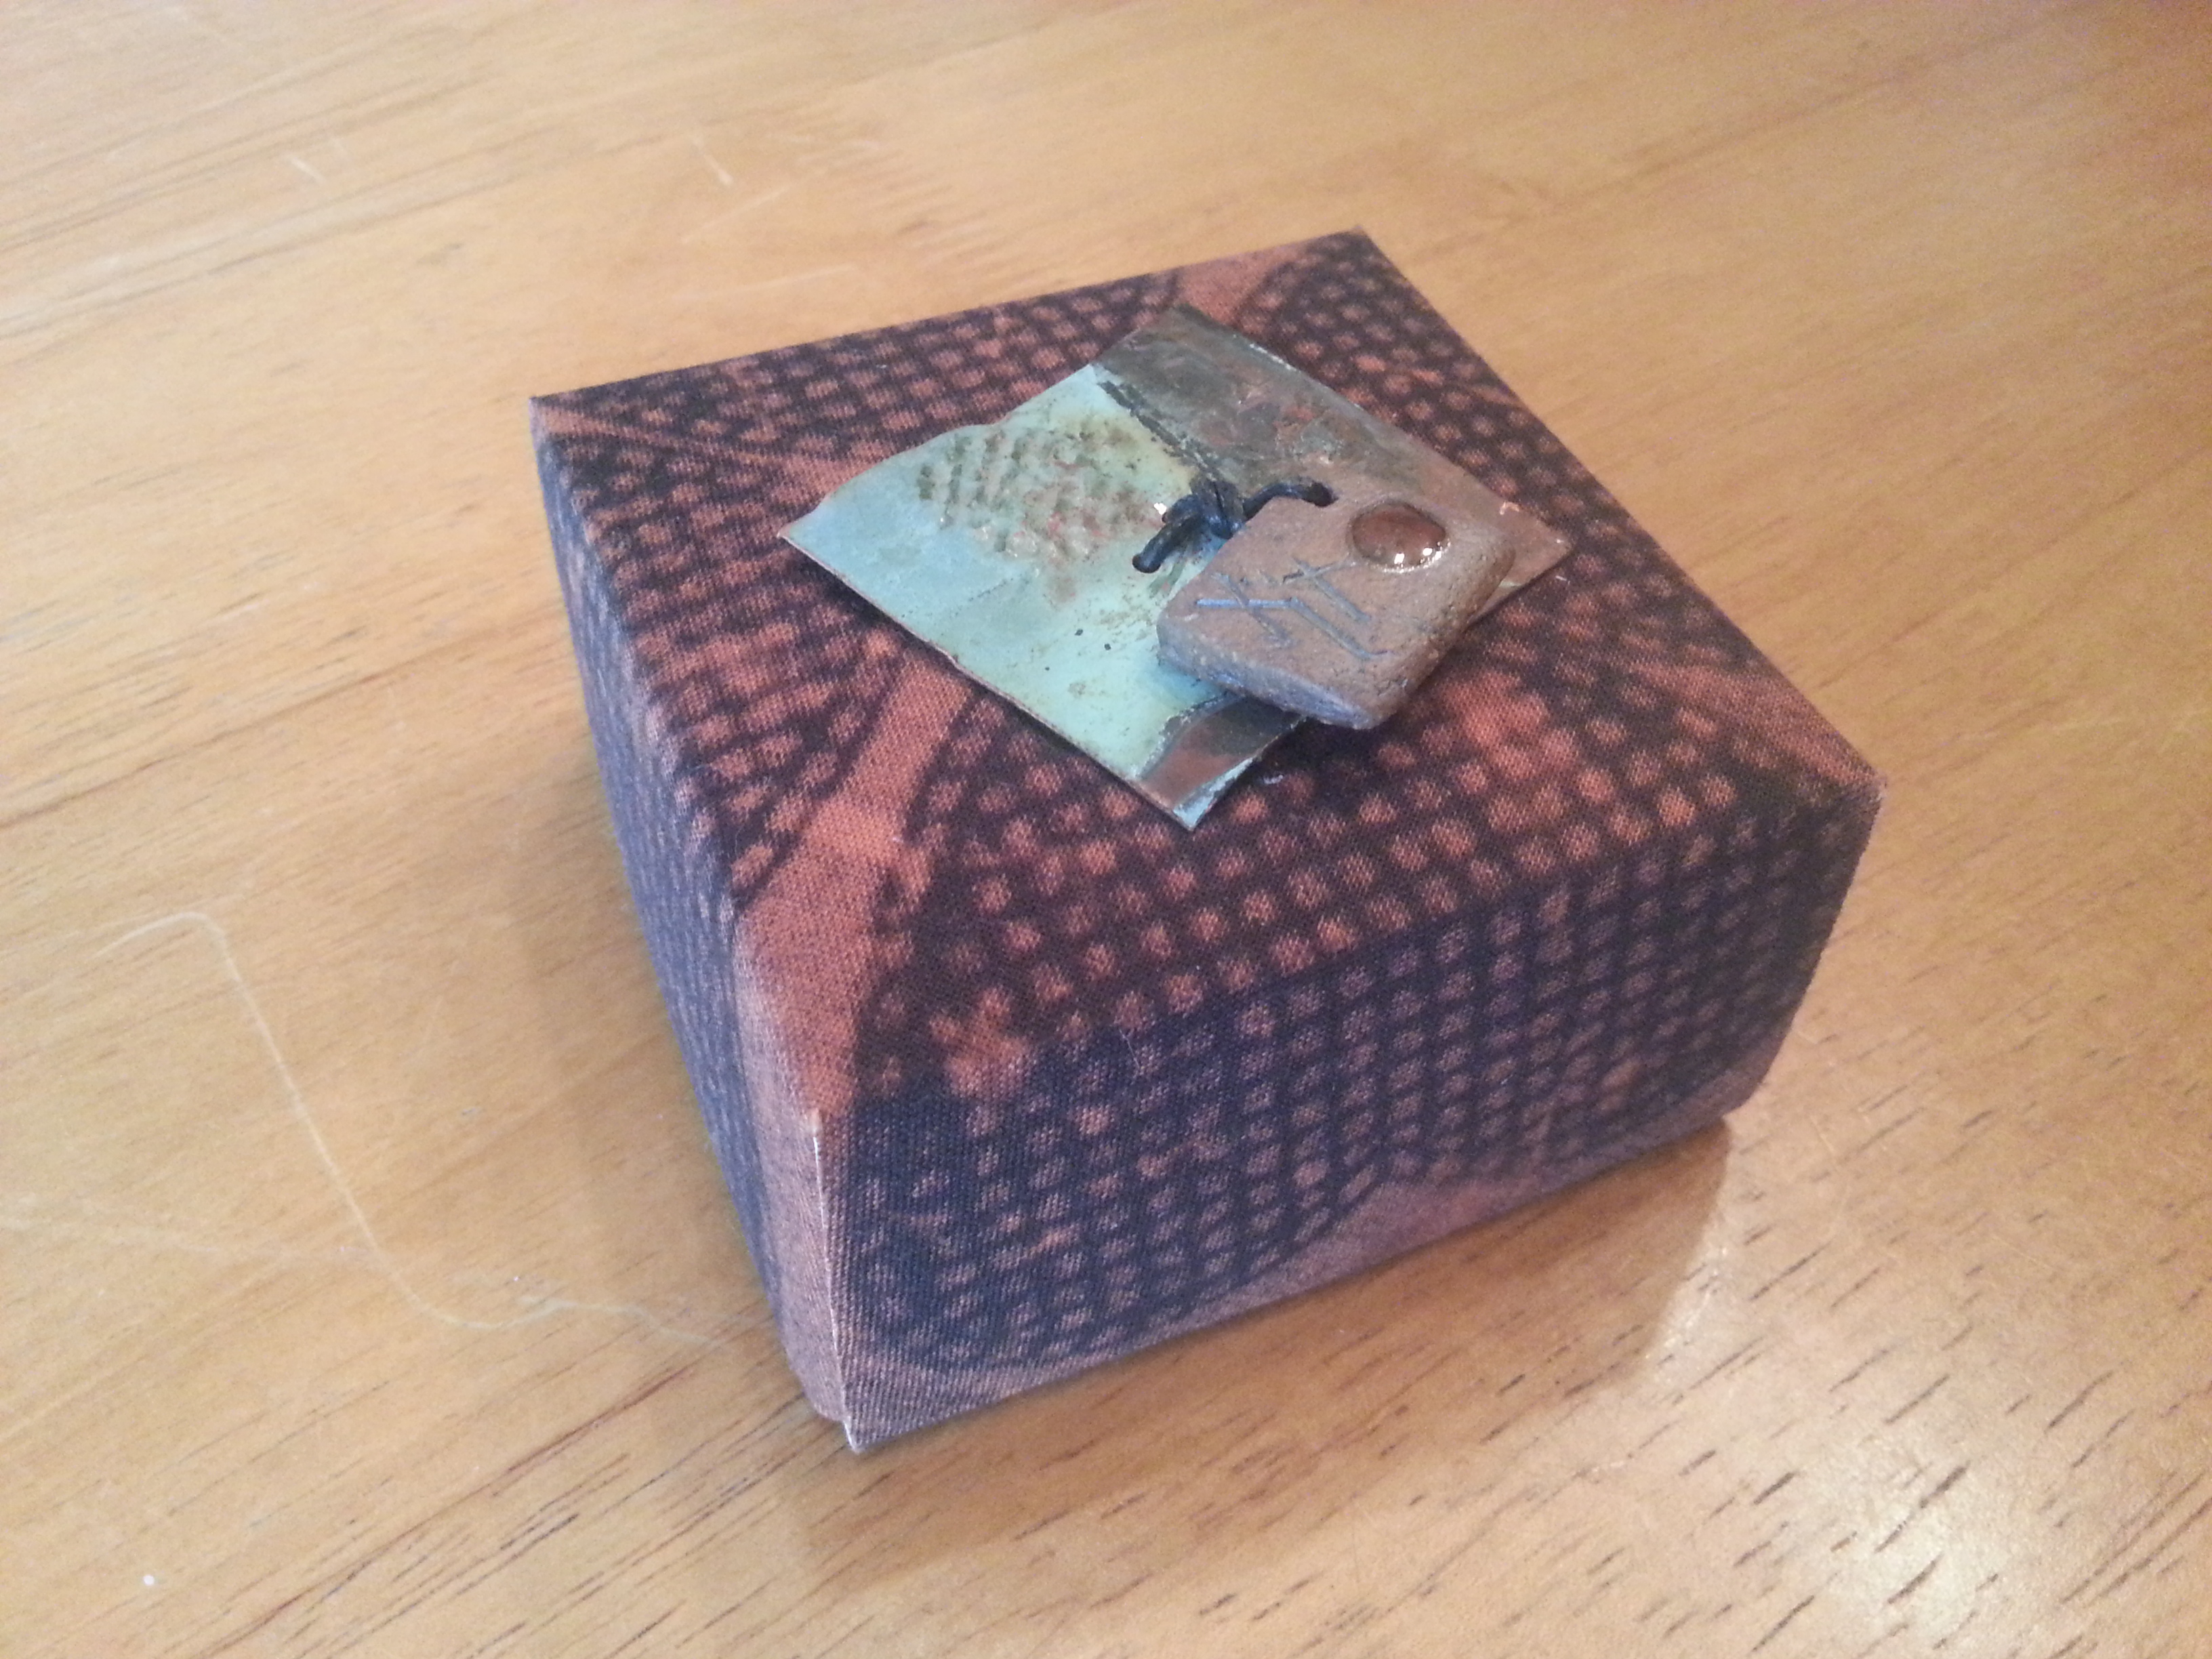
To decorate your box, you can stitch or use hot glue to attach a charm, button, ribbon, tassel or anything you wish to the lid. Or you can leave it simply as it is.
I made mine small at 8 1/2 inches only because of the convenience to the size of card stock, but this box can be made larger . It can be given as a personalized gift or used to hold mementos.
Have fun!
