In my first blog I explained that the name ArtTuzi for this site originated from my year in China. While there I was inspired to create…. At first living in China brought a new experience, sight, smell or sound daily. There were moments when it felt as though I had tumbled into a wonderland of the unfamiliar. The jagged mountain peaks outside of my window were sharp and dramatic like the teeth of a dragon. These mountains can be seen in many traditional Chinese landscape paintings like the handscroll from the Northern Song dynasty at this link to the collection of the Metropolitan Museum of Art http://www.metmuseum.org/toah/works-of-art/1973.120.1 and in this photo I took while standing on the Great Wall of China. A kind of sensory explosion from new experiences triggered what became a series of drawings. It started at school one day while I was prepping for class and setting out watercolors and brushes for my students. Thinking about the spontaneity that my young students would have with this media, I got some scraps of paper and just started playing with juicy washes of bright colors and puddles of water, letting the colors flow where they wanted. At the end of the school day while cleaning up I looked at those scraps of paper with their spontaneous amorphic shapes and using a fine point marker, I began to trace around some of the shapes, adjusting pressure and line speed to create imagery. Already in love with mark making, drawing lines without a specific objective felt liberating. Looking at the drawings I sometimes saw the zoomorphic imagery of imaginary creatures, and sometime fantastic landscapes like a Hieronymus Bosch painting. See that painting at the following link to the Prado museum in Spain: https://www.museodelprado.es/en/the-collection/art-work/the-garden-of-earthly-delights-triptych/02388242-6d6a-4e9e-a992-e1311eab3609


China was inspiring my creativity and my imagination providing a renewed perspective. I began working on a small scale because it was easier to carry small pieces of paper around with me to draw wherever I went. The park and my favorite Starbucks were two places to sit and watch the world go by while I drew lines over the color with a fine black marker.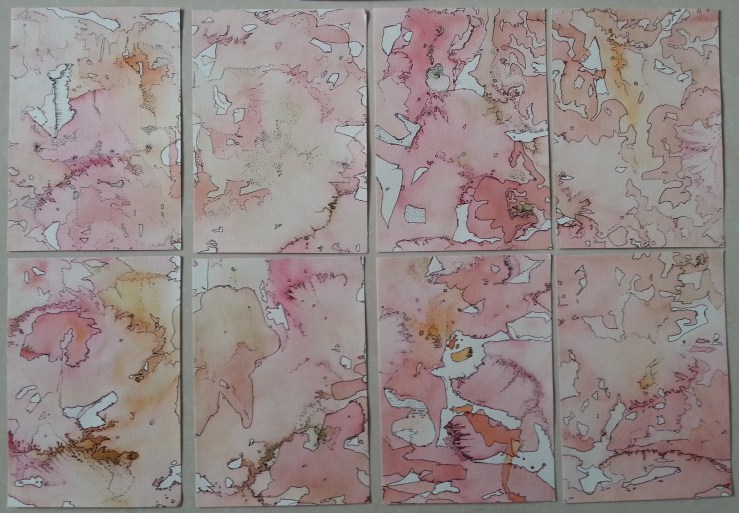
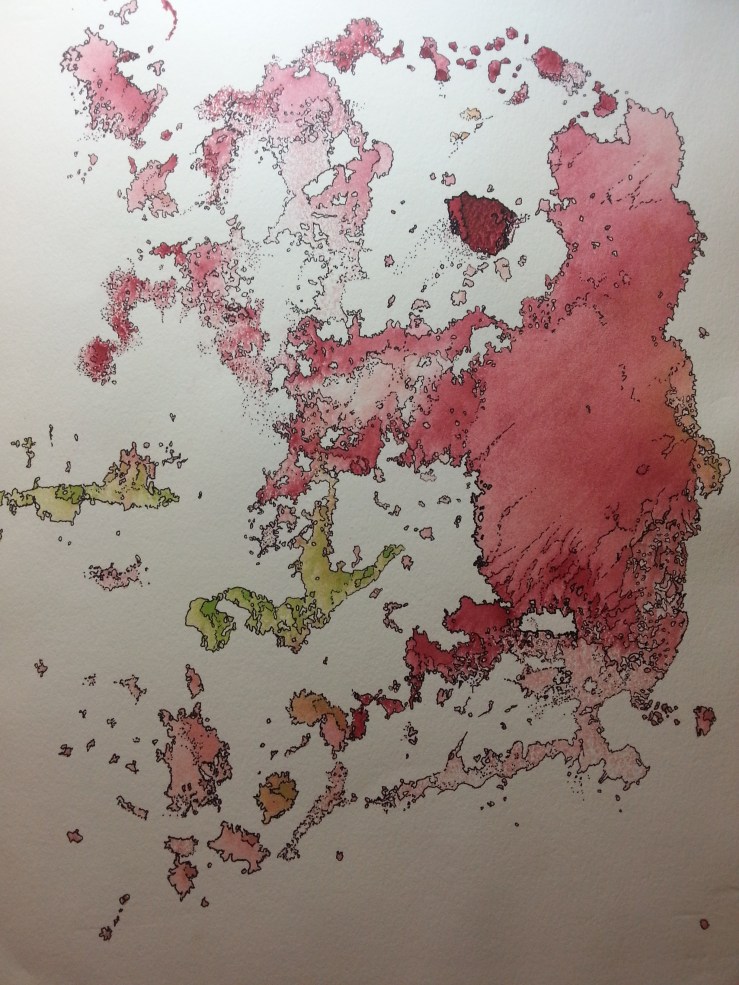
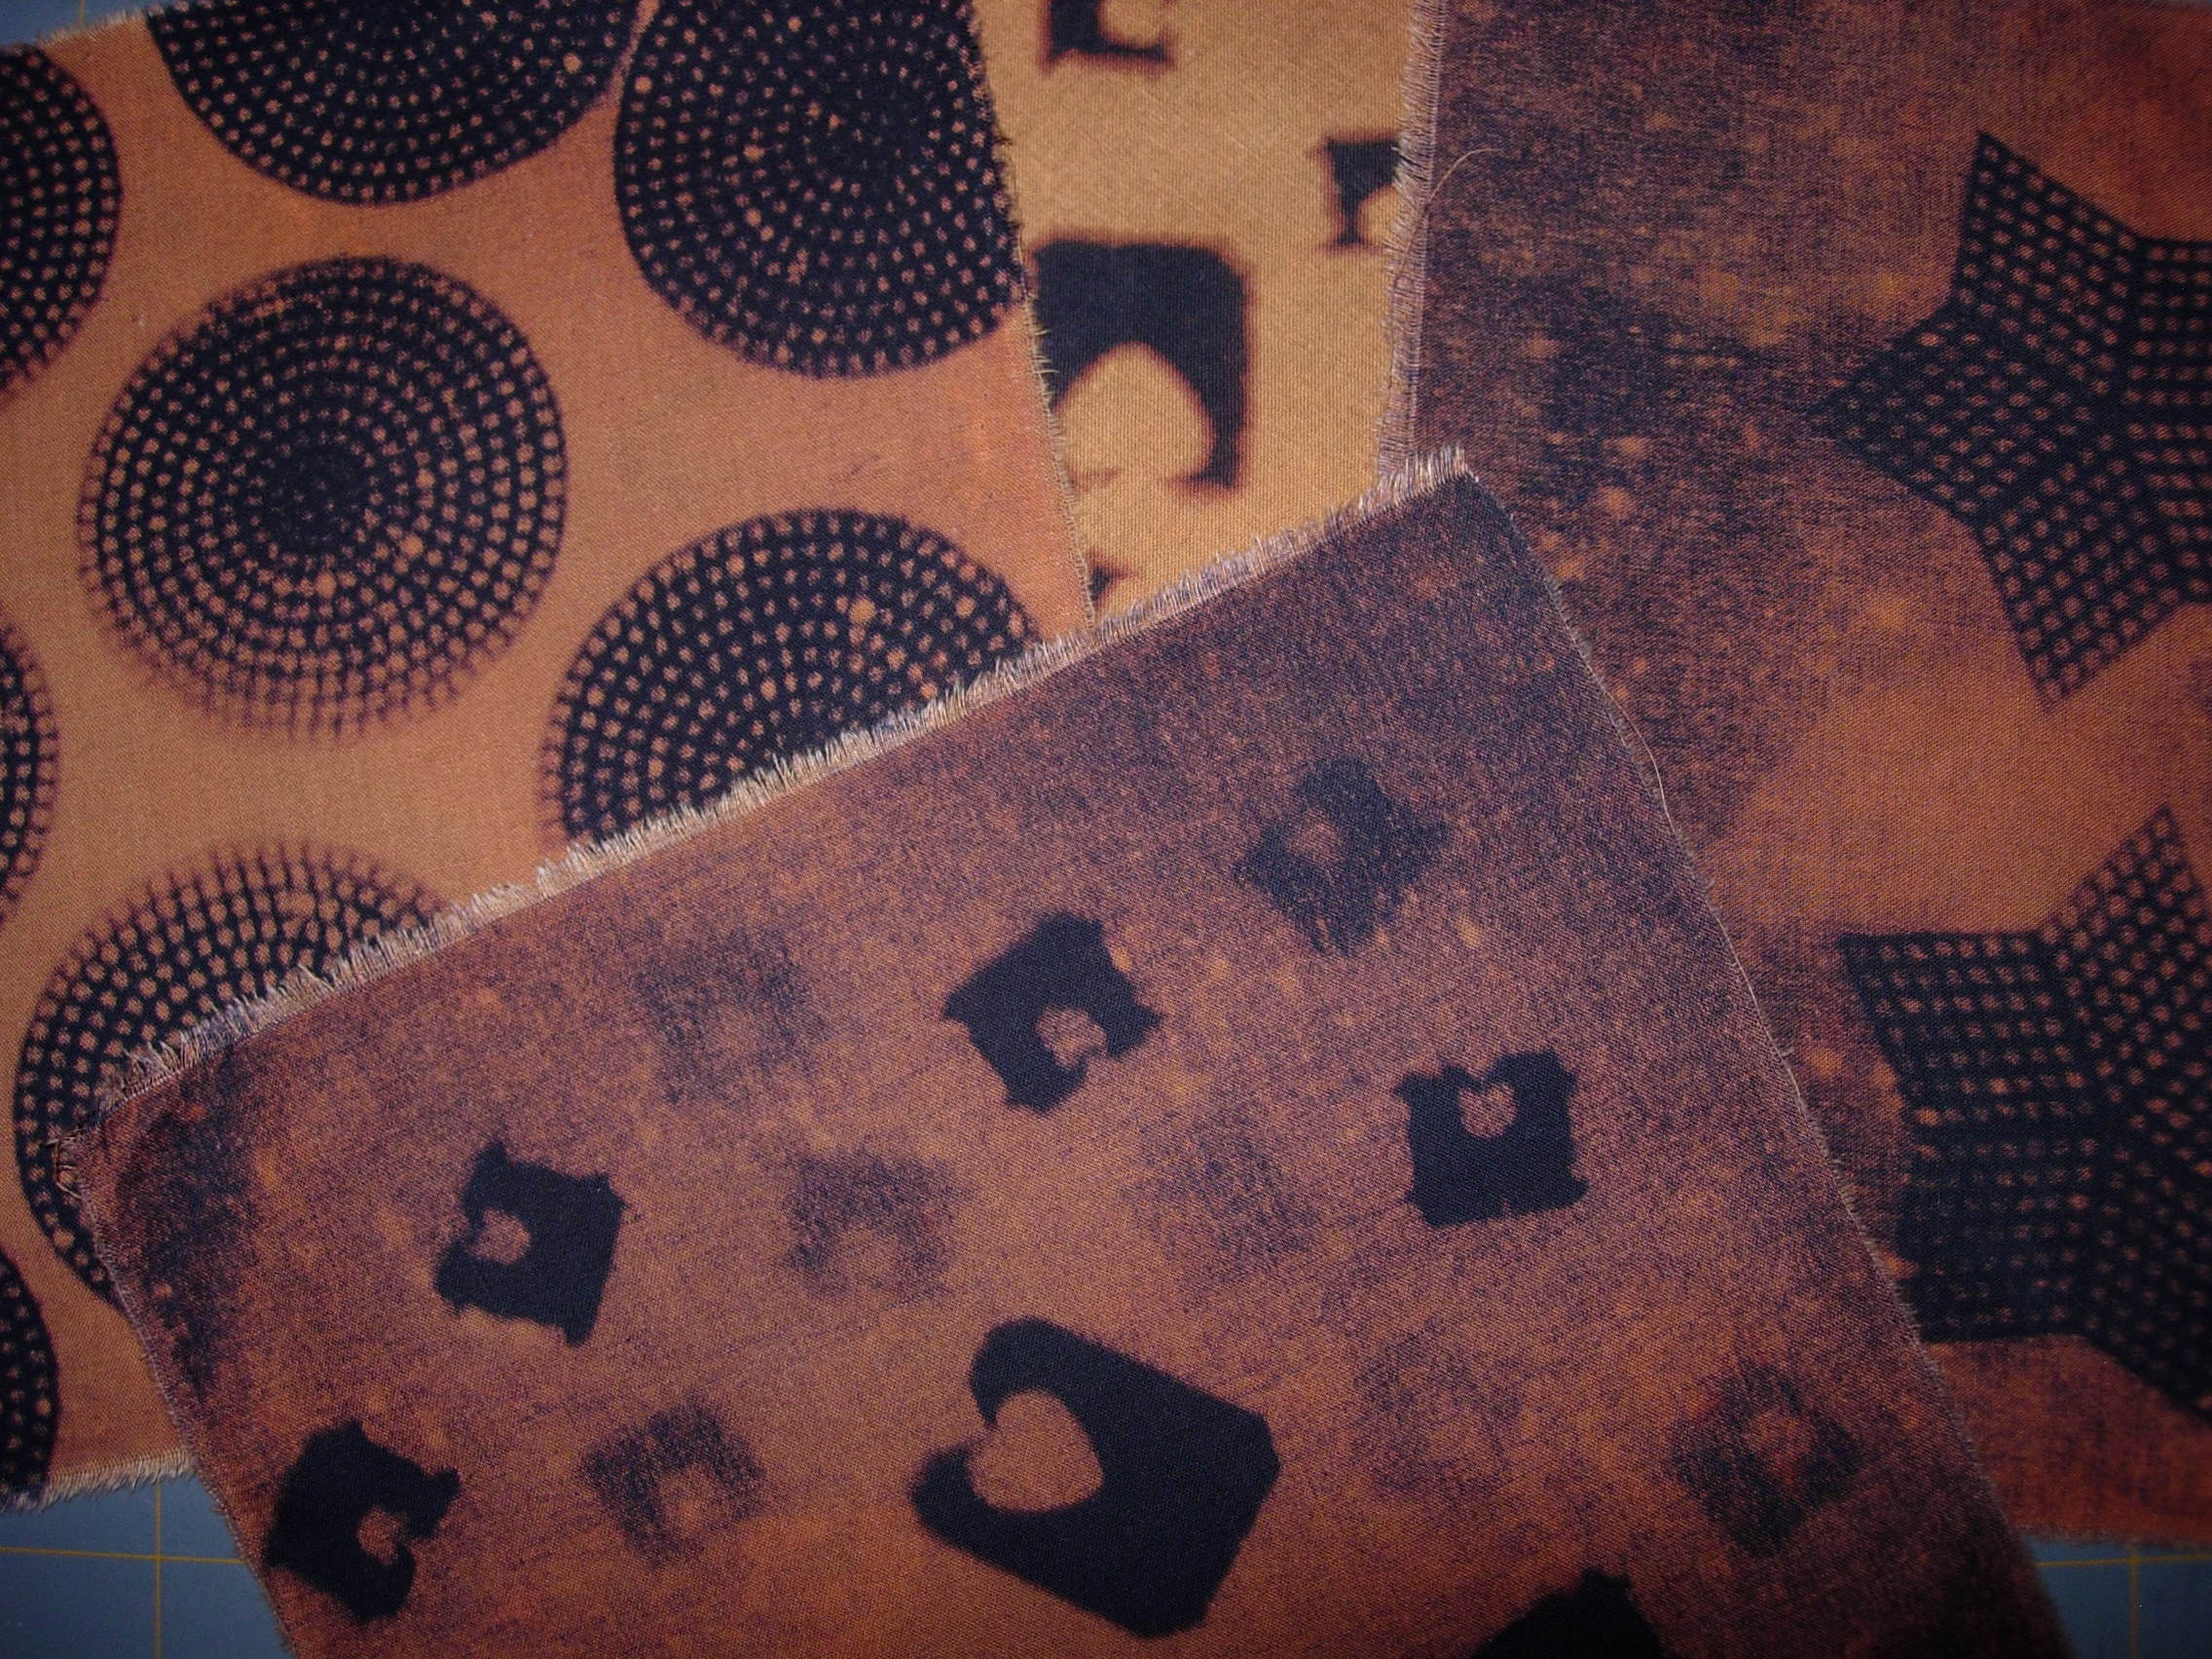
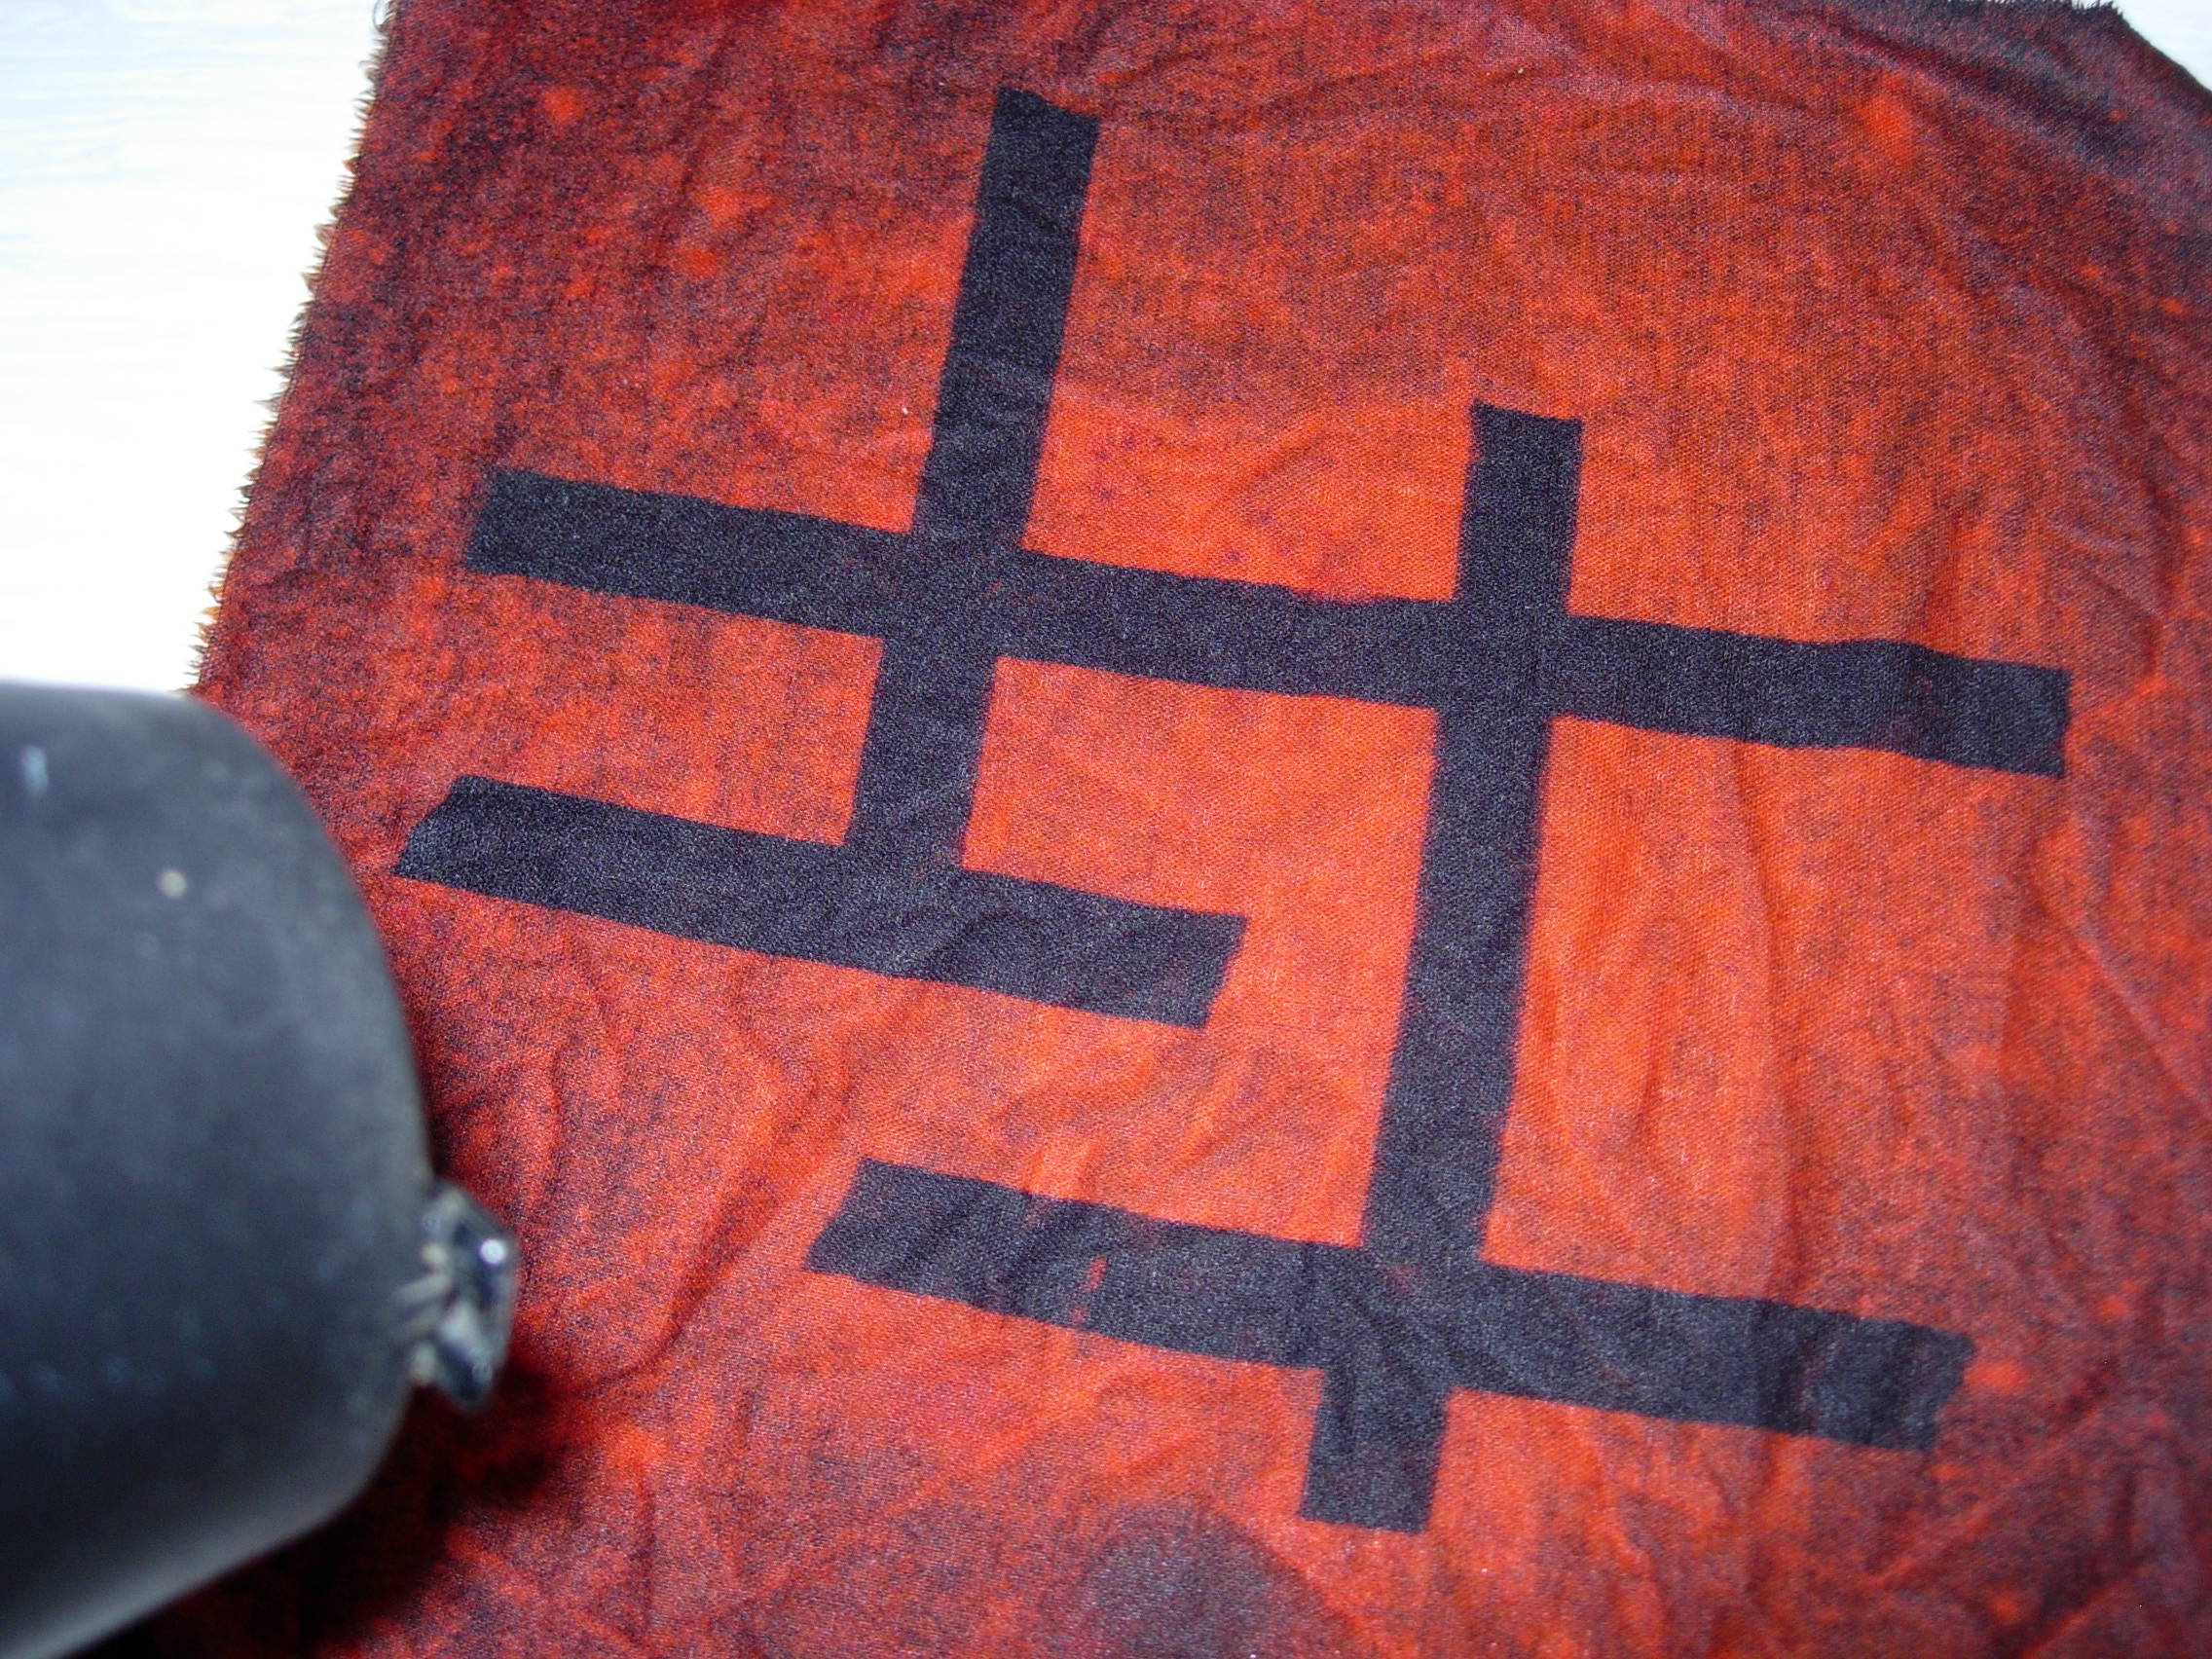
I begin by applying a ground of paint, allowing the media to do what it wants accepting the random wanderings of pigment mixed with water and yet at times guiding it as well when adding more pigment or leading the direction of a puddle of color. Sometimes wetting the paper, sometimes spraying with water, experimentation and spontaneity is key. The field of colors relies to a large extent on chance and play, a relaxing of rules. I call these works drawings because the mark making is my focus even though at times it may seem that the lines take a secondary role to the ground of color. The drawings can be regarded as control over a field of entropy or lack of pattern.


After leaving China and back in my studio I began experimenting with the scale, increasing in size and including new media, such as metallic powders and inks. The drawing below represents copper the first metal ever manipulated by humans, and the color of its patina as it oxidizes.

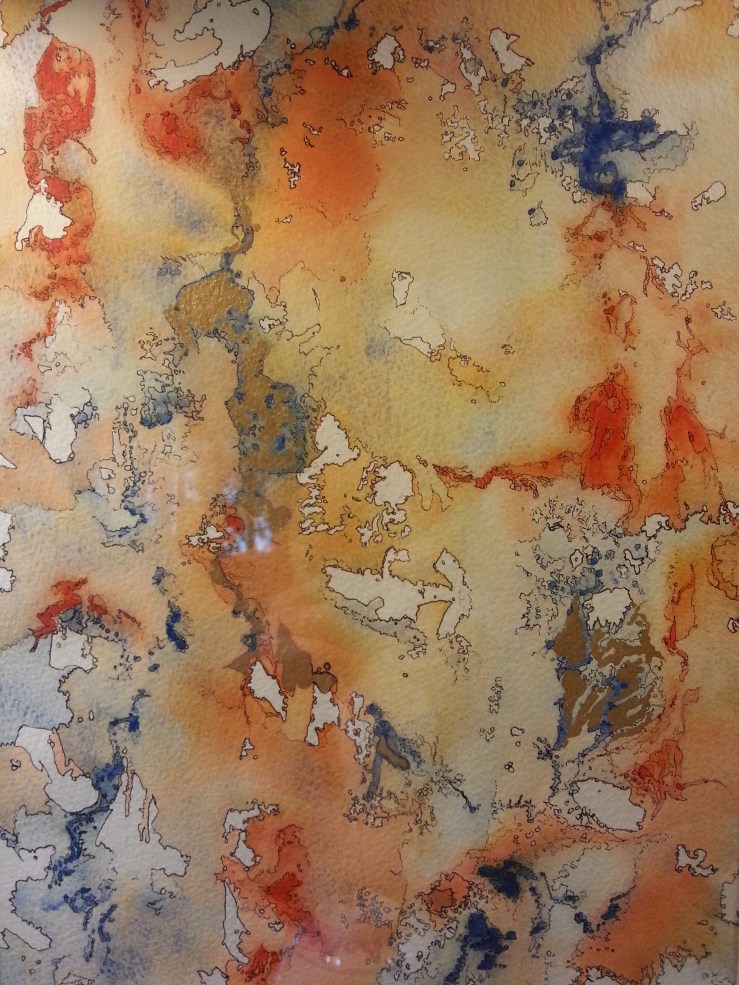
The orange and blue drawing below was inspired by a memory of watching goldfish splashing in a torrent of water in the pond at Xichan Temple in Fuzhou, China. This drawing was exhibited in Harlan Gallery, Seton Hill University 2016.
Sometimes the drawings turn out to resemble topographic maps.
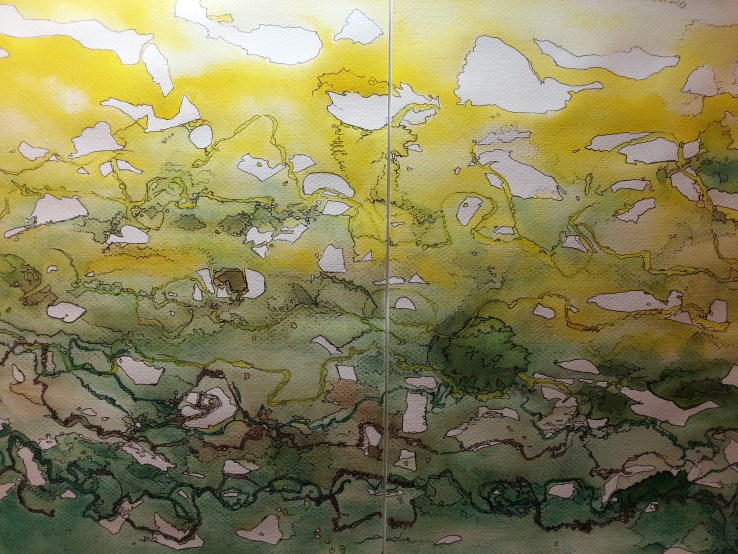
This yellow and green drawing is a diptych. The negative space dominates in this composition.
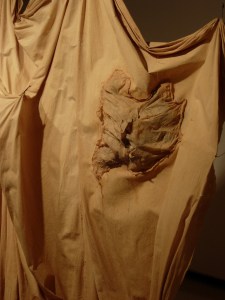
 Detail of
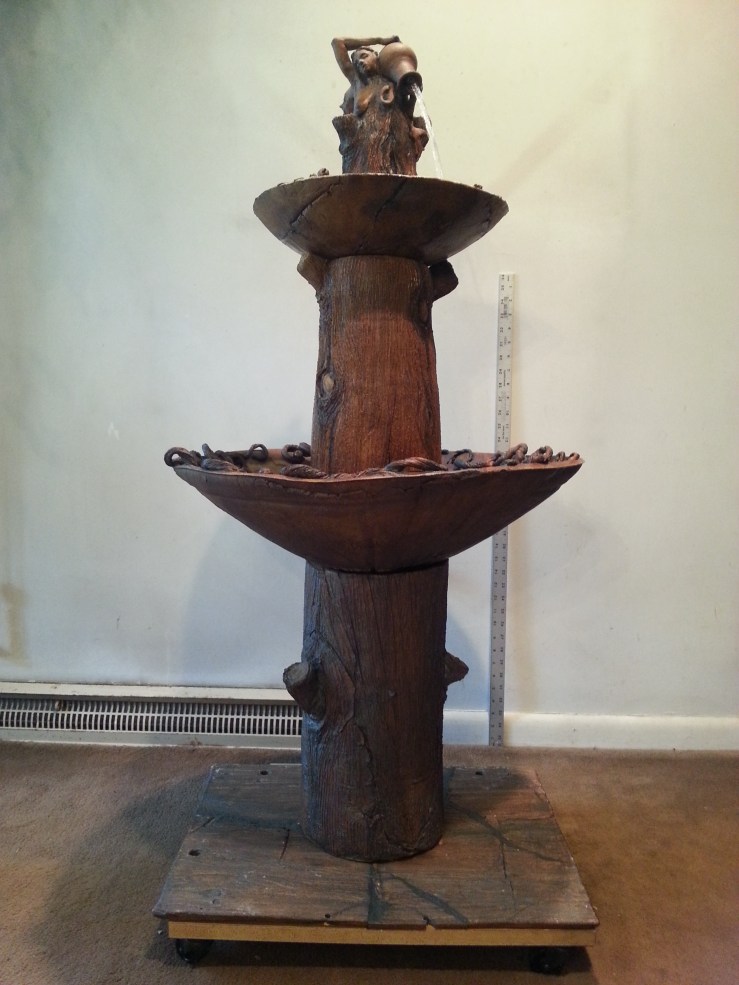
 Detail of fountain
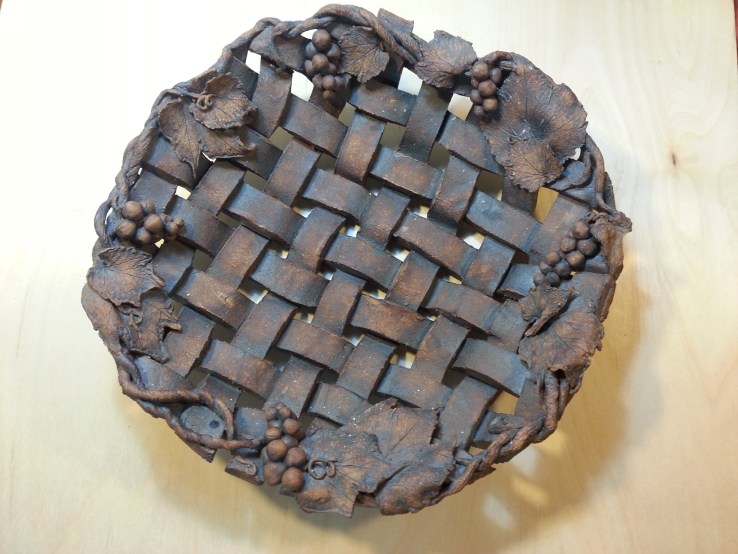
 Detail of clay basket

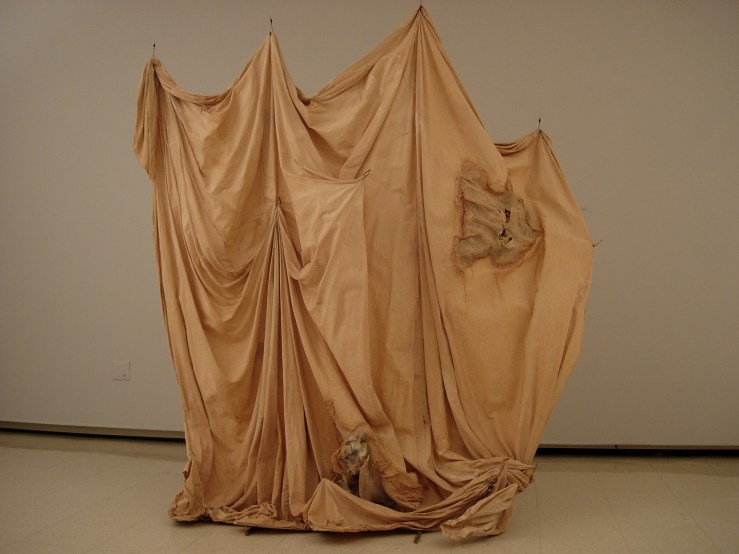
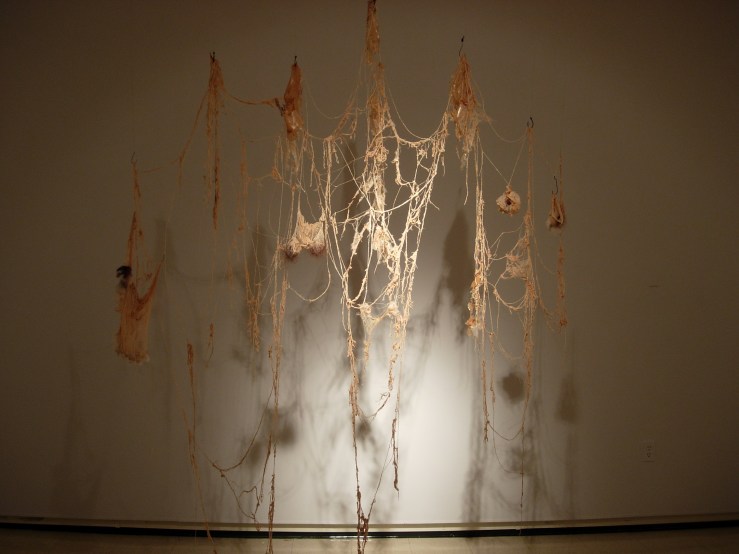
 ..the completed drawing..


 .
.
 Photo of me with a Tuzi. This public sculpture, artist unknown, is leaping from the building onto the sidewalk. One is forced to walk under or around it. Beijing, China 2014.